
Deconstructing A Reference Track
Note: This article is partly related to the Non-Linear Music Production technique explained in my previous post. It offers a complementary method for finding inspiration in your workflow.
Now that you’ve been exposed to my non-linear approach to music production, you know that the early stages of production are focused on building ideas and content. Once that has been attacked, you can start looking into creating a temporary structure for a loop. If you’ve also checked out my One Loop Per Day challenge on YouTube, then you’ll see that the following step is to build a storyline around the idea.
One of the best and fastest ways is to devote your time to carefully analyzing the work of artists you admire. This entails actively analyzing and interpreting others’ work within your DAW so as to carve out a path that you can easily implement in your own production.
But before you dive into your sources of influence and follow the process outlined below, I’d like you to consider this famous quote:
“Art is theft” – Pablo Picasso
Step 1: Finding Your Track
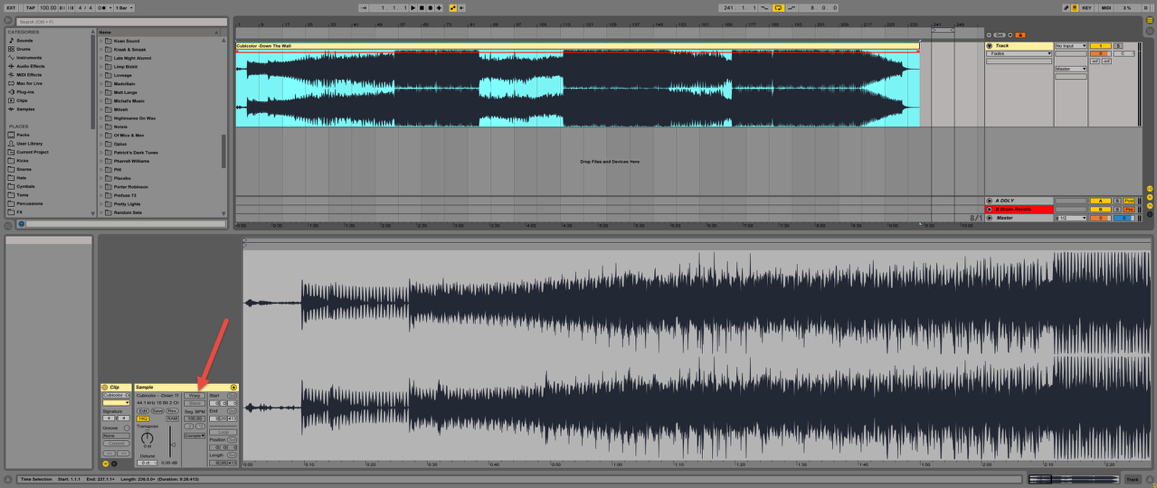
- Pick a track that you really like and whose arrangements you would like to more or less imitate.
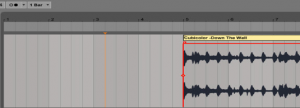
- Make sure that the track is un-warped so that it doesn’t sync with your DAW’s BPM, and so that it’s unaffected by any transient markers you might have set.
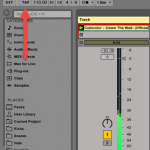
- If your track is in Ableton’s Session View, drag it into the Arrangement View by hovering over the 3 vertical lines at the top-right corner of your screen, or by simply pressing the tab key.
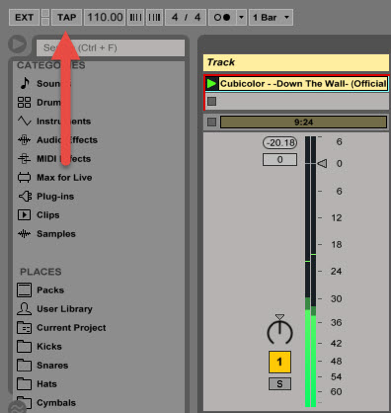
Step 2: Correcting Grid Settings
- In order to properly match the grid with your track’s tempo so that you can use the waveform to spot what happens at what time, you need to find the BPM. You can do this in many ways, by:
- Finding your track on Beatport. The track information should include its key and BPM.
- Accessing the track’s metadata by right-clicking on it in Windows and then clicking on “Properties>Details” (if it’s available).
- Finding the BPM on your own using Ableton’s Tempo Tap.
- Make sure to tap “tempo” in the Session View or else it will fall out of sync in the Arrangement View.
- Type in the appropriate BPM.
- Manually adjust the track with Ableton’s grid so that the sections of your track begin on beat.
- Finding your track on Beatport. The track information should include its key and BPM.
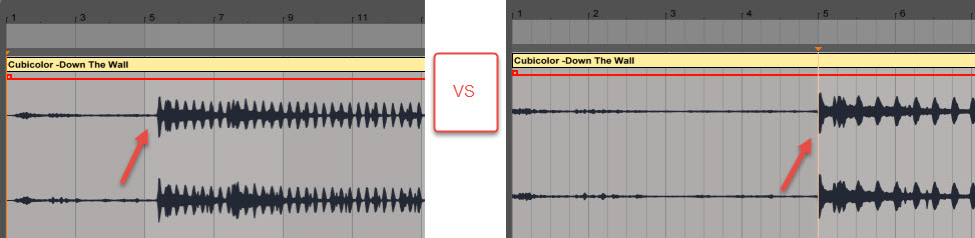
 You will notice this will help you to analyze your track’s arrangements by determining at which bar a section will start.e.g.: The breakdown starts at 80 bars.
- Feel free to cut out any elements such as silence,noise, or “pre-intros” before the actual intro, as in my example above.

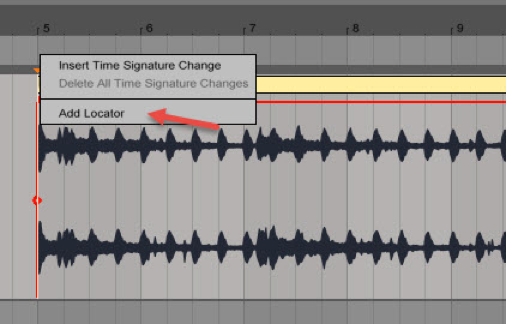
Step 3: Placing Markers and Locators
- If your sections are starting on beat and are properly aligned with Ableton’s grid, this is where you will be able to start learning how tracks are arranged.
- Listen to the track a couple of times, and mar
 k its waveform with appropriate section locators. To do this:
- Right-click in the Scrub Area.
- Click on “Add Locator.”
- Mark all relevant sections with locators throughout the whole song. It should look like this:
- Note that you can label your sections however you wish, depending on the style of music you’re writing. You don’t need to call a section a chorus, for example, if you just want to call it A or B.

Step 4: Analyzing
Now for the important part…
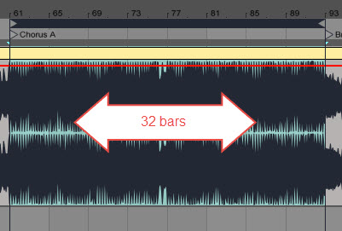
- Pull out Ableton’s Loop Brace in the Scrub Area above the track’s waveform, and stretch it from the beginning of a musical section to its end (from verse to chorus).
- Count the amount of bars there are within that section by subtracting the last bar of the section from its first.
- Example: If your section starts at 61 and ends at 93, do 93-61. That’s 32 bars.
- Count the amount of bars for each section and you’ll start to notice when new elements emerge: sections and themes begin and end every 8 to 32 bars. That’s just how dance music works.
- For example:

- Everything works in multiples of 4.
- You won’t hear a new section begin on bar 5 unless you’re not writing in 4/4.
- Once you analyze how many bars are within a section,it becomes easy to understand how long your instrumental arrangements should be and where to place them in your own track.
- Example: “My reference track has a chorus that lasts 16 bars. It also has a pad for that entire section. I can apply this to my own productions by placing a pad in my chorus for 16 bars only and making sure that it doesn’t overlap with the bridge.”
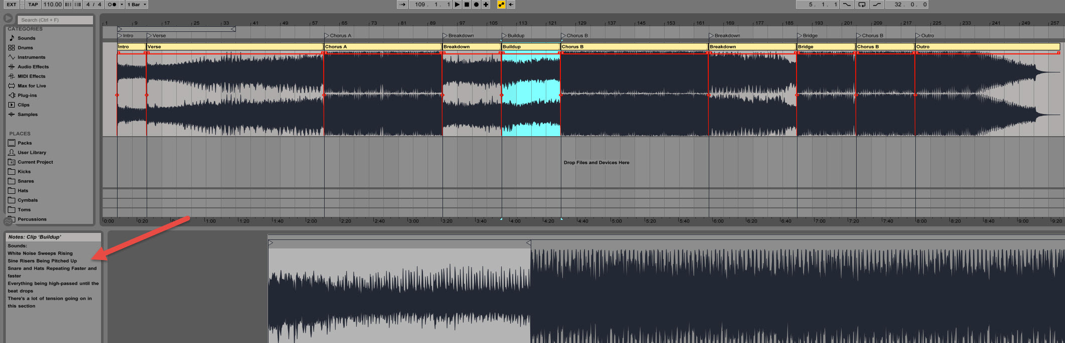
Step 5: Taking Notes
Once you map the structure of the track with locators, it’s important to take note of all the musical elements that come into play for each section. This is how you’ll get to understand what to place and when within the sections of your own track.
- You can take notes down on a piece of paper, or even simpler, directly into Ableton’s clips. Here’s how:
- Split the waveform into multiple clips by clicking on it and pressing [CTRL+E/CMD+E], or right-clicking on it and then selecting “Split.”
- Once you’ve split the waveform into multiple clips, write down the most important elements for each section.
- Then right-click on the Ableton clip and select “Edit info text.”
- For the build-up section, you can write things like “white noise sweeps, risers, automated filter cut-off, percussion repeating faster and faster,” etc.
Bonus Tip: Creating Ghost MIDI Clips
The last trick I want to show you for deconstructing your 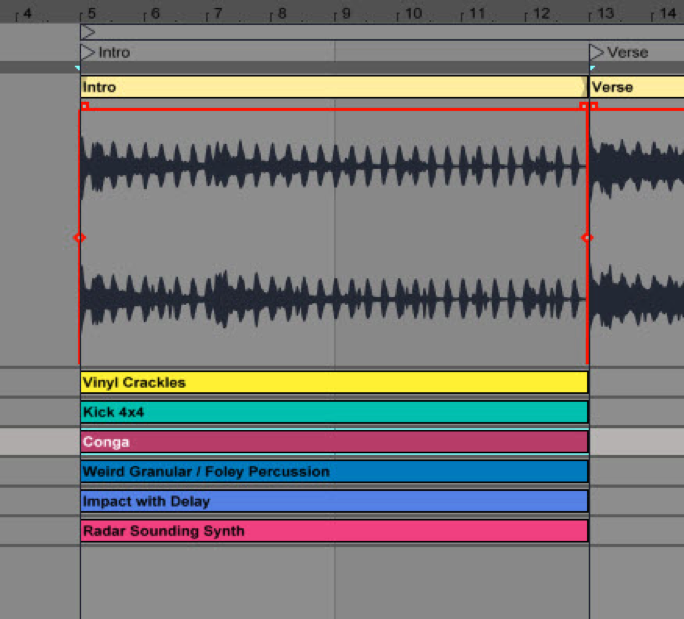 reference tracks element by element is to create ghost MIDI clips for every instrument. This is the best way to learn from other people’s tracks, because it will allow you to break them down layer by layer.
- Create MIDI channels for every instrument you hear in a section, and label them.
- Make sure there’s nothing in them.
Using this method, you can even go as far as deleting your chosen reference track and just filling in the MIDI skeleton with your own synths, pads, drums, effects and more! You’ll have the same arrangements as the artist you chose to mimic, but it will be your sound!
SEE ALSO : Where to Get Fresh New Ideas for Tracks


Excelent tips as always !!!!!