Alternative music arranging techniques
Music arranging techniques are a topic I’ve been asked about most in the last few weeks. For many people, this is the part of music-making that causes issues. And rightfully so; arranging is all about storytelling. In past posts, I’ve said that even though your sound and production might be awesome, if you have nothing to say or if you can’t express your ideas properly, the song will feel shallow and will be quickly forgotten.
In this post, I will explain a few things you can do to create exciting, original arrangements – mainly tips on how to work on transitions, which is one of the most important parts of electronic music.
The “perspective” method
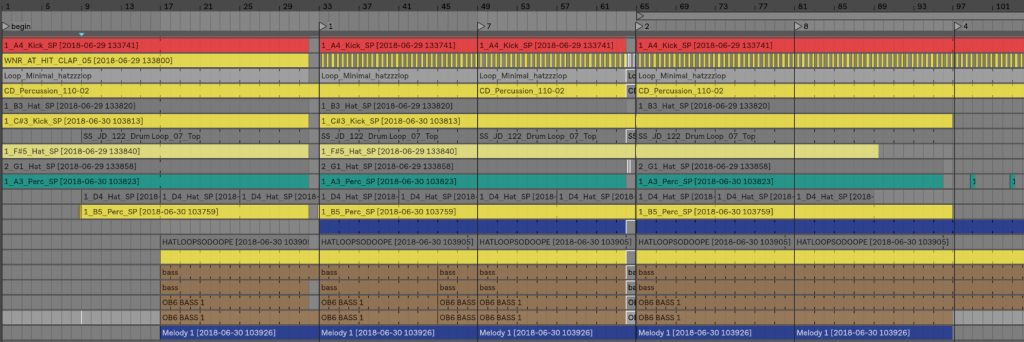
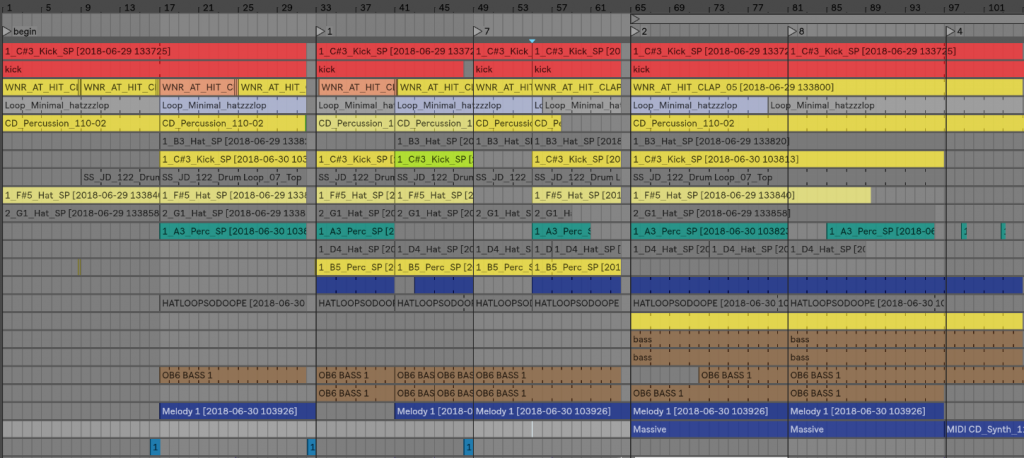
One of the most important aspects of arranging are something I’ve explained in past posts, which I call “perspectives”. A quick summary of what I mean by perspectives: split your song in sections using the Markers in Ableton (or your DAW). I usually put a marker at the end of the song, then one in the middle, then others so the song has four similar sections of the same length. Basically, you need an intro, an outro, and the middle part of your song, which is now split in two.
These marker points are critical moments where you could lose the listener’s attention. They are critical pivots for where you want something to happen to keep the flow going and to roll into the next section of the song. Each section should have a surprise and some development or an element to relieve the tension. These points are also moments where the tension can rise or be released; with a proper transitional approach, this can be done easily.
TIP: Find your main idea and try to see if you can create two different developments of it as well as add supporting sounds/melodies. Try to distribute your melodic content across all the sections so the song feels like it evolves.
The jamming method
Recently, I was trying to explain to my son movies are made. He thought a movie was shot as-is, continuously, and didn’t understand the editing aspect of the process. A lot of people think the same way about songs; they’ll grab material and spread it across the song linearly.
I like the idea that making a song is like a movie, or a bit like how songs were recorded in the 70s/80s. You need many, many, takes and jams to find all the possible ideas for your motif. Here are some methods to jam withing your project to help it evolve further:
Jam the clips of your project in the session view of Ableton Live and record the results after the original song structure so you have alternative ideas on how your song could evolve next to your original idea. Many artists jam the clips, then add effects and such while recording for a good 30 minutes to see what comes out. You might be heading down a totally new arrangement path after this way jamming once or twice.

Stop making the song in a linear fashion from start-to-finish and try to chop up your sections and move them around within the timeline. Writing a song is not like writing a story; in the era of DAWs you always have the option to chop out a section and move it to other points in your arrangement. Personally, I like to jam for about an hour so I can really capture the best moments, but this also means I have to chop out a lot of crap out afterwards.

Use re-sampling on a loop. This is my favorite technique in sound design and arranging which is about taking every single loop I have in my project and passing it through a lot of effects, while recording in a channel that re-samples the master. You’ll end up with long files filled with many alterations of your sounds.
- Add 100% wet reverb to create intense, transitional, swoosh moments.
- Use LFOs from Max for live to add movement and life to certain parameters.
- Map your effects to a controller and record yourself physically turning knobs – you can fine tune the automation later.
Use new material in the transitional, focal points of the song. This is a powerful way of re-inserting your recordings into your arrangements and will ignite creativity; your song will get a huge dose of vitality and movement from doing this. This technique can provide you with a lot of ideas for making original transitions, but also spice up your arrangements in sections that fall flat.
Other types of transitions you can try which rely on this technique include:
- Programing alternative patterns using a controller like PUSH.
- Slicing certain MIDI sequences and then rearranging them.
- Punching in and out of certain channels in real time and recording yourself. All your gestures, and work can be recorded by engaging the recording button in the upper part of the window.
![]()
Most importantly though, use references! Try to analyze your favorite songs and see how they are arranged in terms of transitions, and then try to replicate them. Music arranging is not rocket science; you’ll learn by copying and eventually by practicing, you will develop your own tricks.
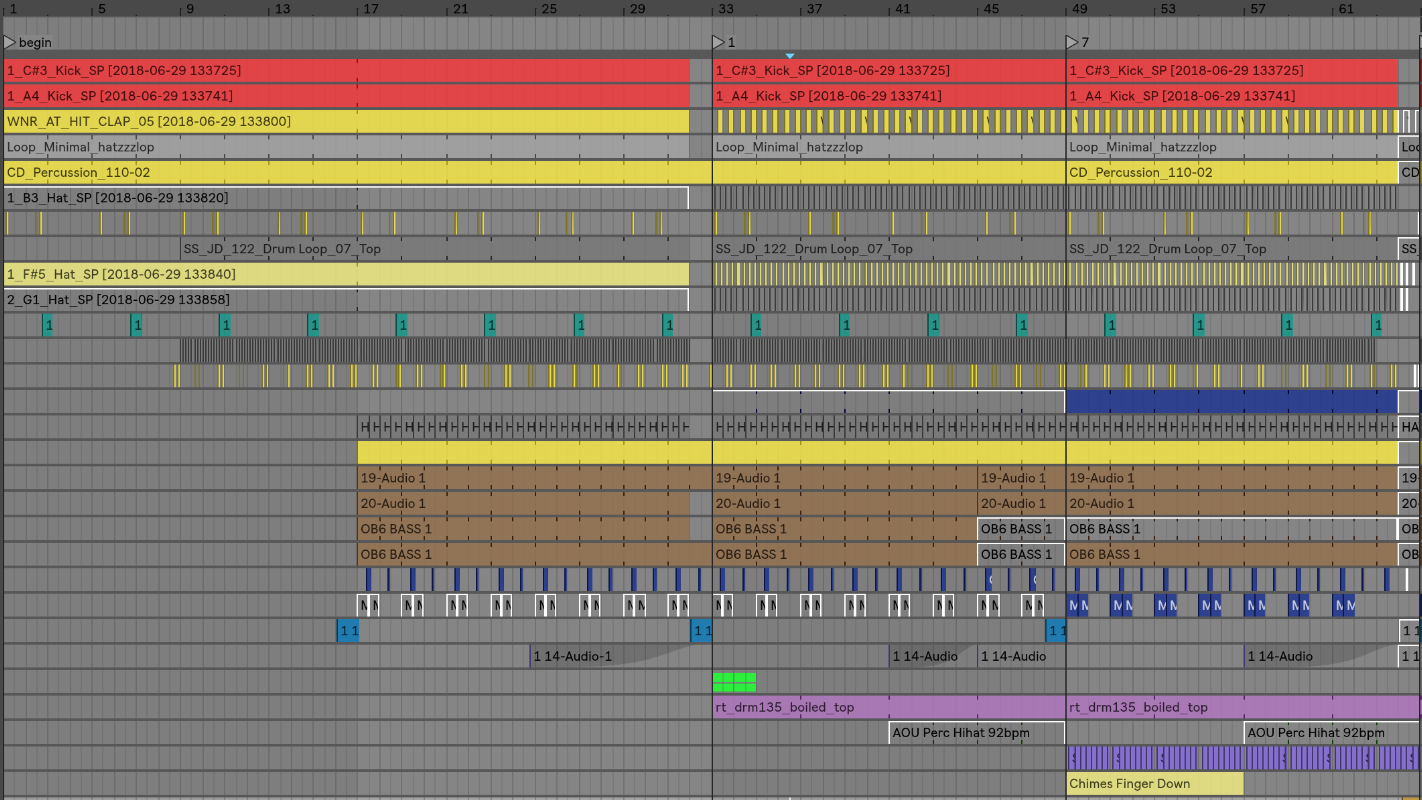 Before consolidation
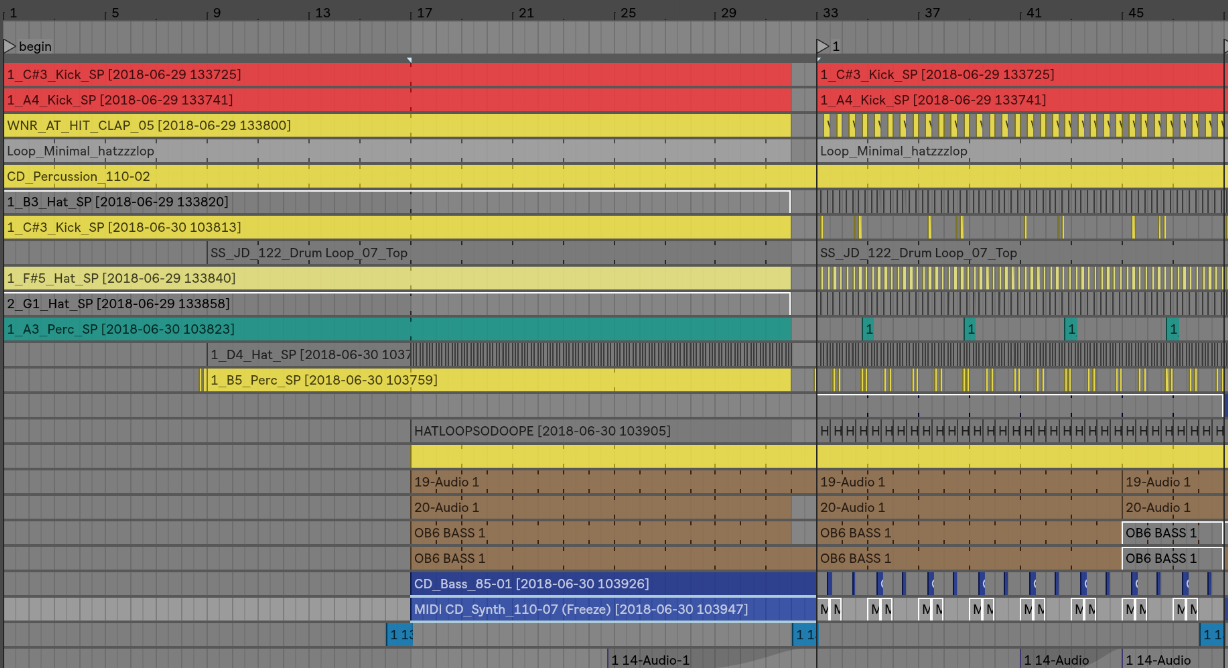 Clips consolidated
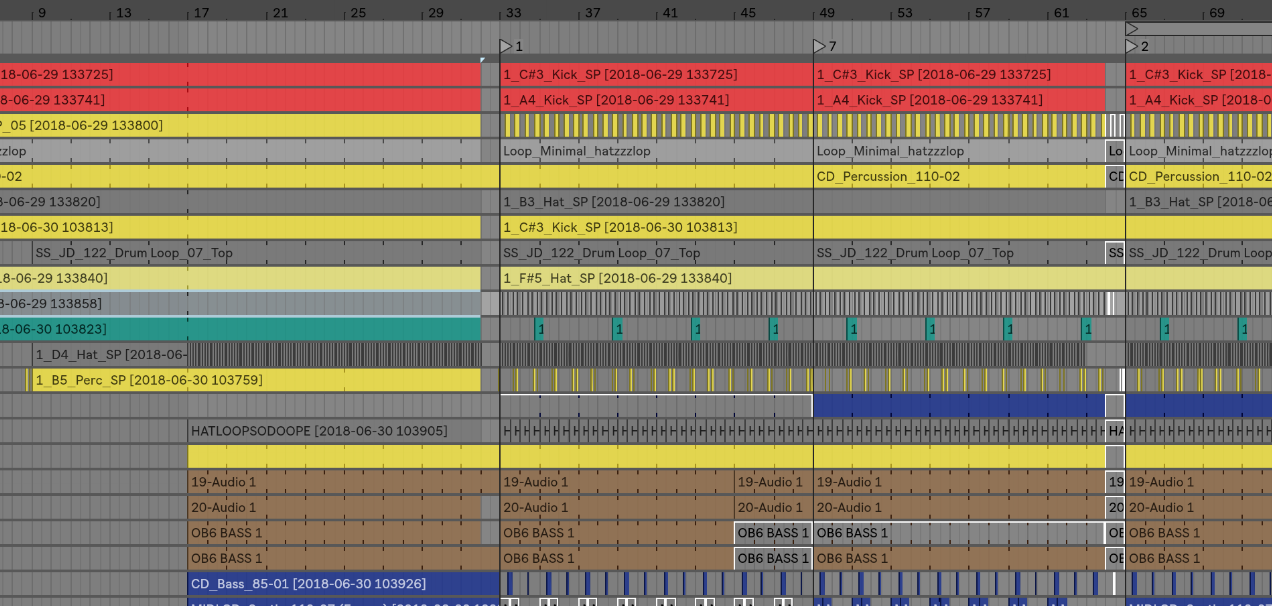 And duplicated