Plugin Review: Circle 2 VSTi
Okay guys, this is a first. I’ve been thinking about writing reviews for a little while now, mainly because I get asked sometimes what I use to make my sounds. So I thought I’d share some feedback about the tools I appreciate most and why.
Here’s the important thing for me though: I usually hate reading reviews. So this is my chance to find a way to talk about my experience as a user without focusing necessarily on the overly technical aspects, which are all covered in the product description anyway.
First up: the Circle 2 VSTi plugin.
Opening Circle 2: First impressions
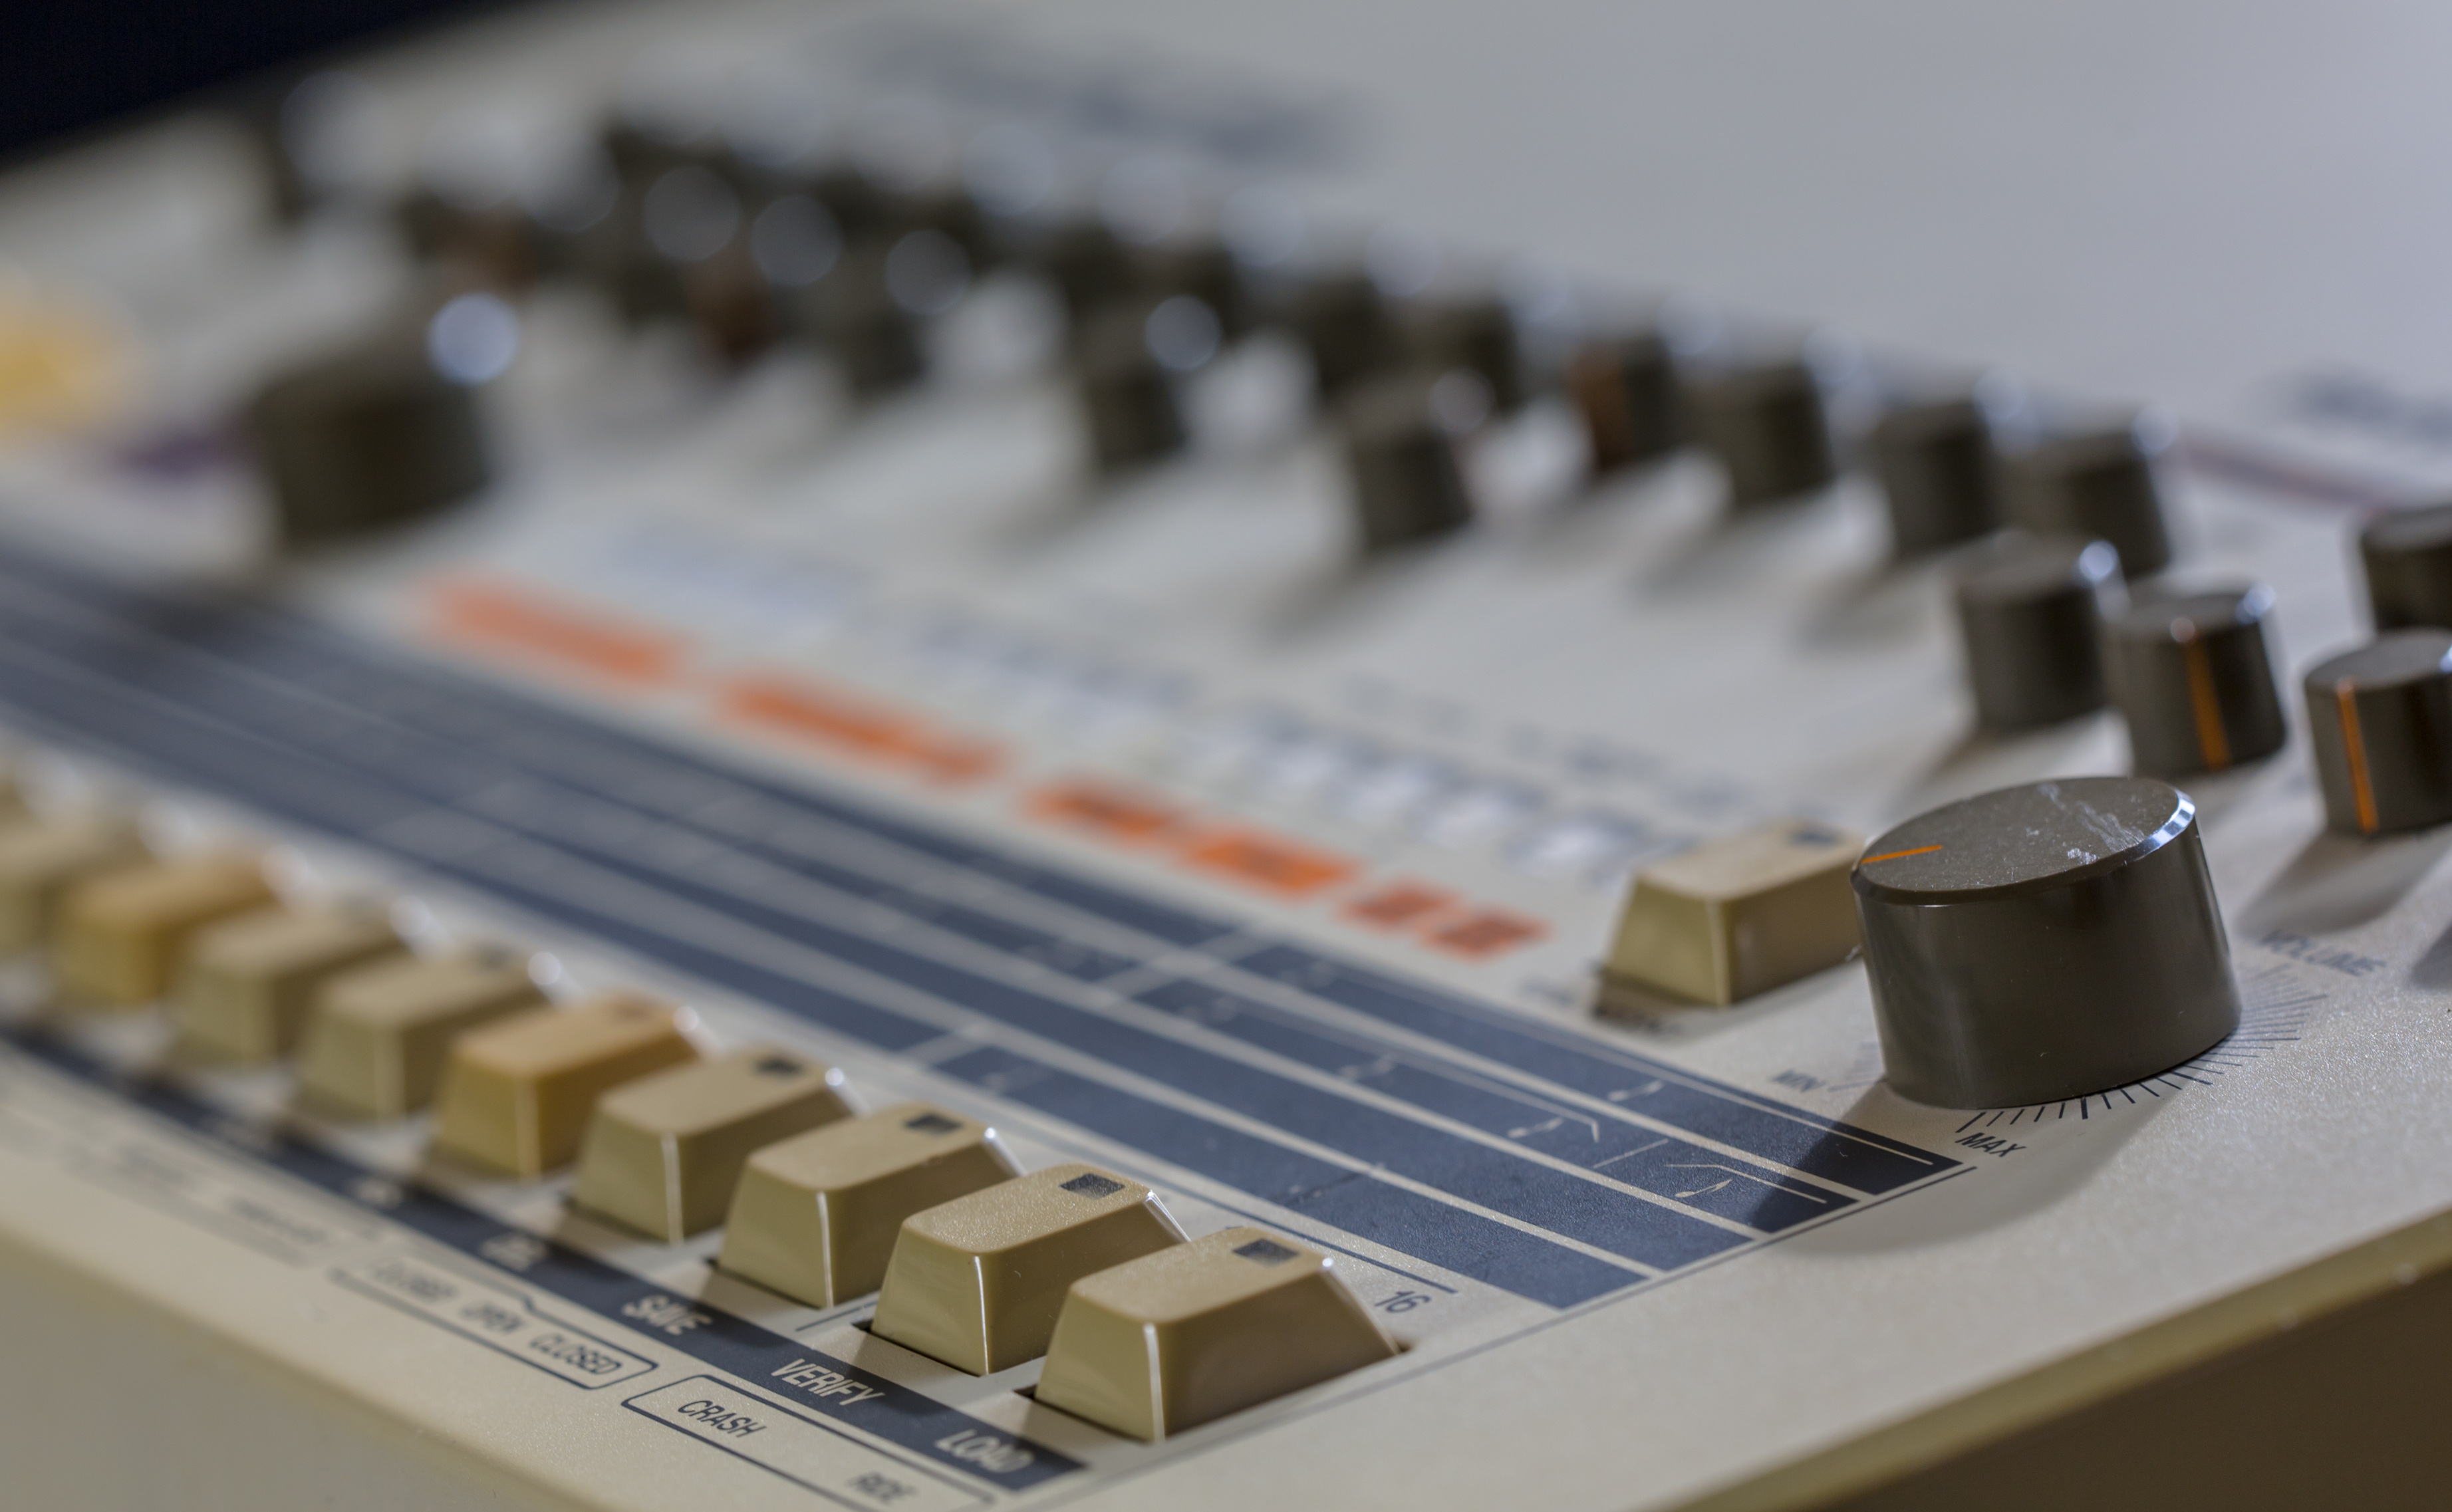
 I got a good feeling the minute I opened this plugin for the first time, which is a rare pleasure for me. With all my years of experience, I’ve grown pretty grumpy about the interface of synths. I often find them counter-intuitive and frustrating to learn, which frequently results in me never using them. With all the options available, it’s clear that you need your VST synth to be giving you what you want as quickly as possible.
Circle 2 delivers right away by getting you excited to play with it fresh out of the box.
Layout
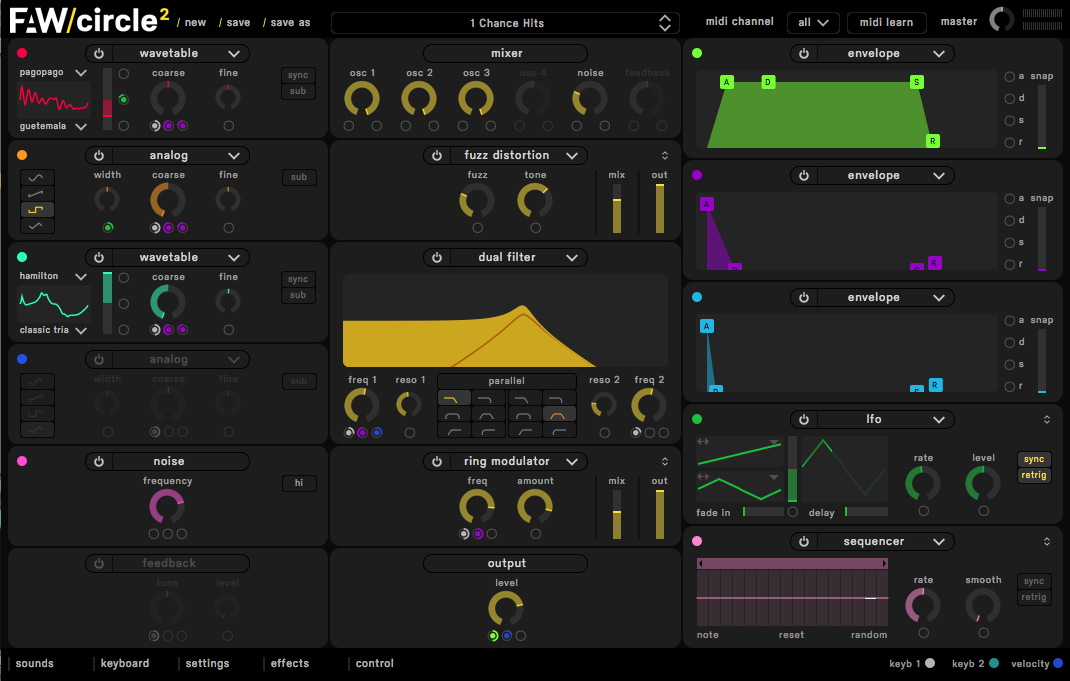
The synth has 3 columns, each with its own functionality. From left to right, you have the oscillators, then the effects/mixer, and finally the modulation. Personally, I’d swap the columns, since I figure that it’s the modulation that goes through effects and mixing on the way to affecting the oscillators, rather than it the other way around. But that’s just my own preference, and it was not in any way a problem to work with once I got into the logic of the synth.
Presets
 Although I avoid using presets, I still give them a quick listen when I first get a new plugin. This allows me to get a scope of the sound potential and to learn how to use the knobs/gizmos by getting a feel for how they move. Circle 2’s presets are named Sounds, and the presentation is simply outstanding. By using Class/Type/Style, you can apply filters that will help you see all the options available. It reminds me a bit of Omnisphere’s classification, but way more slick. This will really be useful later when I save my own sounds.
The sound
 Whenever I test a new synth, I’ll immediately check how it manages bass and low-end sounds, as well as extremely high-pitched ones, mainly by using a sine oscillator. For Circle 2, I used a preset named “Deep Bass” and heard right away that the low end was very warm and heavy. My kind of sound! The slight modulation for a high pitched sound gave the impression of a modular rack that you paid tons of money for.
You see, the first 2 things that make Circle 2 stand out as a wonderful sound design tool are its wavetable oscillator design and its modular approach for shaping sounds. You’ll notice that the modulators have a little circle that you can drag to what you want to modulate. Think of Reason, but minus the graphical cables.
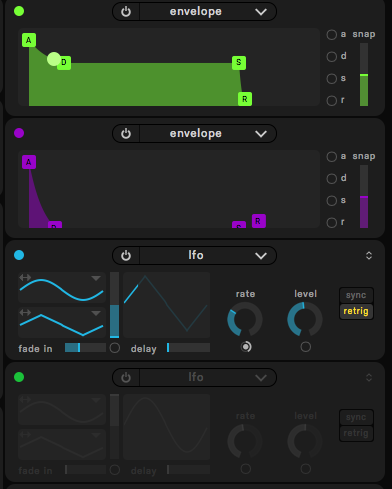
The sound is eloquent and beautiful. And one practical thing about the interface is that it lets you see the envelope and LFO being animated. It’s nothing too fancy, but just enough to orient you.
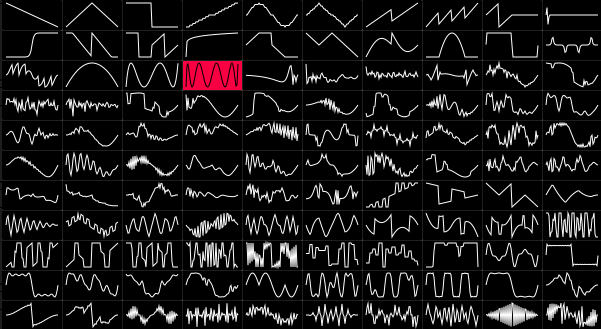 The wavetable oscillator is mind-blowing. You can select from a vast amount of shapes, combine it with another one, and then decide the amount of mutation between the two to produce something completely new. Very well done.
To finish off
 Now that you’re getting excited about the sounds you can make, the last thing you’ll want to try is to play a bit with the randomization options. You’ll find these in the lower menu. You can control the amount applied too, so this is a great way to take a chance on unexpected discoveries. In a few clicks, I went from a nice bass to something abrasive, while still keeping it under control. You could use this feature as a way to create a sound that’s complementary to your previous one.
Overall appreciation
I’d say that this plugin is certain to remain a favourite in my production routine. I’ve been using it for 2 weeks now and have already become addicted to its powers of sound design. Its sounds are thick and solid.
The only downside I found was the lack of GUI control over the filters. I had to use knobs to control the frequency or resonance. That is an irritant to me because I like to make quick changes, and so I prefer to use my mouse. Oddly enough, the envelope can be controlled in this way, so I don’t know why the feature wasn’t included for the filters as well.
You can get your copy of the Circle 2 VSTi plugin here.