The rule of thirds in arrangements and mixing
One of my favorite aspects of music making is to use proportional ratios regularly. While this seems perhaps counter-productive when compared with the artistic side of producing music, I use it to eliminate a bunch of technical roadblocks that emerge in the process of decision making. Because making decisions can sometimes end up in roadblocks, you can use this technique as a general rule that you always refer to whenever you have to.
Let me explain how this rule of thirds can give you wings.
 The first time I familiarized myself with this concept was when I used the iPhone grid to take pictures. I had read that a tip to take better pictures was to use that grid to “place” your content. To compose your photos according to the rule of thirds, you must imagine your photo divided into nine equal parts using two vertical lines and two horizontal lines. For example, the square in the middle should have the subject of your picture, so it’s perfectly centered, it is also recommended to have something like a detail where the lines cross.
When I practiced this, I immediately saw a parallel with musical arrangements. For instance, any song will have three distinct sections when it comes to the story line (intro, main section, outro). Where each section meets, there must be a pivot, an element of transition. When I work, I always start by dividing the song into equal thirds, then, I’ll divide again so I have nine sections total. Starting with arrangements, they have equal parts, but this will then change as I dive in details of arrangements; some of the “lines” of the grid will be moved around.
TIP: Use markers in Ableton and give names to each section.
What you want in arrangements, is a good balance between expected and unexpected elements.
Using the rule of thirds helps achieve this balance: while you center the main idea of your song right in the middle of your timeline, you can have an overview of where the listener will sort of expect something to happen. Then you can play with that. Either you give the listener something where they expect it, or move it slightly to create a surprise.
The rule of thirds can also help in a few other aspect of your work:
- Tonal balance: We covered this topic recently and this means splitting your song’s frequency range in three areas (low, mid, high). You can use a shelving EQ to help you with this or you could re-route your sounds into three busses that are per-band. This will allow you to control the tone using the mixer of your DAW. In this case, by simply splitting in 3 bands, you minimize the work of deciding which tone to take.
- Sound design: We’ve discussed sound design before but I’d like to pinpoint how you can apply the rule here. For instance, think of how a kick is made. There will be the mid punch of the kick, supported by a bit (or a lot) of sub, then a transient on top. Most of my percussion are layered with three sounds. One will occupy most of the space, another will add add body, and the last one will be adding transients or texture. I also find that shuffling with three sounds often makes it difficult to get bored of a sound. The rule of thirds – where you have sound variations – pretty much always works for me. The question to ask is, is there a balance or is there a dominant?
- Mixing: When I do a mixdown, I always have multiple categories for my sounds. Part of this is that – since I really don’t want all my sounds to be front forward – I’ll have some that are intentionally low, others in the middle, and the loudest one are the ones that are meant to be right in front of me. It’s very soothing for the ear to have these three areas of sound levels because it help creates dynamic range and creates an acoustic feeling of tangible spacing; putting some sounds in the back will give support to the ones who need to be heard. Just like sound design, if you always keep in mind that you’re layering in thirds, this can give your mixes a lot of depth.
- 1, 2, PUNCH! This is a technique that I’ve learned in my theater classes, consisting of creating expectations to then mess with the expectations. Basically, you want to introduce a fun sound, and in the pattern introduce it again later, but at the exact same place, then the listener will expect it to come a third time. This is where you can surprise them by either not playing the sound or by bringing something different. Simple, but very effective.
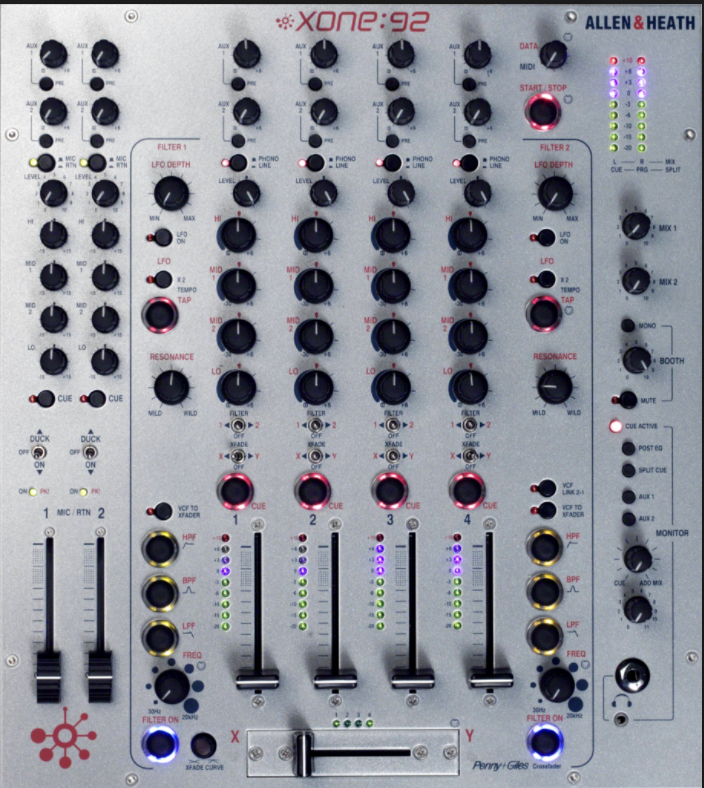
- AUX/Sends. This might sound a bit much, but I limit myself to not use more than 3 aux/sends. I find that an overflow of effects will make your song messy and unnecessary busy. One of my starting templates has only three sends by default: reverb, delay, compression (or another sound modulation effect such as chorus).
- Stereo spectrum. I like to see the placement of my sounds in a grid of 3 x 3 zones. It will go as: right, middle, left then, low middle and high. Some of the main sounds will have to be right in the middle (ex. clap, melody), some in the low-middle (ex, bass) and then some elements that are decorative, around. A healthy mix is sort of shaped like a tree: middle low should be strong with bass/kick, then middle left-right and middle-middle are strong too, then some content in the middle-high, with a little presence in the high left-right. You want to be very careful with the zones of low left or right as this could create phasing issues. You want your low end to be in mono, therefore, centered.
There are other examples, but these are the main ones that come to me!


