Tag Archive for: buses

Free Ableton Live Mixing Template

(Update May 2023: When we moved to the new site, the template was lost. It was obsolete anyway as I’ve learned so much since that I can do better. I did a new one, but it’s more basic. In my opinion, it also does a better job. You can still gather ideas from this post and I will make another one but the basic is at the end of this post. The information below is for the old template, but the one to download is the new version. Sorry for the confusion. I will fix this soon.)

I’ve put together a free Ableton template after receiving feedback that it was very helpful for many people I’ve worked with. The template available on this page is aimed specifically at mixing. I’ve noticed that many aspects of mixing are often misunderstood; I’ve assembled a starting template that has bundled together many useful tools to deal with basic things – this free Ableton template will be useful for those involved in music making!

This template includes:

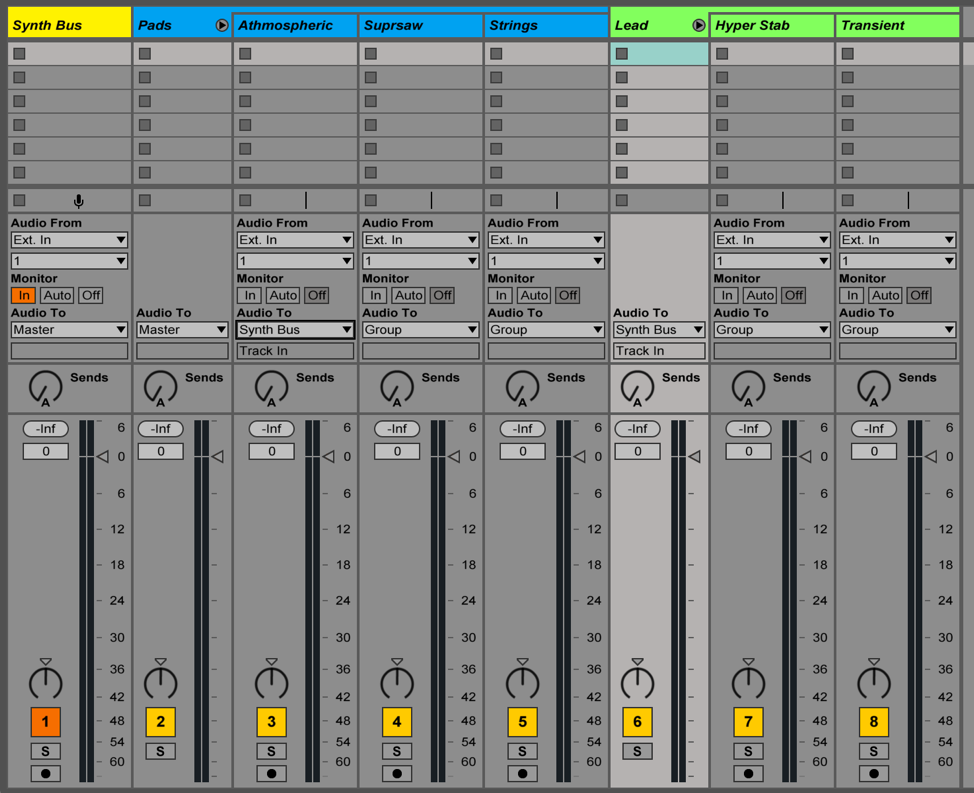
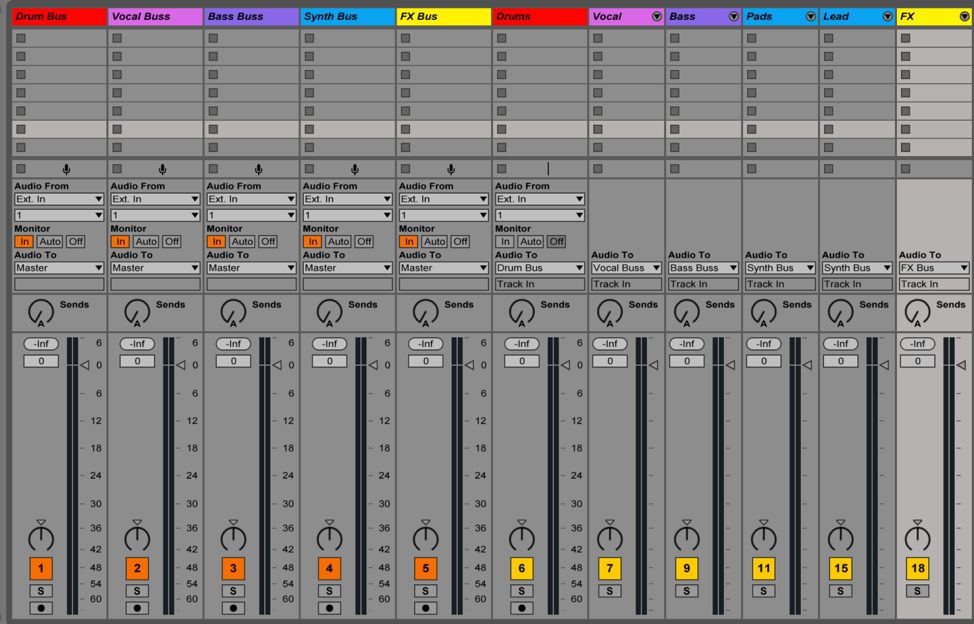
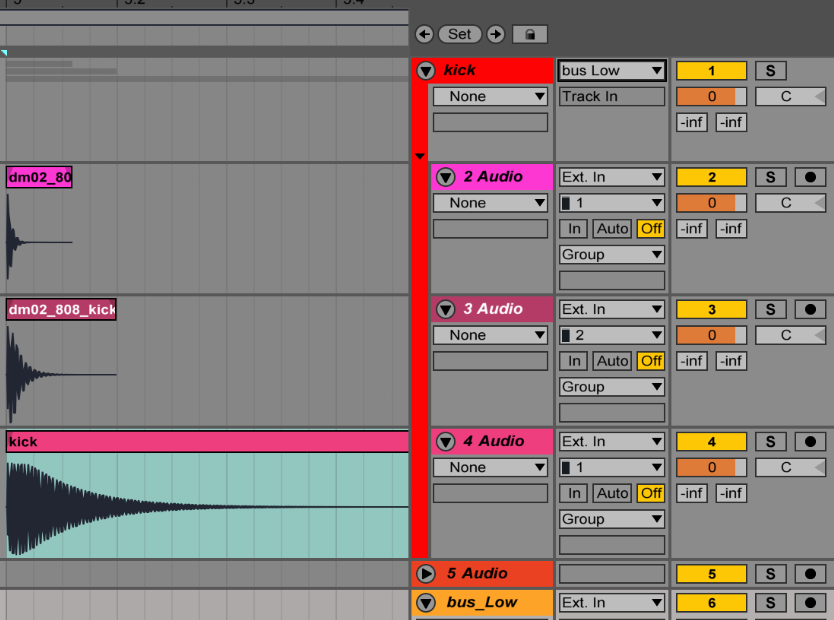
  • 6 Groups: Kick, Bass/low end, Percussions, Hihats, Atmosphere, Melodic.
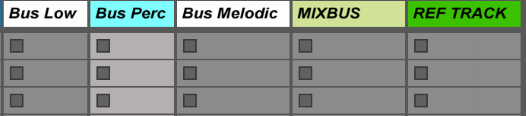
  • 3 Busses: Low end (Where kick + bass are routed), Percussion, Melodic.
  • 1 MIXBUS: Where the busses are routed and is actually your pre-master channel.
  • 1 Reference channel: Where you drop the your reference track.
  • Multiple Sends as enhancers.
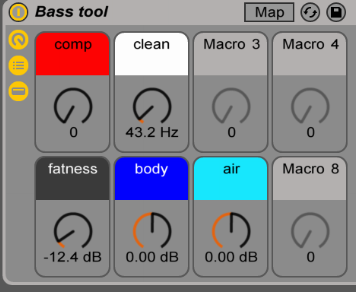
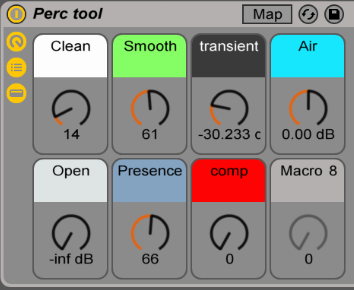
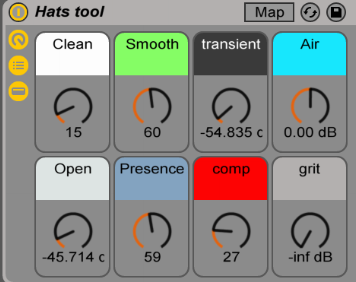
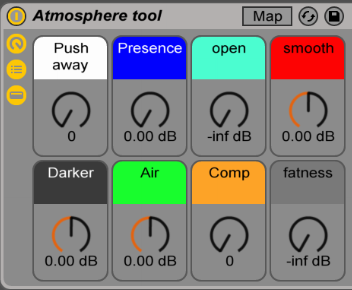
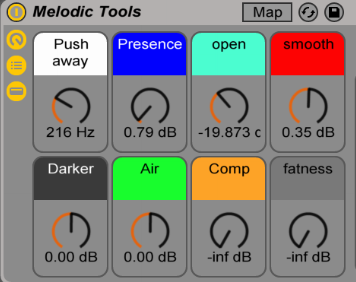
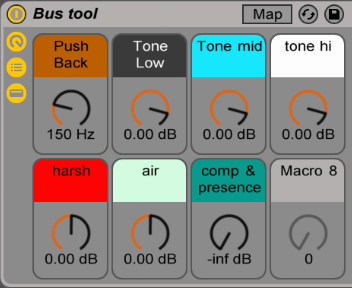
  • Macro tools on each groups and busses to help you tackle tone and potential issues.

This template looks very close to what pro engineers use like the one Andrew Scheps did for Puremix, but I found Andrew’s template wasn’t really as suitable for electronic music. I’m sure he would disagree but underground music isn’t really handled like commercial music is.


Is this template for producing or just mixing?

You could use this template to start producing with if you feel comfortable with it, but I’d encourage you to export stems from a project and then use this template to mix. Yes, it’s a bit more work, but it will also make free up your CPU and make your project ready for a new phase of production. It’s fun also to put an end to tweaking details and then focus on the mix alone.


How do I use this template?

There are many ways you could potentially use a template like this but I’d like to explain a few things to get you started quickly. First off, grouping your sounds is always a good start. I like to to think of it this way:

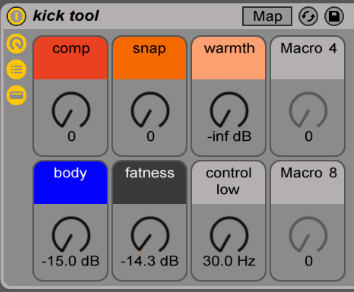
  • Kick group: This group is made to hold the different layers of your kick(s); the best way to make full range kick is to have up to 3 layers, but that will be handled by the group’s macro tool that uses compression and saturation. I created another little macro tool to help beef up your kick with a sub generator and a transient enhancer. I included some sounds from my collection for you and feel free to add more. If you balance everything properly, you’ll have beautiful, warm and punchy kicks.
  • Bass/Low end: This group is essentially the same thing as kicks, but to be used as the bass. Include the multiple layers of your bass (sub/mids), and I’d encourage you to also include anything that is below 200hz such as toms, synth, pads. The macro on that group will help balance it out.
  • Percussions: Anything percussive from bongos, claps, snares or percussive synthetic sounds. This group can get busy so don’t be afraid to add multiple new channels in the group itself.
  • Hihats: Hats or anything that is regular in your group and an important part of your groove could be put in this area. In my case, I sometimes include snares. Please note that there’s no right away to use the Percussion & Hihats group and experimenting might get you some interesting results.
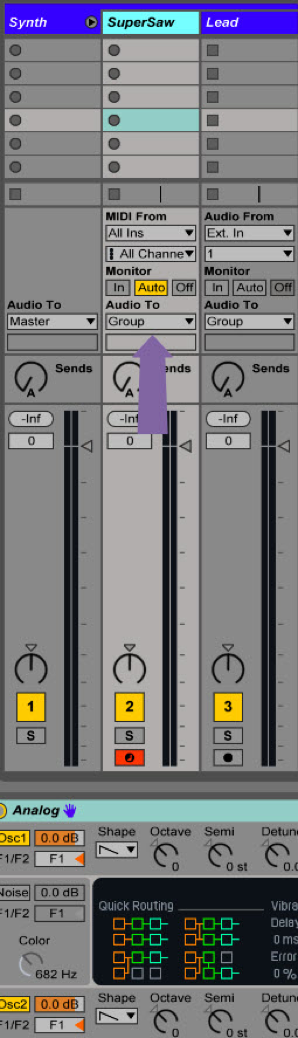
  • Melodic groups: These two work hand in hand. One is for anything in the background and the other is for the melodic elements to be forward. The way the macros work, they will help you position properly the sounds and make the best of them. Try playing with the various knobs to see how they influence the groups.

Please note – I’m applying high pass on these groups and feel free to change the steep which can influence the sound in some good ways, sometimes.

The three busses are quite interesting to work with once you get the levels of your groups finished. For instance, you want to find the best relationship between bass and kick that are routed together. Once they are balanced, the bus allows you to control both the bass and kick at once; this can help you more easily decide on the tone of your track by moving the bus up and down.

I’ve also included a reference channel to remind you to use a track that can be used as a mood and reference board. Reference tracks are great to help you to take inspiration from parts of other tracks you like and would potentially like to use in your mix.

The various sends are simple tools to just beef up or open up your sound. Sends are really for finishing touches to your mix and they’re meant to be used as gently as they can be; subtlety can also make things intense.

Thanks to everyone who provided feedback for the development of this free Ableton template; I am glad I can continue to help everyone enjoy making music!

Click to download this free Ableton template: (New version 2023)

Pheek’s template 2.0 for Ableton Live 11.3+

Dynamic Sound Layering and Design

Sound layering can be a very complex or very simple technique in music creation and production depending on your goals. In a past post, I gave some really basic sound design tips; I have a lot of readers who are just starting out with mixing and producing, so it made sense to start with something less intense. This second post about sound design, however, will focus on something a little bit more advanced but still very simple: sound layering. It’s actually surprising to me to see so many people who ignore techniques that allow them to get the most out of layering, so I thought I’d write about it.

First off, I would like to discuss Ableton’s groups. Many people use them as the equivalent of busses, where all the grouped sounds will all be treated in a specific ways and yes, that approach works really well indeed. However, I prefer using a solo channel as a bus instead and use groups for sound design or classification. A good example is for kicks or claps, which are usually a combination of up to 3 different samples or sound sources (ex. 2 samples, 1 synth, etc.). Basically, since each sound is a collection of multiple samples, then I could say that they will work best as a group.

Visually it looks better and is easier to manage, and additionally you can also put effects on the group to glue all the sounds together – generally you’ll need a compressor and one or two EQs for a relatively uniform group. Once I’ve done that, I usually like to have an additional bus for all sounds (eg. groups) that will glue everything else together.

A second point to keep in mind, is that there’s always multiple ways to do sound design. Keep in mind that what I show you here is simply how I do it but there are other people who use different techniques; I try to keep it simple. Two methods Ableton will describe here that I like are the arranger and the drum rack.

If you work in the arranger, you drop sounds in the channel and it’s an easy way to see the layers. I like turning off the grid to do this so it feels a bit more natural.

You can adjust the volume for each layer and tweak the EQ to get part of the spectrum of one sound, and the complementary part of another.

You can do the same with the attack and release; there are so many options. I really recommend using the faders too for more control. So basically, volume, EQ are your best friends here. Brainworx has an amazing filter I recommend, it’s super solid for sound design.

If you prefer, you could also mainly use the Drum Rack to do the same thing. Load up the same samples in the pads of the tool and then sequence them by MIDI instead of putting them in the arranger. Some people dislike working this way because they can’t easily see the frequency shape of the audio file. But the advantage of this approach is that you get to have access to more options to manipulate your sounds, like the extra controls in Ableton’s Sampler window.

What I think is best in the end is to combine both the sound arrangement layering, with the an extra channel of Sampler use so you can work on constant movements. The main thing you want from your sound design, is a feeling of liveliness and emotion. The sampler has LFOs you can assign to filters, panning, or volume, which is a subtle touch that creates a nice layer of movement and liveliness. In the same way, I’d even add a synth of your choice to give richness to the sound with oscillators working to reinforce the fundamentals with a discrete tone; more complex sound layering.

Finally, on the group of the sound itself, I would add nothing but an EQ and compressor to “glue” everything together, but you could also use reverb to broaden your stereo image. These techniques should help you improve your sound design skills!

SEE ALSO : Sound design: create the sounds you imagine inside your head 

Buses vs Groups in Ableton Live

The word “bus” may sound foreign to many beginner- and intermediate-level music producers who were not raised during the good old days of analog mixing on consoles. But rest assured, readers: the term “bus,” in this case, does not refer to a 33,000-pound vehicle, but to an audio channel that allows a multitude of audio signals to pass through it.

Buses are used to apply general processing to the mixed signal, so as to achieve a more cohesive effect over a particular range of instruments. This may sound daunting, but allow me to provide an example to clarify. If you have several drum channels (kick, snare, hats, toms, etc.) playing in the DAW that you are using, it would be wise to send and route them to a drum bus, onto which you could then apply some warmth or glue with mix bus compression.

There are several DAWs, including Bitwig and Ableton Live, that allow you to “group” tracks together. Other DAWs prefer to emulate traditional mixing consoles by routing the desired channels through a bus. Note that neither method is better than the other: they are exactly the same. Nevertheless, Ableton aficionados may want to begin using buses more often, given that their use simply opens up more possibilities in terms of mixing the music created.

How so? There are certain techniques that just aren’t available to you when you’re “grouping tracks,” such as sending a parallel compression return track to a group, or applying effects to two groups at once by grouping them together (groupception). But by using buses, you’ll be able to route any audio signal to any channel you wish.

So with all this being said, here are some pointers for creating your first buses.


Basic I/O Routing


  1. Open the Audio Routing section by clicking on the I/O button right below the master fader in the lower right corner (CTRL+I).
  2. Create an audio track (CTRL+T) for your bus. In my case (see screenshot below), I called it “Drum Bus,” because I am sending all of my drum tracks through it.
  3. Depending on how you organize your drums (I’m using a MIDI drum rack followed by several loop-based elements, like percussion, rides, etc.). Route them to the drum bus by:
    1. Selecting/highlighting all of your tracks.
    2. In the Audio To section, select “Drum Bus.”
  4. Set your initial channel as Drum Bus and set Monitor to
  5. You should now hear all of your tracks going through the drum bus.
    1. Try muting some of them to hear the difference.
    2. Apply a compressor to the drum bus to glue things together.
  6. Note that you can also route return tracks through your drum bus. I’m applying New York Style Parallel Compression by sending my drum channels through a channel with heavy compression, then sending its output through my drum bus to give it more power.


Buses vs groups in Ableton: my drum bus, which I send all of my drum tracks/channels through
If you have groups of elements that share similar sonic features and would like to EQ or compress them all together, then you can create a bus and send them through it:

Create a bus in Ableton to EQ or compress a group of elements all together

When I’m mixing, I’ll even go as far as creating individual buses for every group of tracks towards the end. This helps me get the levels right and apply broader strokes for every category of sound (bass, drums, etc.)

When I'm mixing, I'll even create individual buses for every group of tracks


To conclude, I’d just like to emphasize that there isUse groups in Ableton to organize your channels when you're writing music, composing, or doing sound design absolutely nothing wrong with using groups when mixing. It’s simply that they should be used more often to organize your channels while you’re writing music, composing, doing sound design, etc. to work faster and more efficiently.

Remember, you can always group channels together by pressing CTRL+G or CMD+G on Mac! The audio channel will be automatically routed through the group fader and will function exactly the same way as a bus does.


 SEE ALSO :  Reverb Tips to Boost Your Creativity