Simple Sound Design Tips
I’ve been giving some classes since the beginning of the year, and I noticed certain questions around sound design that kept coming up while I’d be sharing other tips. I thought I’d share them with everyone so it can benefit more than one person out there.
Recently I was in a café, and I had a little exchange with the barista about what I do. “I’d consider myself a sound designer, though technically I’m an audio producer,” I told him while adding some sugar to my tea. “Dude, that makes no sense to me… Are you a DJ?” he asked back.
 That’s the thing, right? The DJ is the one that people see in public doing all the work and making people dance. But behind the scenes, there are the people who gave the tracks he/she plays their magic aura.
“I’m the DJ’s best friend, his best kept secret,”
was my only answer, with an enigmatic grin. I sort of prefer leaving some mystery around what I do. Even if I shared a few tips, there would always be so much more to say. Plus, the more you know, the more you realize how little you know.
So here are a few tips.
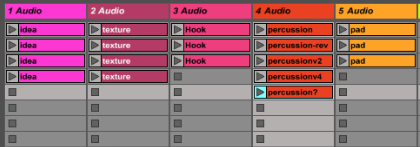
Use Ableton’s Live’s session view as your mad scientist’s lab.
The most common mistake I see from clients, either when I do mixing or help them with their unfinished tracks, is that they use the arrangement view to make their sound design.
The session view, while mainly used to jam, rehearse and perform, is perfect to make a loop and then mangle it until it becomes something completely new.
 TRY: Loop a 1-bar percussion sample and then add a bunch of effects on the same channel. Record yourself for a brief moment while you play with knobs. You may also record your actions to be able to see what you did later. You can then go and edit your actions as automations in the arrangement mode, which will give you cutting-edge precision.
TIP: Go into the resampled session of yourself playing, and then isolate some interesting sounds. Copy the clip with the interesting sounds below the original (master) clip. Now you’ll have variations of the first one.
Bring your designed sounds into your mix.
Looking at your session view now, you should have the original sound clips of the main elements of your track, but you should also have many variations. Swap certain clips of your mix with the clip variations. This will greatly help.
TRY: When you do your sound design, make sure you have your original song playing in the background. This will allow you to improvise on top of it, while maintaining the feeling of the main concept.
TIP: Evolving sounds in a song is a great way to keep your track feeling alive and human.
Your kick drum should be the last sound you design.
 This one is super important, and I hear a lot of people messing this part up. Your kick should not be the first sound to be designed in your track. People often select their percussions and build their track on top of it. This is a mistake, as your original percussion can be swapped for other percussive elements later on as you keep adding new sounds to the song.
TIP: Once your track is pretty much done, see if you can go and change that kick for a new one. Your jaw will drop once you hear how much changing a kick can dramatically change your track’s direction. Why? Because the kick is there to unify the whole concept. But when you start a new track, you have no idea where it might end up, and so the kick selected at first won’t be appropriate anymore.
SEE ALSO : Dynamic Sound Layering and Design


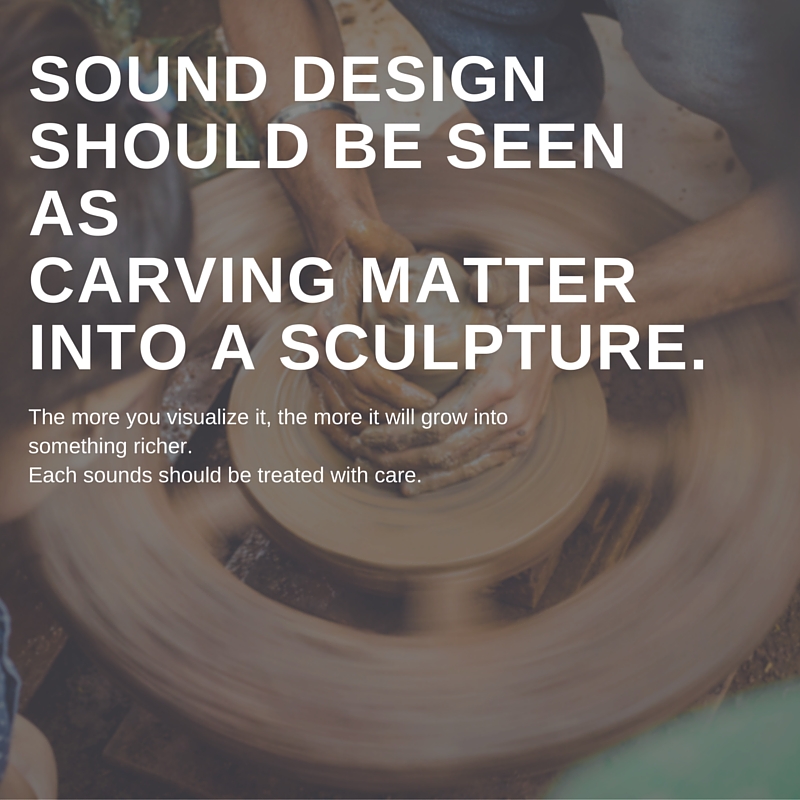
Hi! I am a university student studying music and audio production. I love the quote on this post “Sound design should be seen as carving matter into a sculpture” and would like to use it in a reflective video I am creating to document my project. I just wondered whether this was something you yourself wrote? As it’s on an image and not part of the text, I am struggling to determine the source of the quote. I would be super grateful if you could let me know if this is your quote or if you know where it came from if not.
Thanks so much!
Grai