Is My Song Good?


I can’t tell you how many times I’ve been asked that question, and asked myself the same thing – is my song good? With experience releasing my own records and working on amazing projects that inspire me nearly every day, I know what I like in a song to call it good or know it’s potential. But what defines that exactly?


I believe there are 3 ways to look at your track to determine if your song is good.

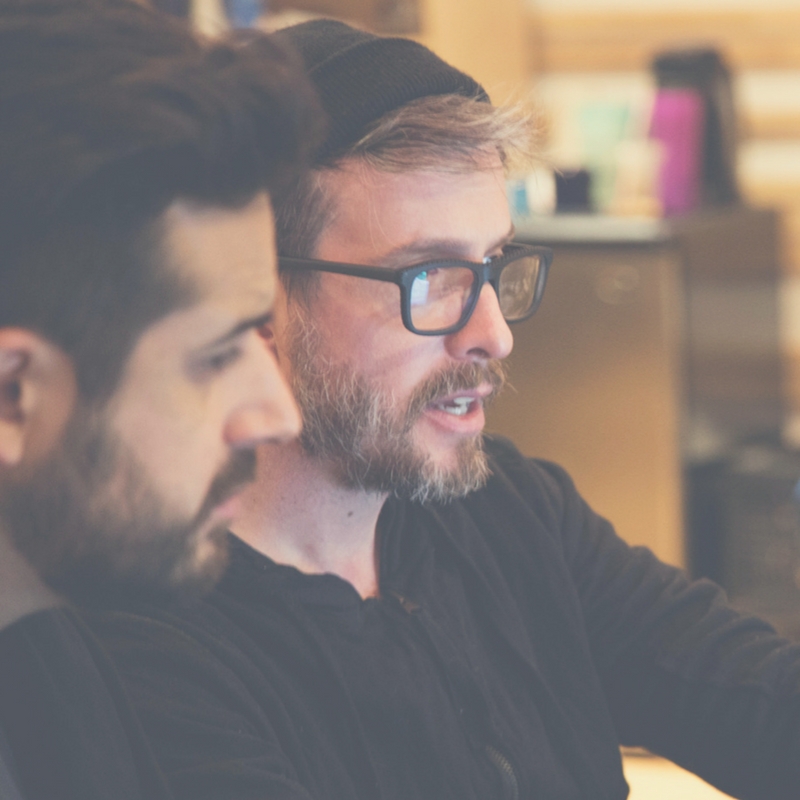
  • Your personal feeling about the track. Can you listen to your track from beginning to end with your eyes closed? This is usually what many people (myself included) do to test it, some people swear by a car ride listen. In the end no matter how cliché this sounds, what YOU think is really important.
  • Feedback from others. I’ve been talking about the importance of your network and how to connect with other producers you can trust. Share your track with 5 closely trusted people and take in their feedback.
  • Professionals’ (real world) views. If you can find one to two guys that can play your tracks in real events or in podcasts, this is will be precious feedback. Playing your music among others will make little difference truly know – perhaps one sound is too loud or the arrangements is too wonky to mix. Listen to what they have to say.


Sometimes a change in mindset is key to breaking through barriers. Starting today, let’s re-shape your way of making and sharing your music.

I’ve seen some interesting success behind the concept I’ve been sharing with those I coach and will share it with you in this post. Before I do that I want to say that if your intentions are to get signed to a labelposting a full song on Soundcloud is a bad idea.

Even if your song is really good most labels don’t like that a track has been available or overheard before they’ve released it. In an ideal world, labels want to be the first ones to hear you and discover you. But the truth is, we all know how frustrating it is to reach out to them and never hear back.
Posting a snippet of about 1 minute 30 (to 2 minutes, maximum) is a good and safe bet.

With this preview you’ll show what your track has going for it, and your skills as a producer will be front and center.

Why not focus on making and developing ideas of 1 minute 30 that you expose and share on Soundcloud?

If this idea sounds like a bad one to you, try this experiment for a few weeks. For sure you’ll soon see what tunes get people’s attention and make a buzz. For sure you’ll find out that your assumptions might very well be wrong. Then go revisit any of those projects that were appreciated by the most people.


What you are doing here is very similar to A/B testing, a commonly used process in marketing for testing out different products to see how people like one from another. In this case we’re posting music, watching what get’s more attention, focusing on what listeners seem to want more of, and then finishing those tracks.
It’s all about presentation. Dress for success right?
You can go so far as to create enigmatic, invested EP of your own with great artwork. People definitely love that kind of presentation and it WILL draw attention. In the best case scenario (that I’ve recently seen happen) a label may notice this full package, and sign the project as is. If a label comes calling be sure you make them wait too long 🙂

The thing that makes a success isn’t one specific thing, it’s the combination of various assets: doing the right thing, at the right time, presented to the right people.

If Micheal Jackson released Thriller today, the odds of that album having the success it had back then would likely never have the same impact.
Another thing that’s important to consider is the question of what are people usually looking for in a new song?

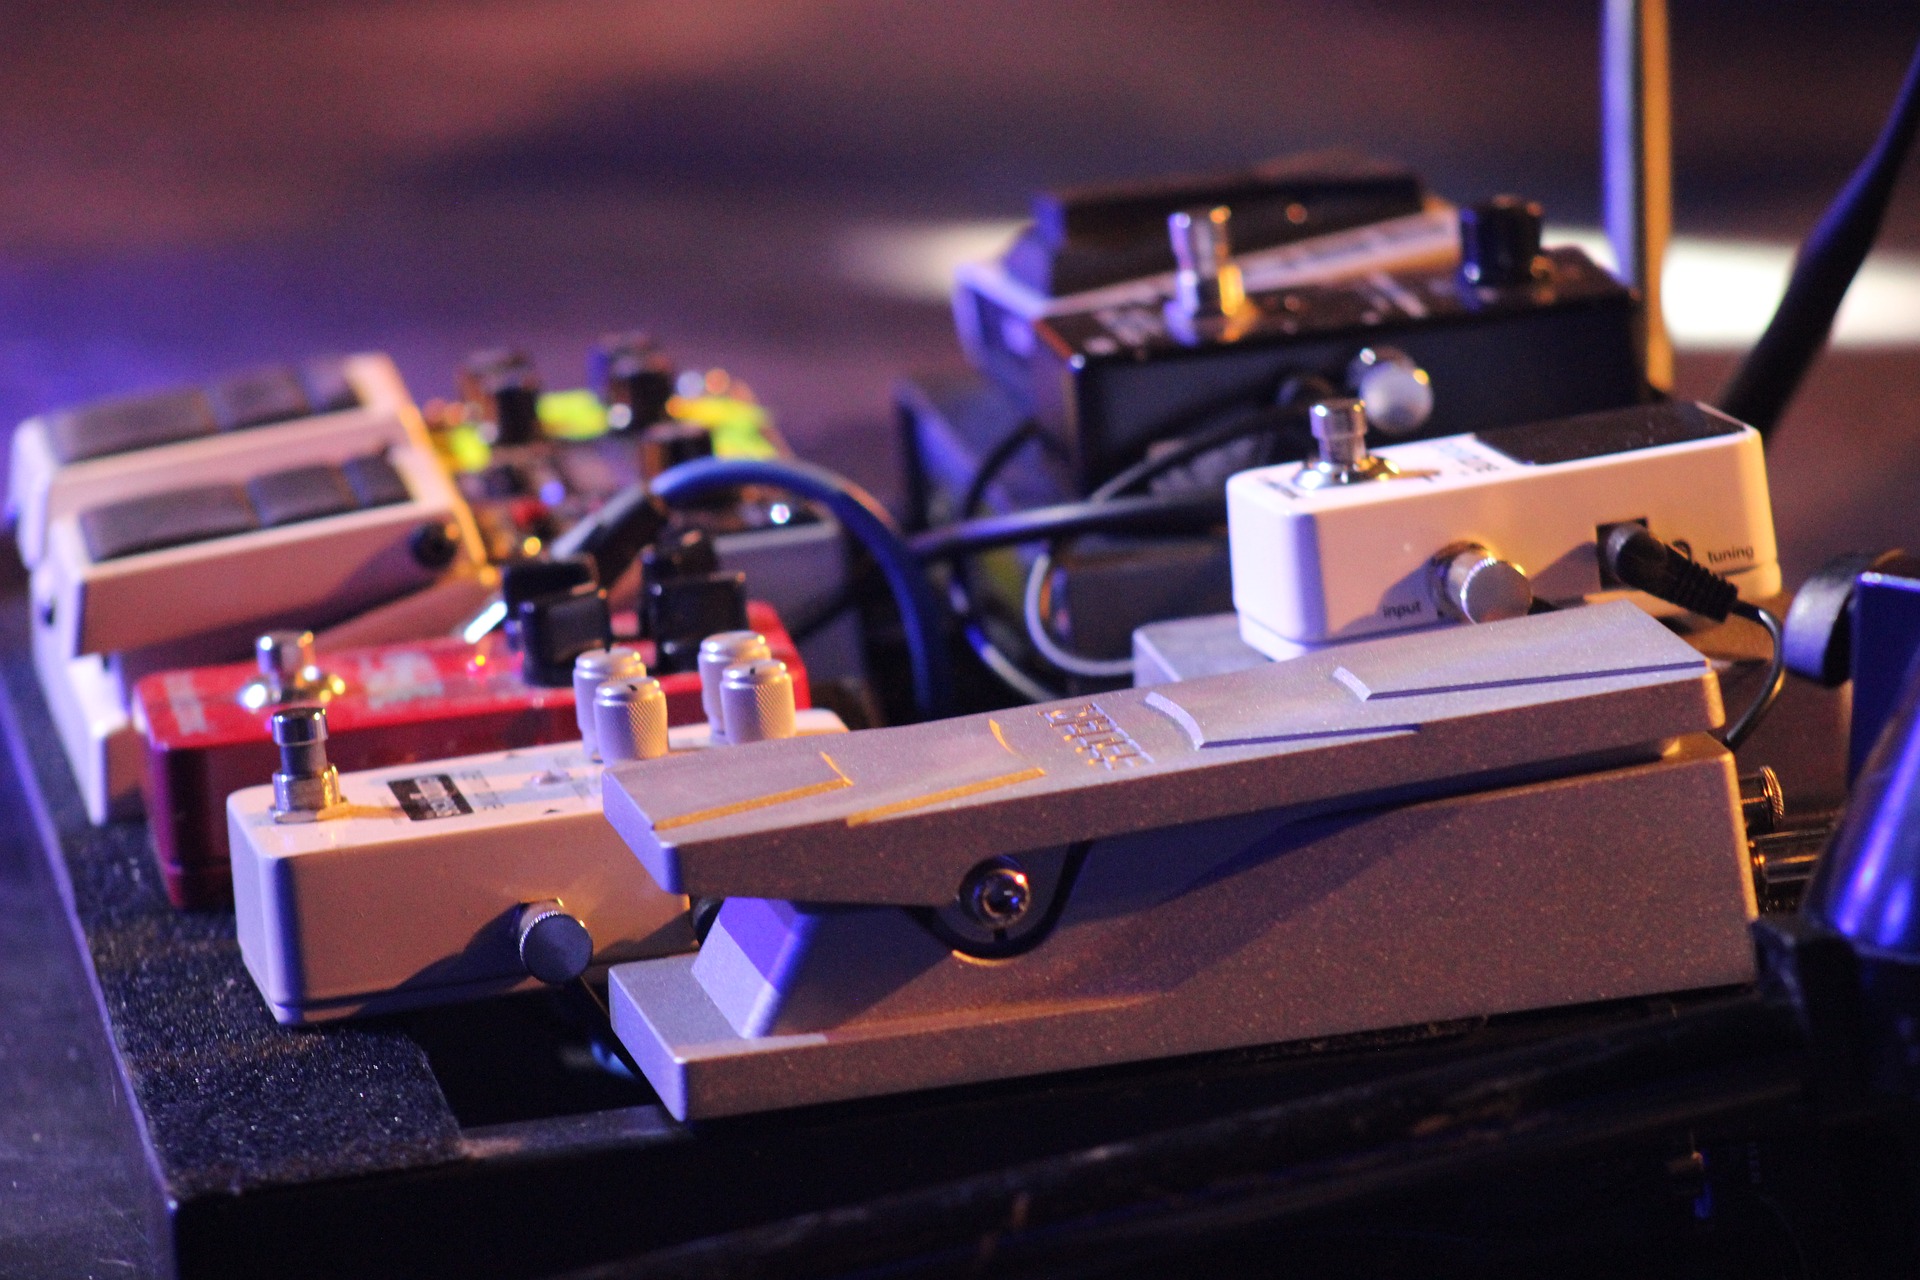
  • Quality samples, effects.
  • A good balance of new ideas with something they can relate to.
  • Overall, tight arrangements, mixdown, (this can make a difference but don’t bet on that alone to save a pale idea).

In the end, it’s most important to remember this –
Don’t let other’s decide if your music is good.
Don’t let commercial results determine the success of your track.


As always I want to hear your thoughts and comments about this post. Feel free to share with your friends, and leave me a comment below.

JP –

SEE ALSO : Checklist to see if my song is finished

Two birds one stone. Separating ideas.

I’m really excited to share a killer new exercise with you that I know will help you become really creative and productive. I’m using this exercise in my own productions and it’s a little like the Bonsai Method I wrote about in my last post. The key focus of this exercise is to duplicate your output in different ways with big benefits. Let’s call it Two birds one stone, and trust me, the takeaway from this exercise is huge.

This technique will improve your productivity in the studio, aid you in finishing more music, train your ears to produce better music, and creating tracks DJ’s will find easier to play and mix. 

When people ask me to listen to their tracks and provide feedback, most of the time I feel there is enough material in one track to make two entirely different songs.Why do I feel this way? DJ’s often prefer to mix tracks that are often stripped back, and have less sounds going on. They do so in order to blend one track with a complimentary one to make something new, and create an original mix. For your tracks to please the DJ consider producing songs that are less busy, and have less sounds going on. Doing this will give the sounds you do have more room to breathe, flex, and develop dynamically. These tracks that follow this production style allow the DJ to creatively mix and eq their tracks in very creative ways.

The objective in this exercise is to take whatever song you have and find a way to separate the elements in order to make 2 different songs out of the original idea.

When producing music, think of your track as a tool, and less of a song to be played on it’s own from start to finish. To some degree, let it be incomplete, and be created as part of an equation that will sum up to something out of your control. As a creator of music, it might be difficult to conceive but I believe that letting tracks be something someone else can mould and play with will attract the right person who can do the most with that track.
Related: How to create tracky music blog post.

Another interesting element in spreading your ideas across two tracks is that in doing so you’ll create a sister, or b-side for the initial track (hence the two birds one stone reference). When you are playing these tracks live you’ll know and hear they’re meant to work together well, hand in hand.

Now let’s get to business and see how to do so.

ideas, ableton, productivity, how to


  1. Select a track that you want to use for this exercise. It could be a track that you feel a little lost on, or some long forgotten project that was never finished.
  2. session view, arrangements, ableton

    Session view in Ableton

    Bring all your sounds to the session view. (This will make it easier to see what’s going on).

  3. Mute all percussions that are not related to the main idea of the song. Although, sometimes a conga or snare could be part of the hook, if so try to mute it and see how much of the main idea is affected.
  4. Organize your sounds in 2 groups. There’s no good or bad way to select the sounds, but by splitting the group you’ll see some sounds are complementary to the other. Sometimes, certain sounds are calling, and some are answering to the other, and for those, you want to separate in two different groups.
  5. Activate the crossfader option so you can see/hear the A/B.

    ableton crossfade

    Make sure the “x” is in yellow to activate the crossfader

  6. Assign your sounds to either A or B on the crossfader. Don’t assign any of the percussions on the crossfader.
  7. Do a “Save as…” to create a sibling to this project.


After you’ve gone through the previous steps you should be able to play with the crossfader and hear how well the sounds blend together. Hearing things in the middle of the crossfader will give you an idea of what a DJ will hear if he/she merges both ideas.

Let’s go back to your new project. Since you already have the percussion from the original track, you can use the sprouting technique to create complementary beats. Once you have main idea, you may then mute or delete the original percussions and you’ll have your second track’s main idea.
In both cases you’ll need to play with compression and perhaps add a bit more material to get your track moving along. But now, the great thing is, you have created two totally new tracks from one that might have been sleeping in your HD. It’s a killer two track combo ready to go. Win-win.

I hope this post will get you into the habit of creating tracks that avoid the busyness that often robs  a track from reaching it’s fullest potential. It’s natural to come to a point where your track has too many ideas going on and will begin to lack direction, which is the perfect time to use this technique.

The two birds one stone technique will improve your productivity in the studio, aid you in finishing more music, train your ears to produce better music, and creating tracks DJ’s will find easier to play and mix. 

As always let me know if you have any suggestions or questions about this post and leave a comment below and tell me what projects you’ve been working on.

JP

SEE ALSO : Pheek Talk 3: Productivity Tips 

Bonsai Method

Are you having a hard time writing music? Are you confused what DAW to begin using, what plugins to download, what samples to get started with? Never before have producers had so many questions to answer, and to be honest, if you are struggling to make music with such a wealth of options and tools at your fingertips you might be simply overwhelmed by all the options.
This frustration also carries over into production itself. So many possibilities can be done from what you have that even making music can be frustrating. Given that, it’s no surprise that many producers fall into making music that sounds very similar to others because the process of making music is easier to do what other producers have already done. What gear others use, what techniques people use, (we can thank Youtube for exposing all the secrets) and all too often we try to replicate one’s success instead of focusing on the act of our own personal creation.

With so many tools anything is possible.

It’s predictable that faced with so many options you’ll struggle to pick one, and later worry that your choice may not have been the right one, you waste time endlessly worrying about other directions your song could have taken. Not productive right?
I once read an article that explained how negotiators work in difficult situations, where multiple options are available to them.

They will try to sum all all it up to 2 final choices.

That advice really stayed with me whenever I work on a project and will clear out my options until I can chose simply between A and B.

Throughout my posts I have been providing ideas and answering questions to help make your time more productive, and now I’d like to do propose an exercise I know has helped me greatly, I call it the Bonsai Method.

In a past post, I talked about the Rule of 10, where working on multiple projects at once might be one of the most productive way to approach creation. While feeling slow, it later fuels down to a huge batch finished almost all at once. The Bonsai Method was used for latest album where I ended up making 25 songs over 6 months, and in a matter of a few days, that all the tracks took their final form.

What is the Bonsai Method?

It’s inspired by how the Japanese make bonsais trees. Growing something with great attention under strict limitations. This evolves through 3 phases:

• Sprouting. Generating a new idea for a song is one of the most difficult parts of making music. Once you have your idea, you set off in one direction. Finding that idea can be the hardest part mostly because at the moment of making it, you may become so absorbed in it that you become biased if it’s cheezy or genius material. You’ll know with distance or you’ll grow the idea in something that would be more suitable.
• Taming/pruning. This part is when you have material on hand and that you want to give it a direction.
• Growth to final product. This would include the final arrangements before mixing. This method of creation is based on finding ideas uniquely.

In the past, I suggested ideas for new ways to create content. What makes a song memorable on my opinion is the power of one strong idea that is showcased and developed over time. Your song will suffer if you use a lot of individual sounds because nothing may stand out on it’s own, and your track will sound too busy, and lack a clear focus. The minimalist way of making music (or cooking) is to take one idea and really put it forward by using an effect with the mix down in mind, to make it shine.

Sprouting is about finding that gem. My biggest take on finding new ideas is complicated to explain, and there are so many ways to come up with ideas on your own. One quick way to sprout new ideas is quite simple.
1. Take a track you like.
2. Loop it’s last 1/3 (outro).
3. Throw ideas on top of what could be the best complementary track to mix over it. This could mean you can add a chord hit, some percussion, a simple bassline, etc.

Basically, you’re building the intro of your track that would be mixed by a DJ, over the track you selected. Once you listen to both of them and notice that have something there, mute the reference track and listen to what you have put together.
It’s possible that this process may seem underwhelmingly simple or plain weird, by itself. We’ll work on that on the second phase but remember that this is the beginning of something which will grow into a future track. Patience my friend.

Taming and pruning. This one, just like described in the post Rule of 10, is about coming back to what you have created over several days, and work on it little by little. You’ll need to focus on the content, the idea, not necessarily over the percussions, mixing, kick, etc. All those will come by themselves once you nail down what this track is about.

  • Don’t discard anything, keep everything.
  • Resample and record the little takes you do. Instead of putting blocks in the arranger, play a melody in a loop and record yourself tweaking it.
  • All these new takes are the pruning of the original idea.

Things you can do to alter and modify your sound:

  • Change the pitch.
  • Stretch it, warp it.
  • Change the groove. Change the sequence, rhythmic feel of it.
  • Add effects: compression, EQ, saturation, filter, are the main ones to look for.

Growth to the final arrangement.
Ableton, arrangements, live, techno, cleanIn a past article I’ve explained how to turn a loop into a song but for this method I’d like to take a special approach that might surprise you. It’s based on one simple rule – once your have your idea down: you may only make 1 correction per time you open the project.
This is important, you’ll come back on multiple occasions and adjust little details in your last touches. Just like the Bonsai Method, you have to come back, adjust one little detail, save, and close the project.
You’ll spend only a few minutes on your song at one time to keep your impression of the track as if you listened to it for the first time.
You’ll be more efficient if you come to your project with the idea that you can only make one single change and then save it until next time.
As you probably know, the main goal here is to make the first 1/3 of your track and then, the rest will be pretty much-duplicated ideas and add-ons.

As always I want to hear your feedback on anything mentioned in this post. Feel free to share this post or leave a comment below and tell me how the Bonsai Method is working for you. 


JP –

SEE ALSO : Two birds one stone. Separating ideas.

Mix & Mastering Preparation Tips

As a mastering engineer one question I get asked all the time is – “how can I get the best pre-master mix out of my tracks?”. It’s an important question for sure, and this post will outline some of the actions producers can make right now to make your tracks sound way better than before. I can promise by following the mix & mastering preparation tips in this article you’ll hear a huge difference towards the final version of your projects.

My clients want big and full sounding tracks, and I love when my customers flip out after hearing the project they’ve worked hard on come back to them sounding every bit as big as the productions they are inspired by. If you ask the best engineers around the world they’ll tell you that working on music with a great quality mix is the key to turning a solid tune into a monster sounding track. But how do we get there first?

My clients come to me to correct and fix the flaws of their mixes, which isn’t always simple and straightforward. Working on properly mixed tracks with plenty of headroom (at least -6db) will make my job much easier and allow me to bring out the very best in your track.

It’s common for producers not to have the right tools or experience when tackling many of the problems that take away from a good mix, and this is where I step in to help. Let’s make clear a few things you can do in prepping your tracks to sound their best from the get go.

  • Avoid extreme EQ’ing. The greater adjustments you apply to a sound, the higher the likelihood of inducing unwanted resonances, and phasing issues. While in sound design, heavy processing can sometimes bring interesting results, it is often much more productive to pair an EQ with a compressor to get the same result. First, use your EQ to cut shelves from your audio source, then use compression to make what you want to hear, louder. TIP: Try using a maximum of 4 points on your EQ.
  • Remove unwanted frequencies. This is mainly about removing unnecessary frequencies from your sound, rather than cranking up the parts you want louder. If your sound isn’t a kick drum or something else in the lower range, apply a high pass filter or EQ and cut everything below 100hz. If your sound is a kick or bass, try cutting everything under 20-30Hz. As for pads, melodies, vocals, I’d suggest doing cuts in the 100-250Hz region as there will always resonances there. If you use reverb, make sure to remove or cut anything under 300Hz as it can easily get congested there, which will take out some of the precision and power of your song.
    In the end using your eq is a process of clearing away space to allow other sounds to be heard more clearly. Less is more.
  • Be careful with cheap plugins. While you can do a lot with free or cheap plugins, sometimes, this might compromise the quality of your work. Most DAW’s will have native plugins such as reverbs, compressors, eq’s etc.. however I recommend investing $30-$50 on a handful of plugins that more than often sound much better than the native plugins your DAW provides. This applies to compression, EQ, reverbs, chorus, delays, etc. I’ll often get effects on Plugin Boutique or Plugin Alliance.
  • Side chain your kick and bass channel. These frequencies will likely overlap to some degree, which will leave your track sounding muddy, and reduce the impact, clarity, and volume of both sounds. Use sidechain compression with your bass and kick to allow both sounds to breathe and peacefully cohabit in your mix.
  • Less is more. Busy mixes, once compressed can sound horribly busy if not EQed properly. Play safe, use less. You might be surprised that on huge sound system, simple elements can sound much more powerful than a giant wall of noise.

These next 3 important points will always make a tremendous difference in the quality of your mix.

• Do not apply compression or limiting on the master (bus). Please leave the compression to me. This might sound like a good idea but your track will likely suffer for it. Mastering is my job, and I need your track to come to me as transparent as possible. If you add compression on the master channel, you’ll likely create distortions and the end result won’t be nearly as tight.
• Give me -6dBfs of headroom. This is super important. Ideally, you should aim to have each channel at -6dB, not just turn the master channel down to -6. This reduction in volume per channel creates the right amount of space for me work with and is essential in getting your track to sound full, and deep.
• 24 or 32bits / 44khZ. This is the requirement for the best results.
• Careful with hiss. Hissing is a background noise that can happen with analog gear or some fun plugins. Once compressed, it might be loud and difficult to mix in, so be careful of the level you use.

In general, the best mixes I get are the once where everything is balanced in terms of frequencies. Here’s a easy way to get that happen:

  • Lower down the volume of your monitoring. You can’t achieve good mixing at high volume. You’ll see right away what’s too loud if you use it that way.
  •  Lower the volume of each channels if they’re too close to 0dB. One bad habit I often see is people pushing all their channels to 0dB. Not only this take off the dynamic range, but it also gets hard to see what’s at the right level. The loudest channel in your mix should be at -6dB, the others below. Why? Because it gives you room (6dB exactly!) to push louder to what requires attention.
  • Find the busiest moment in your track and listen to it looping. Now, use one channel at a time to lower your channels completely and mix each sound up until you hear it properly. The mix out/mix in technique is a good way to pinpoint if something was too loud in the mix. Sometimes, a sound doesn’t need to be that loud and because we overheard the track, we feel everything should be loud.
  • Group channels or use busses. Group your four main frequencies: low, mids, hi-mids, highs. You can then play with volumes of each zones and adjust them so they’re balanced. You may use again the mix in/mix out technique and EQ for subtle details.


I want to hear your feedback on anything talked about in this post. As always let me know if you have any suggestions or tips you’ve come across in prepping your tracks for great mixes. Share this post or leave a comment below and tell me what projects you’re working on right now.


 SEE ALSO : Dynamic Sound Layering and Design