Mix & Mastering Preparation Tips
As a mastering engineer one question I get asked all the time is – “how can I get the best pre-master mix out of my tracks?”. It’s an important question for sure, and this post will outline some of the actions producers can make right now to make your tracks sound way better than before. I can promise by following the mix & mastering preparation tips in this article you’ll hear a huge difference towards the final version of your projects.
My clients want big and full sounding tracks, and I love when my customers flip out after hearing the project they’ve worked hard on come back to them sounding every bit as big as the productions they are inspired by. If you ask the best engineers around the world they’ll tell you that working on music with a great quality mix is the key to turning a solid tune into a monster sounding track. But how do we get there first?
My clients come to me to correct and fix the flaws of their mixes, which isn’t always simple and straightforward. Working on properly mixed tracks with plenty of headroom (at least -6db) will make my job much easier and allow me to bring out the very best in your track.
It’s common for producers not to have the right tools or experience when tackling many of the problems that take away from a good mix, and this is where I step in to help. Let’s make clear a few things you can do in prepping your tracks to sound their best from the get go.
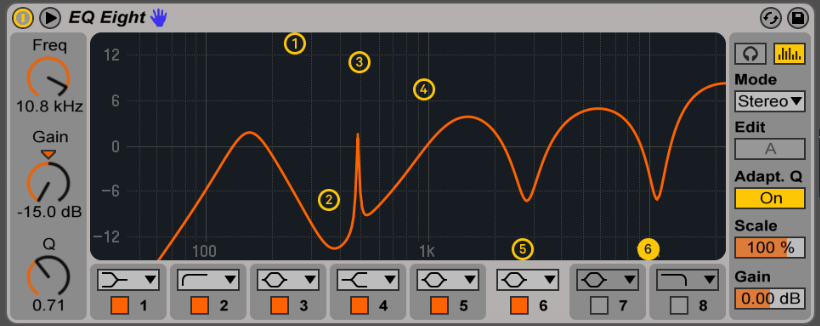 Avoid extreme EQ’ing. The greater adjustments you apply to a sound, the higher the likelihood of inducing unwanted resonances, and phasing issues. While in sound design, heavy processing can sometimes bring interesting results, it is often much more productive to pair an EQ with a compressor to get the same result. First, use your EQ to cut shelves from your audio source, then use compression to make what you want to hear, louder. TIP: Try using a maximum of 4 points on your EQ.
- Remove unwanted frequencies. This is mainly about removing unnecessary frequencies from your sound, rather than cranking up the parts you want louder. If your sound isn’t a kick drum or something else in the lower range, apply a high pass filter or EQ and cut everything below 100hz. If your sound is a kick or bass, try cutting everything under 20-30Hz. As for pads, melodies, vocals, I’d suggest doing cuts in the 100-250Hz region as there will always resonances there. If you use reverb, make sure to remove or cut anything under 300Hz as it can easily get congested there, which will take out some of the precision and power of your song.
In the end using your eq is a process of clearing away space to allow other sounds to be heard more clearly. Less is more. - Be careful with cheap plugins. While you can do a lot with free or cheap plugins, sometimes, this might compromise the quality of your work. Most DAW’s will have native plugins such as reverbs, compressors, eq’s etc.. however I recommend investing $30-$50 on a handful of plugins that more than often sound much better than the native plugins your DAW provides. This applies to compression, EQ, reverbs, chorus, delays, etc. I’ll often get effects on Plugin Boutique or Plugin Alliance.
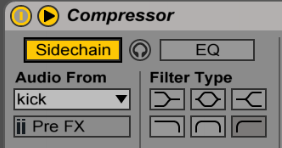 Side chain your kick and bass channel. These frequencies will likely overlap to some degree, which will leave your track sounding muddy, and reduce the impact, clarity, and volume of both sounds. Use sidechain compression with your bass and kick to allow both sounds to breathe and peacefully cohabit in your mix.
- Less is more. Busy mixes, once compressed can sound horribly busy if not EQed properly. Play safe, use less. You might be surprised that on huge sound system, simple elements can sound much more powerful than a giant wall of noise.
These next 3 important points will always make a tremendous difference in the quality of your mix.
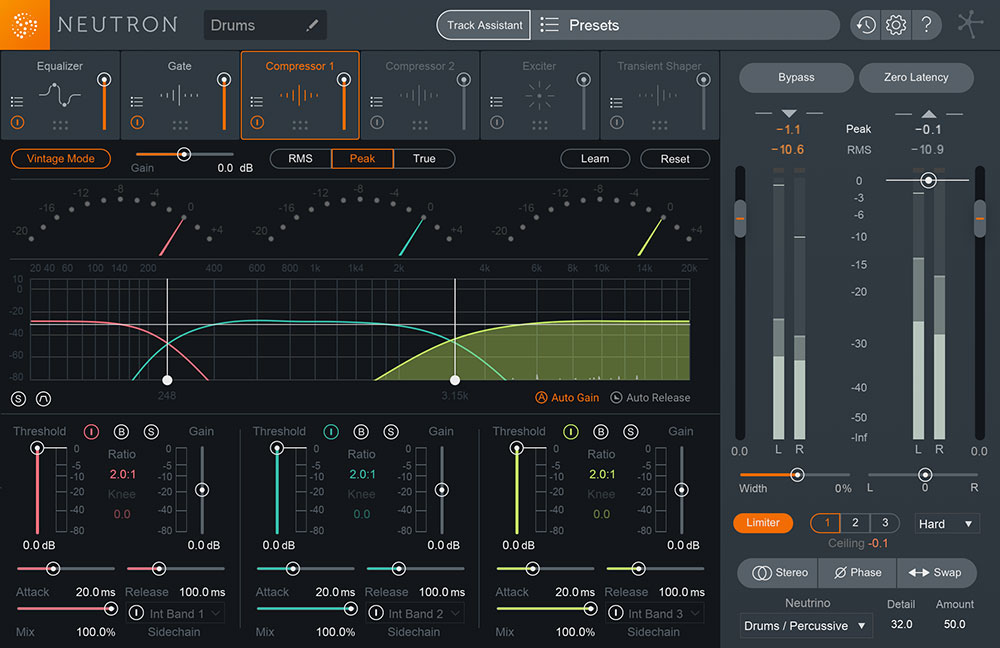
• Do not apply compression or limiting on the master (bus). Please leave the compression to me. This might sound like a good idea but your track will likely suffer for it. Mastering is my job, and I need your track to come to me as transparent as possible. If you add compression on the master channel, you’ll likely create distortions and the end result won’t be nearly as tight.
• Give me -6dBfs of headroom. This is super important. Ideally, you should aim to have each channel at -6dB, not just turn the master channel down to -6. This reduction in volume per channel creates the right amount of space for me work with and is essential in getting your track to sound full, and deep.
• 24 or 32bits / 44khZ. This is the requirement for the best results.
• Careful with hiss. Hissing is a background noise that can happen with analog gear or some fun plugins. Once compressed, it might be loud and difficult to mix in, so be careful of the level you use.
In general, the best mixes I get are the once where everything is balanced in terms of frequencies. Here’s a easy way to get that happen:
- Lower down the volume of your monitoring. You can’t achieve good mixing at high volume. You’ll see right away what’s too loud if you use it that way.
- Lower the volume of each channels if they’re too close to 0dB. One bad habit I often see is people pushing all their channels to 0dB. Not only this take off the dynamic range, but it also gets hard to see what’s at the right level. The loudest channel in your mix should be at -6dB, the others below. Why? Because it gives you room (6dB exactly!) to push louder to what requires attention.
- Find the busiest moment in your track and listen to it looping. Now, use one channel at a time to lower your channels completely and mix each sound up until you hear it properly. The mix out/mix in technique is a good way to pinpoint if something was too loud in the mix. Sometimes, a sound doesn’t need to be that loud and because we overheard the track, we feel everything should be loud.
- Group channels or use busses. Group your four main frequencies: low, mids, hi-mids, highs. You can then play with volumes of each zones and adjust them so they’re balanced. You may use again the mix in/mix out technique and EQ for subtle details.
I want to hear your feedback on anything talked about in this post. As always let me know if you have any suggestions or tips you’ve come across in prepping your tracks for great mixes. Share this post or leave a comment below and tell me what projects you’re working on right now.
SEE ALSO : Dynamic Sound Layering and Design







Leave a Reply
Want to join the discussion?Feel free to contribute!