Find Your Own Sound in Electronic Music
Over the past few years of teaching electronic music, I’ve noticed a recurring pattern.
Someone books a consultation because they feel their music isn’t at the same level as that of the artists they admire. They’ve watched tutorials, invested in the plugins everyone recommends, and spent hundreds—sometimes thousands—of hours learning their DAW. They understand how compression works, know what EQ does, and’ve learned enough mixing tricks to produce something that sounds respectable. Yet every time they compare one of their tracks to a professional release, they feel that something is still missing.
Most of the time, that missing piece isn’t another plugin or another production trick. It’s vocabulary.
Whenever I hear someone ask, “How do I find my own sound?”, I almost never start by talking about originality. Instead, I recommend something that often surprises people: study reference tracks.
At first, that advice seems contradictory. If the goal is to become original, why spend time analyzing someone else’s music? Shouldn’t we avoid influence if we want to develop our own artistic identity?
After years of coaching producers, I’ve come to believe the opposite is true. The fastest way to develop your own musical language is to first understand the language spoken by the artists you admire.
Learning Music Isn’t the Same as Learning a DAW
One thing I genuinely admire about electronic musicians is that many of us are self-taught.
Unlike someone studying classical piano or jazz trumpet, we usually don’t have a teacher guiding us every step of the way. We open Ableton, Bitwig, FL Studio, Logic, or another DAW and start experimenting. We press buttons, make mistakes, discover happy accidents, and slowly build our understanding through curiosity.
That freedom is one of the reasons electronic music has evolved so quickly over the past few decades. There are very few rules telling us where to begin, and even fewer telling us how a track should be made. Every producer is free to invent their own workflow.
There is something beautiful about that. Unfortunately, that freedom also creates one of the biggest obstacles I see among newer producers.
Many people are not only improvising their music. They’re improvising the way they learn music.
Every new track begins from zero. Every arrangement becomes another experiment. Every mix is another attempt to solve problems that have already been solved hundreds of times. At first, this feels exciting because everything is an exploration. You’re constantly discovering something new. But after a while, that freedom starts working against you because every decision demands mental energy.
Should the bass enter here?
Should I add another percussion loop?
Do I need another synth?
Does the arrangement need a breakdown?
Should this transition last four bars or eight?
Without a framework, every one of those questions feels equally important. I’ve met producers who have been making music for years and still approach every project exactly the same way they did their first. Every session is another attempt to reinvent the wheel. While that might sound creative, it often leads to frustration because there is no system to help them make decisions.
That is exactly where reference tracks become invaluable.
References Build Vocabulary
When I ask someone to analyze a reference track, I’m not asking them to copy it. In fact, copying is probably the least interesting thing you can do with a reference. What I’m really trying to teach is vocabulary. Think about learning a foreign language.
Before writing a novel, you need words.
Before developing a writing style, you need grammar.
Before breaking the rules, you first need to understand how those rules work.
Music follows a very similar process. When we analyze songs we love, we begin to notice patterns we never paid attention to before. We stop listening only as fans and start listening as producers.
Why does this breakdown create tension?
Why does this groove feel effortless?
Why does this arrangement stay interesting even though very little changes?
Why does one bassline feel powerful while another one sounds busy?
How many sounds are actually playing simultaneously? How often does something genuinely new happen?
Those questions gradually shift the way we think about production. Instead of chasing random ideas, we begin recognizing relationships. We notice that tension often comes from removing elements rather than adding them. We realize that many memorable arrangements rely more on restraint than on complexity. We discover that great producers often repeat ideas much more than we initially thought.
Those observations slowly become part of our own vocabulary. That vocabulary gives us something incredibly valuable. It gives us a model.
Understanding the Architecture Behind Music
One word I often use during consultations is architecture. When you first hear an incredible record, it feels almost magical. Everything simply works. The groove feels alive, the transitions seem effortless, and every sound appears to exist exactly where it belongs. It’s tempting to think that this comes purely from talent.
I don’t believe that’s true.
What I think we’re hearing is the result of hundreds of small decisions supporting one another. The breakdown isn’t emotional because of one beautiful reverb. It’s emotional because tension has been building for the previous minute. The bassline isn’t effective because it’s technically complicated. It’s effective because of its relationship with the kick and the surrounding space.
The arrangement doesn’t feel exciting because something new happens every four bars. Quite often, it’s the opposite. It feels exciting because the producer knew when not to introduce another idea. Studying references slowly reveals this architecture. Instead of hearing mystery, we begin hearing intention.
That changes everything. I’ve watched producers who had been stuck for years suddenly become productive after only a few weeks of analyzing references with this mindset. Their music becomes clearer. Their arrangements become more focused. Friends begin noticing the improvement almost immediately.
Nothing magical happened. They simply stopped guessing.
The Downside Nobody Talks About
This is where things become interesting. As much as I believe reference tracks are one of the fastest ways to learn music production, I also believe they come with a hidden danger. And I don’t think enough people talk about it. References are extremely useful while you’re building vocabulary.
But after a while, they can start replacing your own voice. I’ve seen producers become so good at recreating the aesthetics of their favourite artists that they slowly lose sight of what originally attracted them to making music. Every decision becomes another comparison.
Would this artist do that?
Would this label release this?
Would this fit into this playlist?
Instead of expressing ideas, they’re seeking validation. At first, this seems harmless because everyone learns through imitation. Painters copy paintings. Jazz musicians transcribe solos. Writers imitate the authors they admire. There is nothing wrong with influence. The problem begins when influence becomes dependency. At some point, your references should stop functioning as a destination and start functioning as a foundation.
The goal isn’t to sound like the artists you admire forever. The goal is to understand why their music works well enough that you can eventually express your own ideas using the same vocabulary.
That’s a very different mindset.
Familiarity Is Comfortable
I think one reason this happens is that listeners naturally enjoy familiarity. Music isn’t only about discovering something new. Most of the time, we listen because we’re looking for a particular emotional state. Sometimes we want something energetic for the gym. Sometimes we want ambient music while working. Sometimes we want Detroit Techno because that’s exactly the feeling we’re craving that day.
That familiarity creates comfort.
Discovering completely unfamiliar music requires effort. The listener has to learn a new language. That’s one reason why genres exist in the first place. They provide shared expectations between the artist and the audience.
There is nothing wrong with that. Where I think we need to be careful is confusing familiarity with originality. Learning from references should help us understand musical language. It shouldn’t stop us from eventually speaking in our own voice.
That, at least from what I’ve observed over years of mentoring producers, is where finding your own sound truly begins.
References Are Only the Beginning
The challenge, however, is knowing when references have fulfilled their purpose.
For a beginner, references are incredibly valuable because they provide a framework for making decisions. They help answer questions that otherwise require years of trial and error. They teach arrangement, pacing, sound selection, dynamics, and countless details that are difficult to discover in isolation. I still recommend them to almost everyone I work with because I’ve seen how quickly they can help someone move past creative uncertainty.
At some point, though, something interesting happens. The references stop teaching you how music works and start telling you how your music should sound.
That transition is subtle, and because it happens gradually, many producers don’t notice it. Instead of asking themselves whether an idea feels exciting, they begin asking whether it resembles something they’ve heard before. Instead of trusting their intuition, they compare every decision against an imaginary checklist created by the artists they admire.
I’ve seen this happen more than once. A producer who was once playful and curious slowly becomes cautious. Every new idea is measured against an existing standard. Every sound is judged according to whether it fits a certain label, a certain playlist, or the expectations of a specific audience. The music may become technically stronger, but it often becomes less personal at the same time.
I don’t believe there’s anything wrong with influence. Every artist learns through influence. Painters study other painters. Writers imitate authors they admire before eventually developing their own style. Jazz musicians spend years transcribing solos because it teaches them the language of improvisation. Electronic music is no different.
The important distinction is that influence should eventually become invisible. The artists who inspired you don’t disappear from your music; they become integrated into something uniquely yours. That’s very different from constantly asking yourself what another producer would have done.
The Search for Validation
One reason I think this happens is that making original music is surprisingly uncomfortable.
It’s much easier to make something that already belongs somewhere. If your track clearly sounds like Detroit Techno, Dub Techno or Minimal, listeners immediately know how to approach it. They already understand the language. They recognize familiar sounds, structures, and emotions. There is a sense of comfort in hearing something from a world they already know.
Making something genuinely personal is much riskier. Sometimes people simply don’t understand it. They need time before they connect with it.
Sometimes they don’t connect with it at all.
That uncertainty can be difficult to accept, especially when we naturally seek validation from people we respect. Whether we admit it or not, most of us want our peers to appreciate our work. We want labels to sign our music. We want DJs to play our tracks. We want listeners to tell us that what we’ve created matters.
There’s nothing wrong with wanting those things. The problem begins when validation becomes the reason we’re making music in the first place.
I’ve had conversations with producers who spend enormous amounts of time studying the latest successful releases on streaming platforms. They analyze what is trending, what is going viral, and which track types recur in popular playlists. Their hope is that, by understanding the formula, they’ll increase the chances of their own music being discovered.
I understand the logic behind that approach. From a marketing perspective, it makes perfect sense. Artistically, though, I find it much less convincing.
If your creative decisions are constantly being shaped by an algorithm that you don’t control, then your relationship with music slowly changes. You’re no longer exploring ideas because they excite you. You’re exploring ideas because you hope they’ll perform well within a system whose rules are constantly evolving.
That creates a fragile foundation.
If the song succeeds, you might attribute the success to following the formula.
If it doesn’t succeed, you’re left wondering what you did wrong.
In both cases, your own artistic voice becomes secondary.
Algorithms Prefer Familiarity
Streaming platforms have changed the way many people discover music. Albums are no longer the primary experience for many listeners. Instead, playlists have become the entry point. Whether they’re editorial playlists, algorithmic recommendations or playlists created by other users, they encourage music that sits comfortably alongside similar songs.
From the listener’s perspective, this is incredibly convenient. If someone enjoys a certain atmosphere while working, exercising or driving, they can find hours of music that satisfies that particular mood.
From the artist’s perspective, however, the situation becomes more complicated.
Music that fits neatly into existing categories is generally easier to recommend than music that refuses to fit into any category. While none of us truly knows how recommendation systems make every decision, it’s difficult to ignore that familiarity usually travels more easily through algorithms than unpredictability does.
This doesn’t mean artists should deliberately make strange music simply to be different. Being original isn’t about rejecting every convention.
It’s about knowing which conventions genuinely serve your ideas and which ones you’re following simply because everyone else is doing the same thing. I sometimes wonder whether we’re reaching a point where authenticity itself becomes a form of innovation.
As artificial intelligence becomes increasingly capable of generating convincing music, and as streaming platforms continue encouraging familiarity, perhaps listeners will begin valuing something less predictable.
I’m not saying this as a certainty.
It might simply be a romantic idea on my part.
But I do have the feeling that people will eventually become more interested in hearing music that carries evidence of an individual behind it rather than music that feels like it could have been generated by analyzing millions of existing songs.
Whether I’m right or wrong isn’t really the point.
The more important question is this:
What kind of relationship do you want to have with your own music?
Finding Your Own Voice
When I think about artists whose music immediately feels recognizable, one thing stands out above everything else.
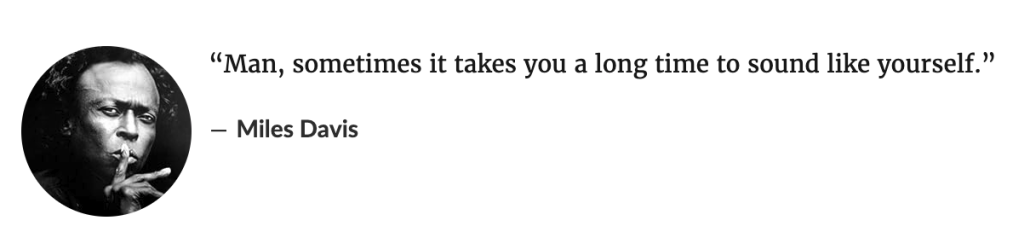
They developed fluency before they developed originality. Take Miles Davis as an example.
The trumpet isn’t a unique instrument. Thousands of musicians have played it before and after him. Yet after only a few notes, most listeners immediately recognize that it’s Miles Davis.
That’s an extraordinary achievement. The same can be said of John Coltrane, Brian Eno, or many of the electronic artists we admire. Their tools weren’t unique. Their equipment wasn’t necessarily rare. What became unique was their relationship with those tools.
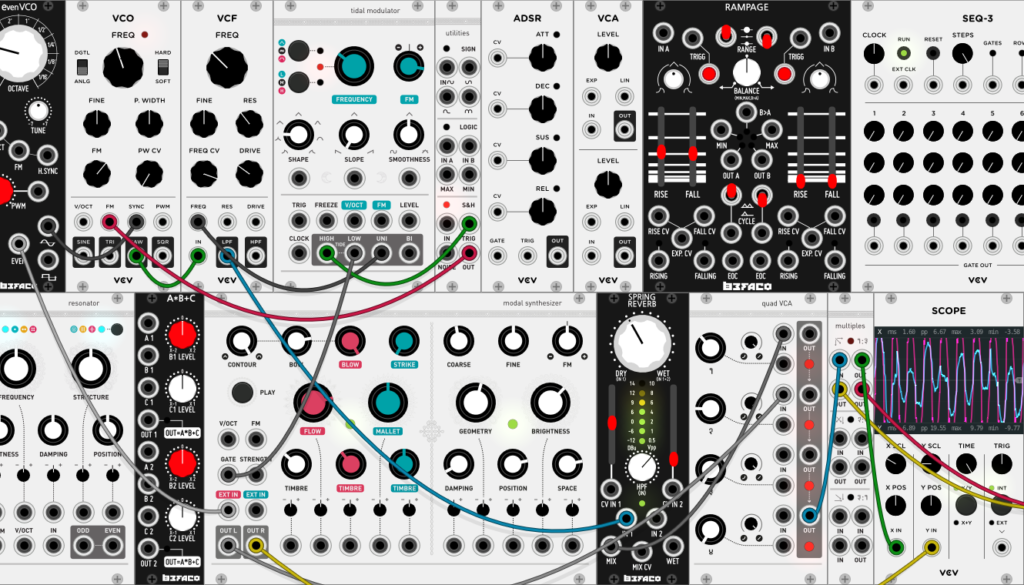
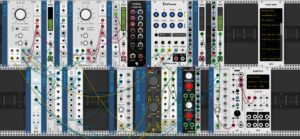
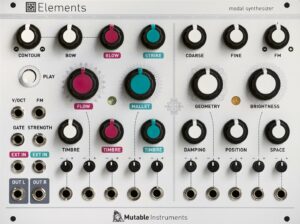
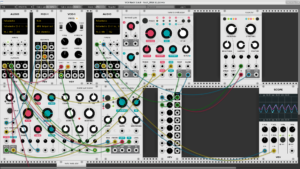
Electronic music presents an interesting challenge because we’re surrounded by abundance. Every week, there are new synthesizers, new plugins, new sample packs and new workflows promising to unlock creativity. While those options are exciting, they also make it easy to mistake novelty for progress.
One observation I’ve made this year is that the opposite often produces better results.
Instead of constantly looking for another instrument, I’ve found it much more rewarding to spend longer with the same one. Learning one synthesizer deeply teaches me more than briefly owning twenty different ones. The limitations become familiar, and familiarity creates fluency. Once that fluency develops, I stop thinking about the tool itself and begin thinking about the music.
The same principle applies to direction.
If you’re fascinated by Detroit Techno, explore it in depth before moving on. Write twenty tracks instead of two. Explore different tempos, moods and arrangements while remaining inside the same language. You aren’t limiting yourself—you are giving yourself enough time to become fluent.
One exercise that has transformed my productivity this year is something I simply call “Stop Searching.”
(This year I’ve been focusing on using the Minifreak deeply. The more I dig, the crazier it gets)
For years, I would sit in front of my computer with an ideal sound already imagined in my head. Then I would spend an hour trying to find it or recreate it. Most of those sessions ended with frustration because I was chasing an idea that didn’t yet exist.
Now I do the opposite.
I begin with whatever sound is already in front of me.
Sometimes I even pretend it’s the only sound available in my entire library. Instead of asking what other sound I need, I ask what this one can become. That simple change has completely transformed the way I write music because it shifts my attention away from searching and toward listening.
Limitation, I’ve realized, isn’t the opposite of creativity.
It’s often the condition that allows creativity to emerge.
The same philosophy applies to daily practice. I don’t believe that waiting for a free weekend to make music is as productive as working a little every day. Momentum matters. I’d much rather spend thirty focused minutes on several different ideas than eight hours trying to force a single track into existence. That’s also why my nonlinear workflow continues to make sense to me. I need distance between sessions. I need to return with fresh ears before I understand what a piece of music is actually trying to become.
If there’s one lesson I’ve learned over the years, it’s that finding your own sound isn’t something you decide one afternoon.
It happens gradually. You study the music you love. You build a vocabulary.
You become fluent.
Then, almost without noticing, your instincts begin taking over. You stop asking what your references would do and start asking what feels right to you. Looking back, that’s usually the moment when people around you begin saying something every artist hopes to hear:
“This sounds like you.”


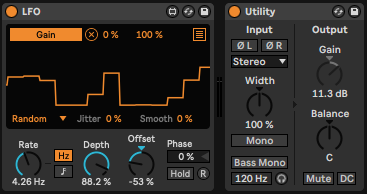
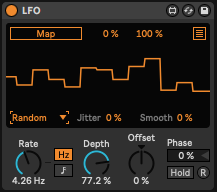 5. Random/Noise Wave: Chaotic and Experimental
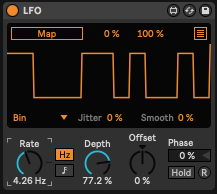 As of my last knowledge update in September 2021, Ableton Live’s “Binary” form might refer to a specific device, feature, or concept that was introduced after that time. However, if we’re discussing a feature related to binary operations or manipulation, here’s a general explanation of how binary operations might be used in a music production context: