My Music Production Methodology Pt. III: Depth and spatial shaping tips
This post about music production methods is an important one. In the group I work with on Facebook, I give feedback to people and I’d say that while for many, the part they strugg le with the most is to nail down a proper mixdown, and for the majority there are issues with the stereo field. I have a bunch of tricks that can help turn a 2D pattern into a 3D realm to get lost in. Let’s start by discussing a few things regarding making music 2D, and then how you can slowly shape it.
One thing that is essential for music to sound clear, loud, and powerful in a club is to have the majority of your sounds “in mono”, or in engineering terms, to have your mids solid. This is why many people will tell that doing a mono test on your mix to see if everything is heard is a good way to know. Why? Because if the sounds are moved randomly around, they might phase with others, which will end up cancelling out once in mono.
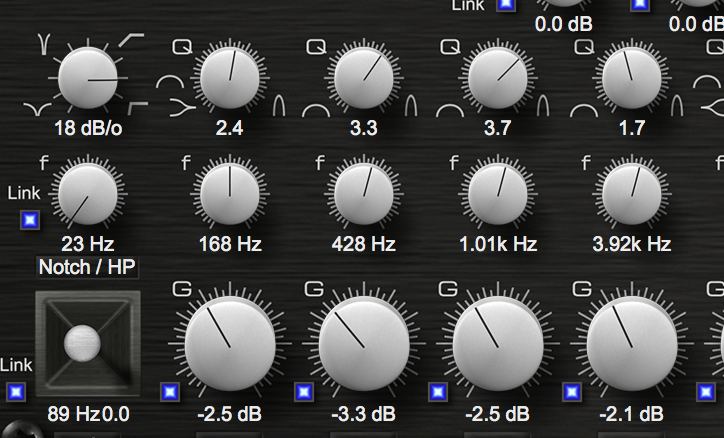
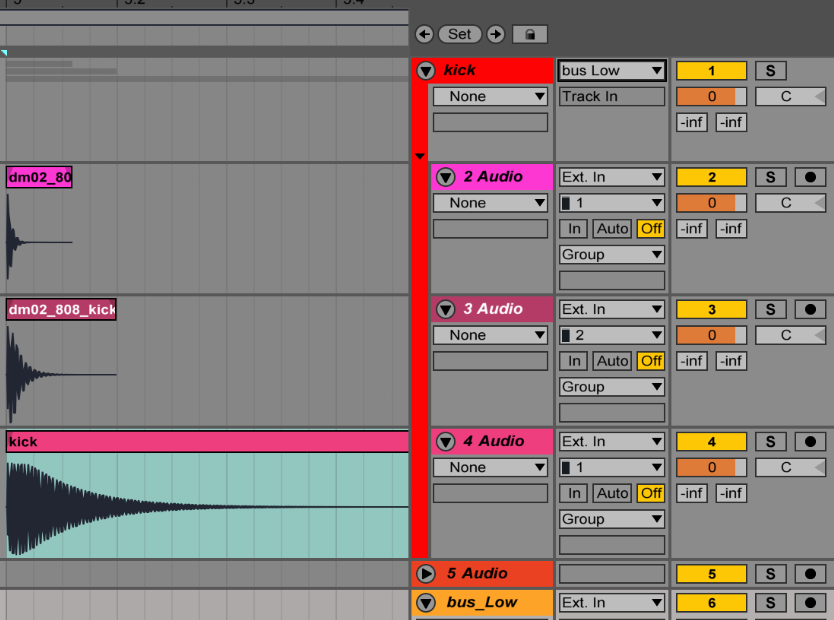
While this might sound like voodoo magic if you make music as a hobby, you can drop a tool into your DAW to make the signal mono so you can check. (hint: in Ableton Live, it is the Utility effect that will let you do that)
Ableton’s Utility tool
This is why you want your low end (under 100hz) to be in mono; to make sure there are no conflicts and that it will be sounding fat and strong. Again, in Ableton Live 10, you can activate the “Mono bass” option on the Utility tool.
Why I’m saying this is clear and simple: depth is a fun thing to have on your music but if you go too crazy with it, it might end up being a problem. So, first and foremost, when you program your patterns and music, try starting in mono. Make sure everything is heard and clear.
Once you have created the arrangements and are pretty much done but before you get to mixing, start spreading your sounds around to occupy the space in front of you. You don’t want to have everything in the middle, it will feel narrow and lifeless. There are multiple ways to get this done and it goes a bit beyond than simple panning which might be a bit boring. (Note: many mixes I get have everything in mono!)
Tips to give your mix more space
Mid/Side is a great way to use space in a mix, but is often misunderstood.
Here are a few tips to give you mix space and life, and if you google this topic, you’ll find multiple others too:
- If the sound/sample is in mono: Try doubling it by duplicating the channel a few times, then pan and experiment. In pop, soul, R&B, the producers often do that and have up to 4 duplicates, spread around and or pitched to different tones to give sounds textures. You can use a VST Doubler to do the same but there’s something exciting about doing it manually. Keep in mind, a clap is actually 4 layers and so on for your percussion. Try to create something wild.
- Panning around your sounds can do but it will feel bland if you don’t couple it with a quality reverb. Even at very low levels, a reverb will create space around the panned sound. This is why I group percussion into families (ex. all organic, all metals, all wood, etc) then have a reverb per family, not per sound.
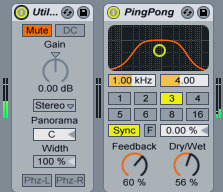
- Use stereo effects: These will be super useful to help things around and for instance an auto-pan will help give life and movement. These include: chorus, delay, phase, flanger and wideners (of course). These should be applied to a sound, not a family. Only one of these effects per song to avoid issues.
- Quality reverbs: as described above, a quality reverb is a game changer. Stock plugins are never as good as a whole team that work on making something special. For instance, all the plugins from Valhalla are now recognized as some of the best in the industry and for a reason, they sound just as good as some hardware units. Tip Top who make modular synths has licensed their reverb for their z-Dsp 2. If you can, always go for convolution reverb for your music and use only one, in a AUX/Send. So if you really a 3D sounding song, keep in mind that a reverb will do 80% of the job. The rest is about lowering the volume of certain sounds to give the impression they’re further away. Also, filtering out the low can give that impression. Mixed with a quality reverb, you will have a lovely space.
- MID/Side: This is one of the most misunderstood aspects of mixing because it’s hard to really understand it. Keep it simple, this term refers to how your space is shaped as what you have in front of you is the mid and the sides are located where are the speakers/monitors are. If you misuse the sides too much, it will make your music phase (you’ll hear it in the mono-check). But it’s really interesting to play with the Mid/Side (Aka MS) of your groups to open them, a bit.
Last tip: Low end should always be in mono and I usually make sure that some part of the melody is also, while it can partly be spread around. The main hihat and percussion should also be strong in the mid but then you can have support sound of the same family be spread around to give room.
SEE ALSO : The “sous-chef” experience
 The first time I familiarized myself with this concept was when I used the iPhone grid to take pictures. I had read that a tip to take better pictures was to use that grid to “place” your content.

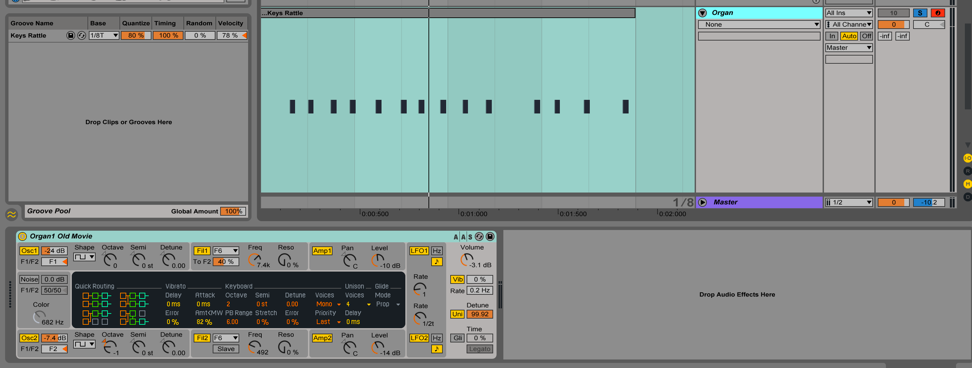
 basslines. If that’s not enough you can also use the midi effect velocity which can not only alter the velocity of each note, but in Ableton Live it also has a randomizer which can be used to create a humanizing factor. Another way to add dynamics is to use a tremolo effect on a sound and keep it either synchronized, or not. The tremolo effect also affects the volume, and is another way of creating custom made grooves. I also personally like to create very subtle arrangement changes on the volume envelope or gain which keeps the sound always moving.
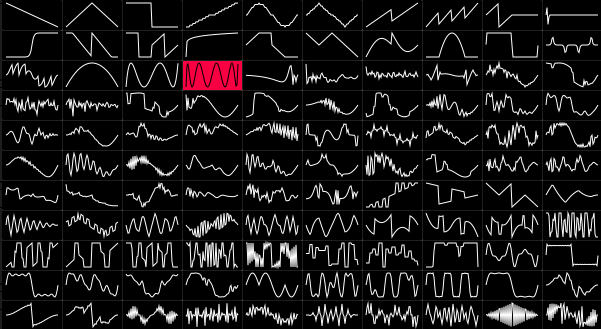
 modulate anything, and they will automatically create movement. For each LFO, I often use another LFO to modulate its speed so that you can get a true feeling of non-redundancy.
 A sound’s position in a pattern can change slightly throughout a song to create feelings of movement; a point people often overlook. This effect is easier to create if you convert all of your audio clips to midi. In midi mode you can use humanizer plugins to constantly modify the timing of each note. You can also do that manually if you are a little bit more into detail editing but in the end a humanizer can do the same while also creating some unexpected ideas that could be good. Another trick is to use a stutter effect in parallel mode to throw a few curve balls into the timing of a sound every now and then.

 Visually it looks better and is easier to manage, and additionally you can also put effects on the group to glue all the sounds together – generally you’ll need a compressor and one or two EQs for a relatively uniform group. Once I’ve done that, I usually like to have an additional bus for all sounds (eg. groups) that will glue everything else together.
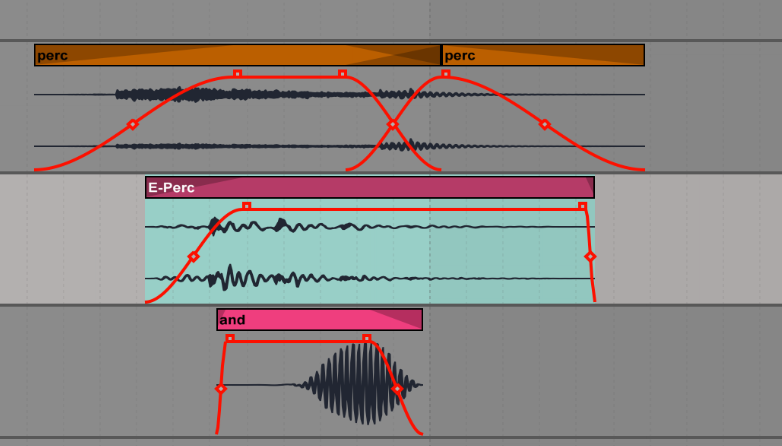 If you work in the arranger, you drop sounds in the channel and it’s an easy way to see the layers. I like turning off the grid to do this so it feels a bit more natural.
 A friend of mine mentioned that music with a particular sound or mood would seem to have a personality of its own, which is a similar comment my friend Vera told me about the records she always carries with her – that certain records were like friends or companions to her. Some records work better with others and some work really well in a very specific context. Some people talked about keeping certain records to close out their sets, and others perfect for a sunrise.
 Another way you can approach writing music that sounds more timeless is to be aware of current trends in music, and understand what really defines what’s popular. There is no shortage of studies that have looked look at chord progressions common throughout different eras, and identified a winning formula. The use of the right chord progression mixed with innovative
  Many DAWs can be setup to load a template as an initial starting point. Reason will propose a pre-made environment, and Studio One will propose if you’d like to setup a project for mixing to speed up your getting started time. Ableton Live doesn’t have that feature by default, but you can easily change that to open a custom startup project.