Music Timbre Essentials
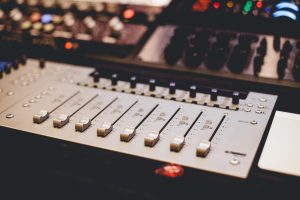
(Photo by Ayush Kumar on Unsplash)
When we dive into electronic music, one concept continually shapes our audio landscape, and you might not even know what it is: timbre.
Often described as the “color” or “tone quality” of sound, timbre is the characteristic that distinguishes one instrument or sound source from another, even when they’re playing the same pitch at the same volume. In this article, we will approach what I have learned about timbre in electronic music, focusing on how synthesizers and envelope design play pivotal roles in its creation.
Why is it important to understand what Timbre is about?
Well, if you’re interested in sound design, this should be your entrance to that world. If you know how it works, then you’ll have an understanding of how sounds are made. This means you can then extrapolate your imagination’s bleeps into real-life bloops.

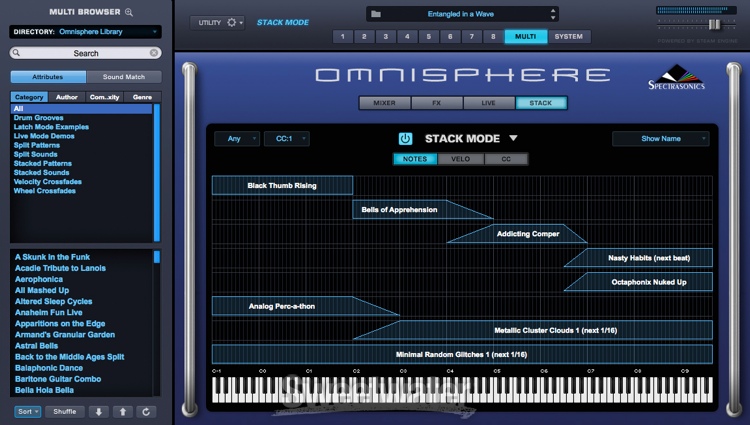
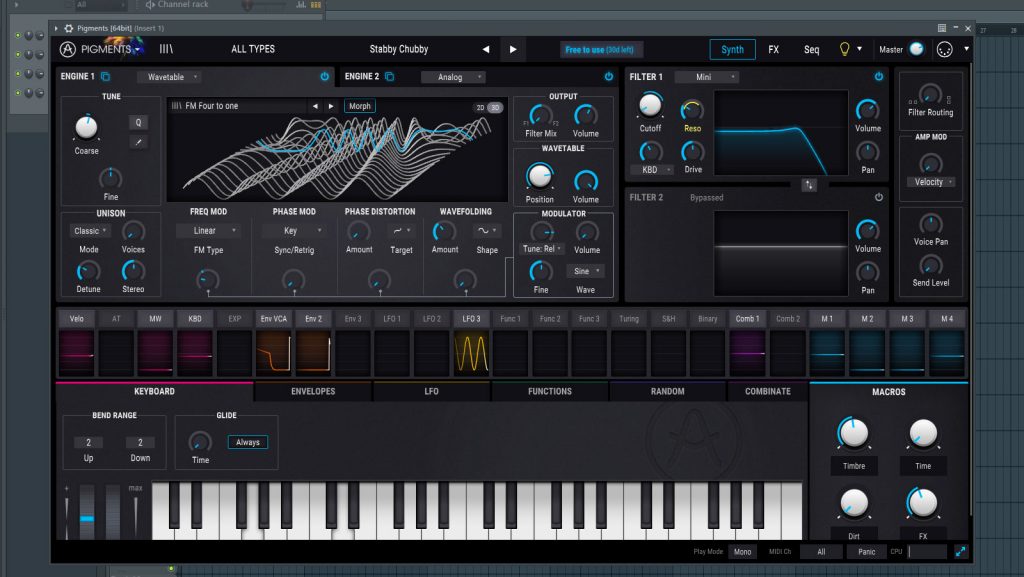
Pigment from Arturia
Understanding Timbre
At its core, timbre is on a multi-axis, covering the aspects of sound. It has various factors such as harmonics, dynamics, overtones, attack, decay, sustain, and release. These elements collectively shape the fingerprint of a sound, allowing us to discern between a piano, a trumpet, or a synthesizer.
To give you an example, you can play the same C2 on all those instruments, but your ear would be able to identify both the notes as well as what are the instruments. That is because the ear understands timbre’s multiple elements as unique.
In detail, those elements that will determine a sound’s color would be:
- It’s the head. The very beginning of a sound will contain dynamic information that will let you understand what it is. For example, a drum and a piano are both percussive instruments but sound completely different.
- Spectral profile. The way a sound is composed will be a collection of different tones, harmonics, and overtones. That also involves noise and inharmonicity. The last point, also known as noise, defines a certain amount of non-linear components, that are random and don’t follow a precise pattern.
- Dynamics. This is how the sound changes over time. Of course, this is related to the envelope of that sound (ADSR).
Synthesis and Timbre
In early 2024, I decided to join the Synthesis class of Sarah Belle Reid. I was a bit doubtful at first because since I started making music, in the early 90’s, I’ve learned everything by myself and continue learning every day as well. Being under the impression that you can have access to all knowledge gives you a lot of drive but also creates a blindsight where you also have information you didn’t know you don’t know.
These are some of the things people consult me a lot for: lack of vocabulary, lack of understanding of concepts that are badly explained online and being pointed at what a specific sound, sounds like.
Back to Reid’s class. It starts with the basic knowledge of sound itself and goes through each element related to sound, then proceeds with a demonstration. Seeing, hearing, and being explained these concepts, helps being able to perceive sound from a very technical point of view. It’s one thing to understand it but it’s another thing to have vocabulary.
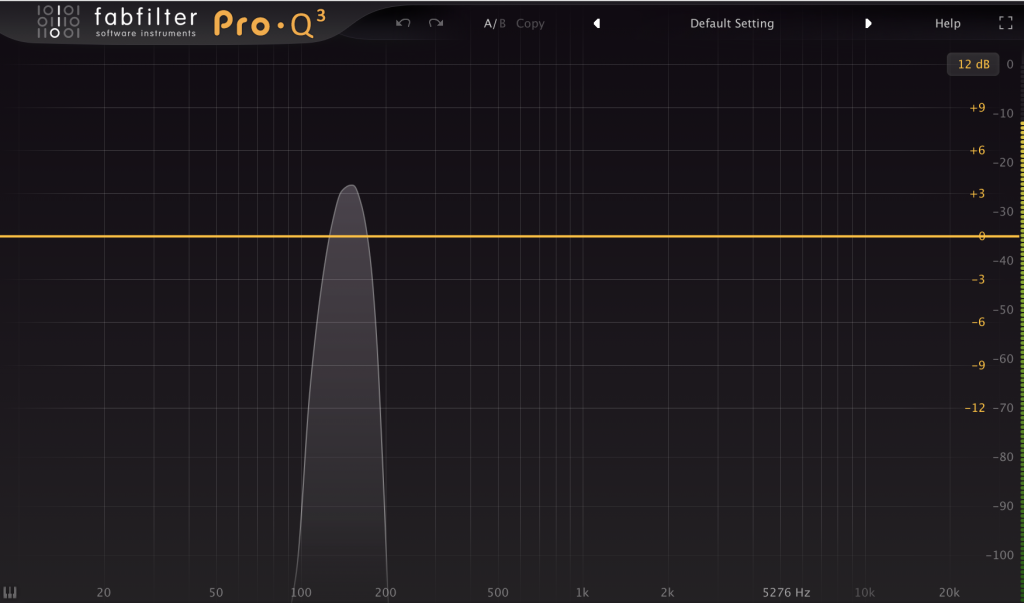
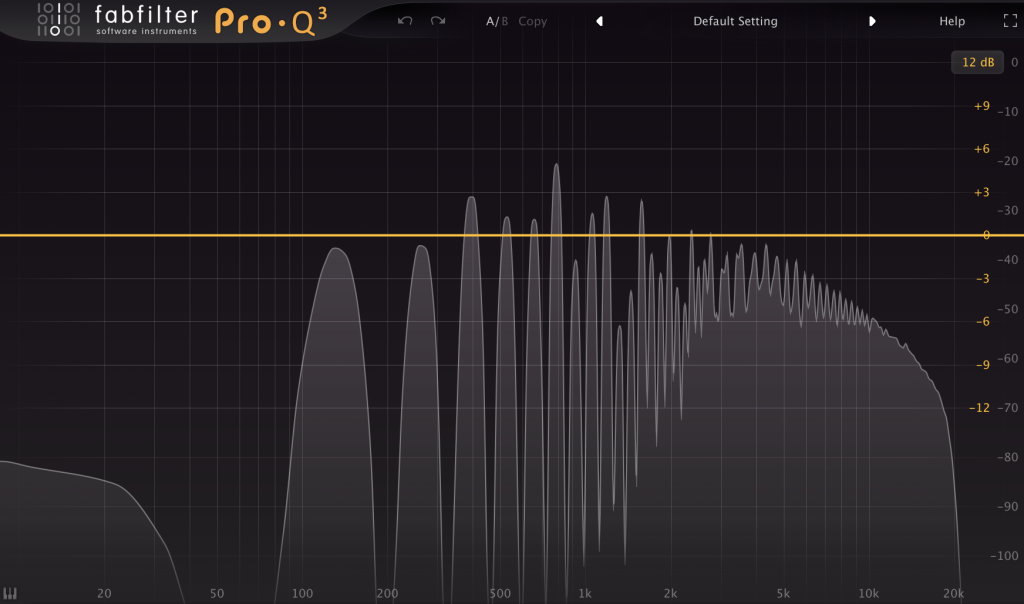
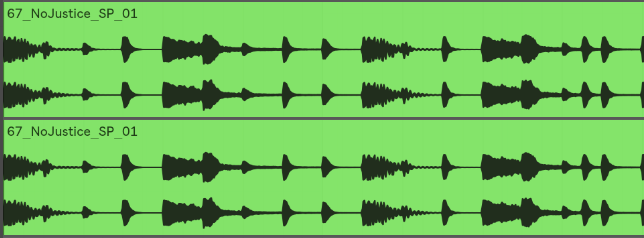
Timbre was one of the most important points of the class for me. It’s not with a simple blog post that I can go through all the main elements regarding timbre but I’d point out that the aha moment was to review how I use a spectrogram.
Seeing the sound from that angle helped me understand what timbre is about. It’s a concept that felt easy to read about but not necessarily easy to grasp.
Here are my 2 tips:
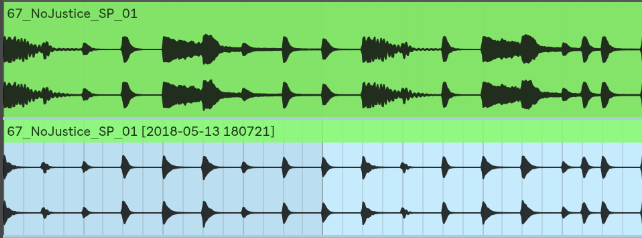
- Check the frequency response of the beginning of a sound’s information.
- Observe how the sound fades out and how the frequencies shape slowly.
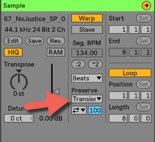
Knowing that the beginning shapes an important part of your sound, this is a direct inspiration on how to use your ADSR envelope to shape or alter the shape of sounds you have. The amplitude of your sound can be shaped by a first envelope and a second one may shape filtering or other elements.
As for creating the timbre of a sound, you’ll have to combine multiple oscillators, noise, and modulations to mimic the spectral content.
Let’s go deeper into the envelope and content synthesis.
Envelope Design and Dynamic Techniques
At the heart of timbral manipulation lies envelope design—an important point of sound shaping in electronic music. You might use it with compression but it is also there for design. Envelopes lead the evolution of a sound over time, dictating its amplitude, frequency, and spectral content. Understanding envelope parameters, particularly attack, decay, sustain, and release (ADSR), is crucial for crafting dynamic and expressive sounds.
Attack: The onset of a sound, characterized by its initial transient, sets the stage for our auditory perception. A sharp attack imbues a sound with immediacy and presence, while a gradual attack imparts a softer, more ethereal quality.
Decay: Following the attack, the decay phase determines how quickly the sound’s intensity diminishes. A longer decay sustains the sound, while a shorter decay yields a percussive or plucked character.
Sustain: Once the decay phase concludes, the sustain segment maintains a constant amplitude until the sound is released. Adjusting the sustain level allows for sustained or staccato articulations.
Release: As the sound fades into silence, the release phase governs the duration of its decay. A shorter release yields a crisp, abrupt ending, while a longer release imparts a lingering decay.
Sounds of the real world or from instruments are rarely static. They often are never the same thing when played a few times, but they’ll be changing a bit too on different aspects: spectral variation, amplitude modulation, pitch. In the modular world, the use of LFOs and envelopes is handy to modify those aspects. You will want to use them to have slight variations.
The soft synth Pigments is very well made in that aspect where it will have a lot of different modulations possible which can then be routed to a lot of different parameters.
Dynamic Use and Filtering
In addition to envelope design, dynamic use, and filtering contribute significantly to timbral variation. Dynamic modulation techniques, such as velocity sensitivity and aftertouch, introduce expressive nuances to performances. Meanwhile, filtering—via low-pass, high-pass, band-pass, or notch filters—shapes the spectral content of a sound, emphasizing or attenuating specific frequencies to sculpt its timbre further.
A good way to push the filtering is to use colored filters such as MS20 emulation or vactrol. To understand LPG (Low Pass Gate) is also another option.
Ever since I got myself a Freak Module from Vult, it brought my sound elsewhere. It has multiple filter emulation, some saturation, and a duplex mode where you can have chained filters or different filters in stereo mode. It’s pretty powerful.
Conclusion
In the ever-evolving world of electronic music, timbre is something to understand if you want to define your sound and personal signature. By understanding the power of synthesizers, mastering envelope design, and employing dynamic techniques and filtering, musicians and producers alike can unlock new creative possibilities. Through this article, we’ve partly covered into the heart of timbral exploration in electronic music, uncovering the intricate interplay between synthesis, envelope design, dynamics, and filtering. With this knowledge, may you define on your sound design skills, sculpting timbral tones that redefine who you are. Continue searching for more details and let me know if you have questions.


 View/purchase via Amazon
 View/purchase on Amazon
 View/purchase via Amazon
 View/purchase via Amazon

 Shaping the sound