Using MIDI controllers in the studio
People often say that MIDI controllers are mostly for performing live, but they can also be your studio’s most useful tool. My advice to people who want to invest in gear—especially those who aren’t happy working only on a computer and dream of having tons of synths (modular and such)—is to start with investing in a controller first.
There are multiple ways to use MIDI controllers; let me share some of my favourite techniques with you and give you advice to easily replicate them.
Controllers for performing in studio
One trend I’ve been seeing in the last few months is producers sharing how they perform their songs in-studio as a way to demonstrate all the possibilities found within a single loop. This is not new—many people like to take moments from live recordings and edit them into a song, but it’s becoming clear that after years and years of music that has been edited to have every single damn detail fixed, artists are realizing that this clinical approach to producing makes a track cold, soulless, robotic, and not organic sounding and in the end. If you’re still touching up details at version 76 of your song, this means you’ve probably heard it about 200 times—no one will ever listen to your track that many times. My advice is to leave some mistakes in the track, and let it have a raw side to it. Moodymann’s music, for example, is praised and in-demand because his super raw approach makes electronic feel very organic and real. Performing your music in studio to create this type of feeling is pretty simple; it’s super fun and it inspires new ideas too.
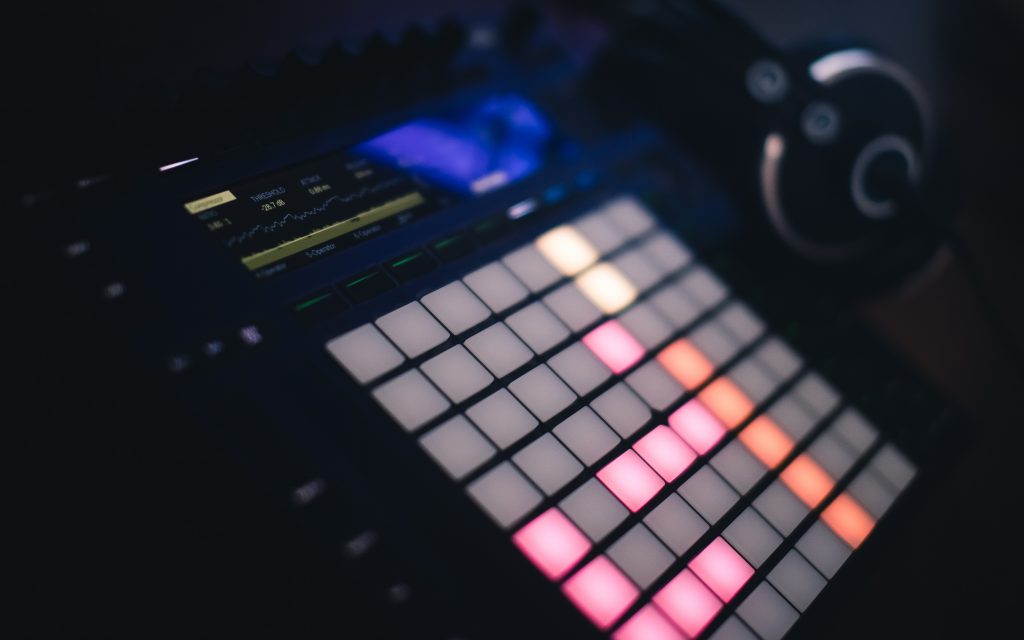
For in-studio jams, I recommend the Novation LaunchXL which has a combination of knobs and sliders, plus it’s a control surface; depending on where you are on the screen, it can adapt itself. For instance, with the “devices” button pressed, you can control the effects on a specific channel and switch the knobs to control the on-screen parameters.
When I make a new song using a MIDI controller, I’ll start by using a good loop. Then I’ll use my controller to quickly play on the different mixes I can create with that loop. Sometimes, for example, I want to try the main idea at different volumes (75%/50%/25%), or at different filter levels. Some sounds feel completely different and sound better when you filter them at 75%. Generally, I put on these effects on each of my loops: a 3-band EQ, filter, delay, utility (gain), and an LFO.
Next, I’ll record myself playing with the loop for a good 20 minutes so that I have very long stems of each loop. Then when it comes to arranging, I’ll pick out the best parts.
TIP: I sometimes like to freeze stem tracks to remove all effects and have raw material I can’t totally go back and fix endlessly.
Controllers for sound design
I find that the fun part of sound design involving human gestures comes from replicating oscillations a LFO can’t really do. It’s one thing to assign a parameter to a LFO for movement, but if you do it manually, there’s nothing quite like it—but the best part is to combine the best of both automated and human-created movements.
I use a programmed LFO for super fast modulation that I can’t do physically with my fingers, and then adjust it to the song’s rhythm or melody—just mild adjustments usually. For instance, you could have super fast modulation for a resonance parameter with an LFO or with Live’s version 10.1’s curves design, then with your controller, control the frequency parameter to give it a more organic feel.
Recently, I’ve been really enjoying a complementary modular ensemble for Live called Signal by Isotonik; it allows you to build your own signal flow to go a bit beyond the usual modules that you’ll get in Max for Live. Where I find Signal to be a huge win is when it’s paired with PUSH, which is by far the best controller you can get for sound design. PUSH gives you quick access to the different parameters of your tools, and if you make macros it becomes even more organized.
Controllers for arrangements
Using MIDI controllers in arrangements is, to me, where the most fun can come from; using them can completely change the idea of a song.
For instance, if your song has a 3-note motif that has the same velocity across the board, I love to modulate the volume of the 3 notes into different levels. When we speak, all the words we use in a sentence have different levels and tones. For example, if you say to someone “don’t touch that!”, depending on the intonation of any particular word, it can change the emphasis of what you’re saying. “DON’T touch that!” would be very different from “don’t touch THAT!” This same philosophy can apply to a 3-note melody; each note is a word and you can decide on which ones to emphasize and how a certain emphasis fits in your song’s main phrase or motif.
If you assign a knob or fader on your controller to the volume of the melody, you can also control the amplitude of each note. You can do this for the entire song, or you can copy the best takes and apply their movement to the entire song. I find that there will be a slight difference in modulation depending on if you use a knob or fader; each seem to have a different curve—when I play with each, they turn out differently (but perhaps that’s just me). Explore and see for yourself!
TIP: Using motorized faders can be a a huge game changer. Check out the Behringer X-Touch Compact.
Another aspect of controllers that people don’t often consider are foot pedals. If you’re the type who taps your foot while making music, you could perhaps take advantage of your twitching by applying that to a specific parameter. Check the Yamaha FC4A. Use it with PUSH and then you have a strong arsenal of options.
SEE ALSO : Equipment Needed to Make Music – Gear vs. Experience vs. Monitoring


Leave a Reply
Want to join the discussion?Feel free to contribute!