Making and breaking genres in your music
Friends and clients of mine who listen to a wide variety of music (often very different genres) have mentioned feeling a real struggle to come up with ideas once starting a new project in their DAW. After putting together a decent beat and melody or two – many of my colleagues found no clear direction in their song, and struggled to make any progress with that project from there.
This reminded me of a something I saw online recently that very well summed this up.
If you don’t understand french, what the illustration is saying is, “this is what the music industry, as well as music genres are doing to music.” I truly believe this statement, and I’ll explain why now.
Let’s rewind and look at jazz music. If you don’t listen to jazz you might simply think jazz is jazz, but actually there are many different forms of jazz- big band, ragtime, be-bop, free jazz, hard bop, fusion, etc.. Such labels were created by media to label and categorize music, making it easier for people to find and buy music within a certain genre. Think about the evolution of rock – hard rock, light rock, punk rock, alternative rock, the list goes on.
For electronic music, I guess we can say that some of the very first, most popular genres to emerge were originally Hip Hop (some of the early 80’s hip hop was very electronic focused), House and Techno. The reason why it keeps going under various umbrellas comes from the needs of the industry’s standards.
Our ears get excited when we hear something we know doesn’t fit the mould.
A musical term you’ve likely heard before is mashup, which refers to a song made up of other songs from completely different genres, (which is is a little like a remix). You may hear a melody being played by a distorted AC/DC guitar riff mixed with vocals from a country-western song, and a bumping disco drum beat keeping the groove. Great mashups are known to use music that would never otherwise work together, which is the reason why mashups often lead to really exciting and interesting music.
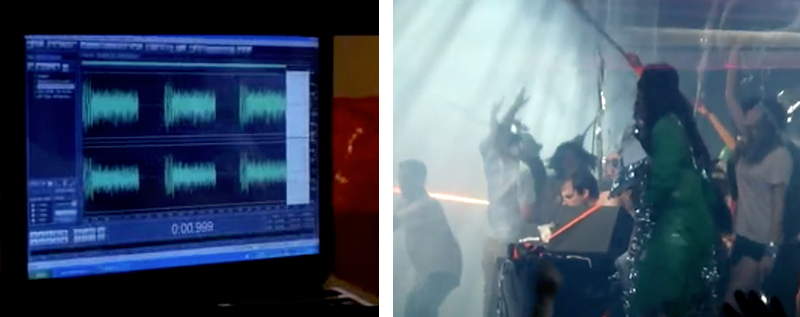
Take a minute and check out mashup artist Girl Talk creating a mashup in 2 minutes here ) and Girl Talk again, performing live mashups at Coachella here :
It’s common to think “if it worked well for x, who does x genre, I might as well do like him to imitate his/her success” syndrome has also been one of the main reasons why so much music is produced and formatted in a specific way.
This is how certain genres follow a very specific sound, using strict arrangements with very predictable techniques. There is good and bad to this, but if you listen to the top 10 of any genre, you’ll quickly understand what musical elements represent that genre.
• Genres help you reach a market, certain labels, clubs and be part of a community.
• If you are innovative, you can always input refreshing new ideas to a genre. Done right, you can get a lot of attention. People are always searching for new ideas, but you need to understand the rules of a genre, first.
So how does this apply to you, once in music mode and struggling with genres?
- You can make multiple genres out of one melody. What is stopping you from making different versions? There’s no rules here. If you have a melody you love, you can make 10 different takes out of it and decide later which one you prefer. Slower, fast, trance version, dub version, beatless, really, there’s no reason for you not to explore.
• You can define yourself challenges of embracing fully one genre on specific projects. A good way to approach the genre problem is to start by a genre you are 100% comfortable with and then keep your production in that genre fully. Then, as I suggested earlier why not take your melodies and write it for in a second genre? Personally, I have some ways I do it. For instance, I never make beats-oriented songs in the evening and rarely I do ambient in the morning. It’s sort of a personal rule and you can invent your own that work for you. - Incorporating hybrid styles can be the road to new growth. New genres are often born by someone coming from a specific scene and trying to apply ideas from another. I’ve heard really different variants for dubstep for instance or house (tech house, dub house, minimal house, break house, chill house). If you’re torn between genres, combine the elements from several genres and listen to what happens.
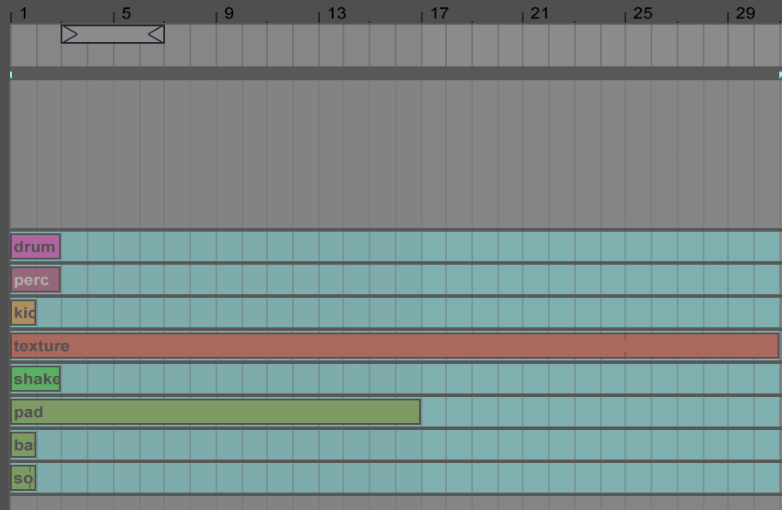
- Use sample loops to get ideas. One major asset of using pre-made loops is to have a quick glance of the different directions your track could go and explore quickly from there. A tool like Splice lets you access royalty free loops from breaks to jungle, minimal, ambient, techno with a killer integration for Ableton. It’s then really easy to combine some minimal techno grooves with reggae sounds and get a feel for what’s working fast.
- Focus on one artist or label. If you have a goal to be signed to a specific label or get attention from an artist you like, it’s good to have productions and reference tracks that will get his/her attention. Sometimes that means your music must follow a very specific sound, think pure techno – there isn’t much room for trombones there. That said, sometimes your roots will guide you to where you should be going. That’s wh y when I’m a bit lost, I go spend some time listening to influential music to bring me back to my flow.
You will create more original sounds by combining wider musical influences, and in doing so your music will not only sound unique within a specific genre, but it will also more closely represent your authentic voice as an artist. Win-win.
What sounds are you really excited about right now? Be sure to leave a comment below with your own ideas about mixing influences and styles, and as always I want to hear what you’ve been producing lately and music you’re sharing with the world.
JP.
SEE ALSO : Where to Get Fresh New Ideas for Tracks


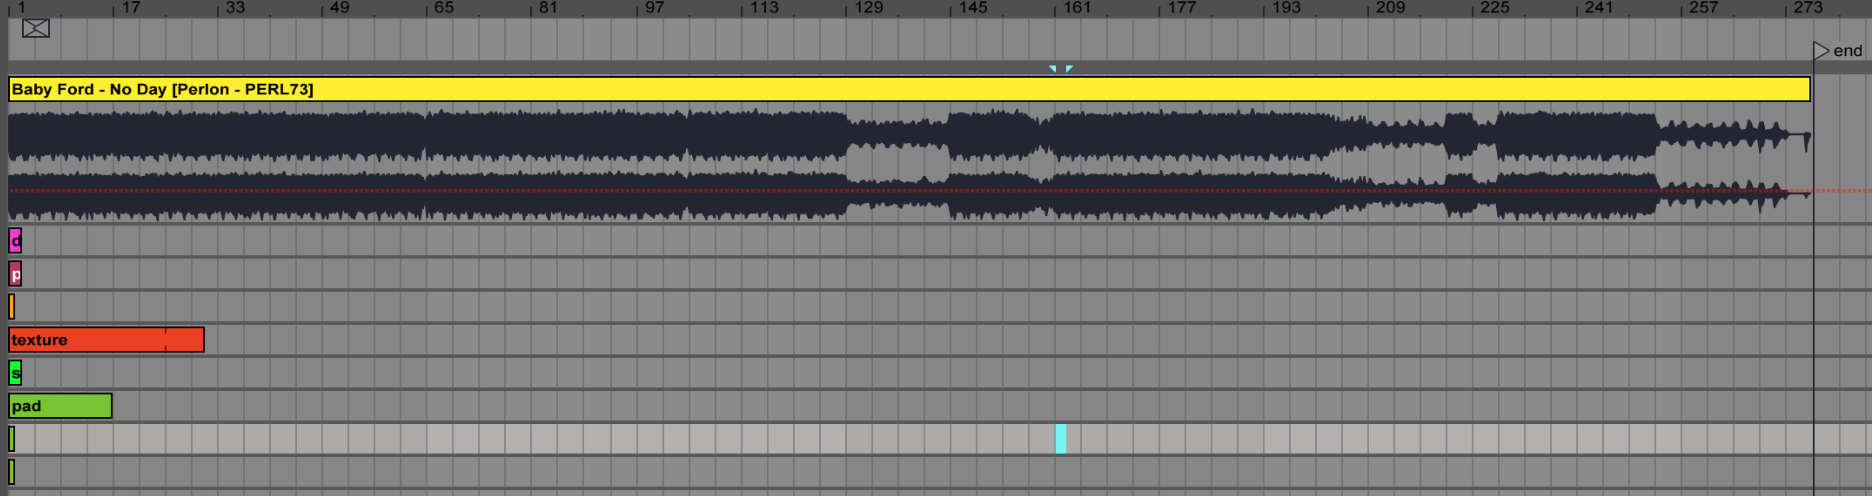
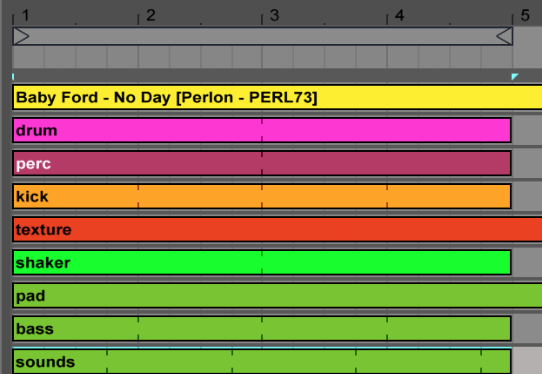
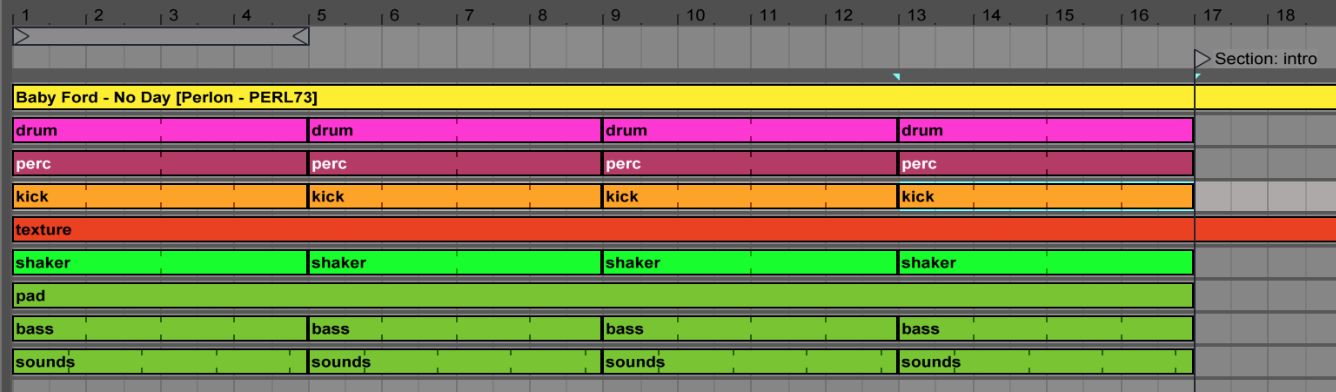
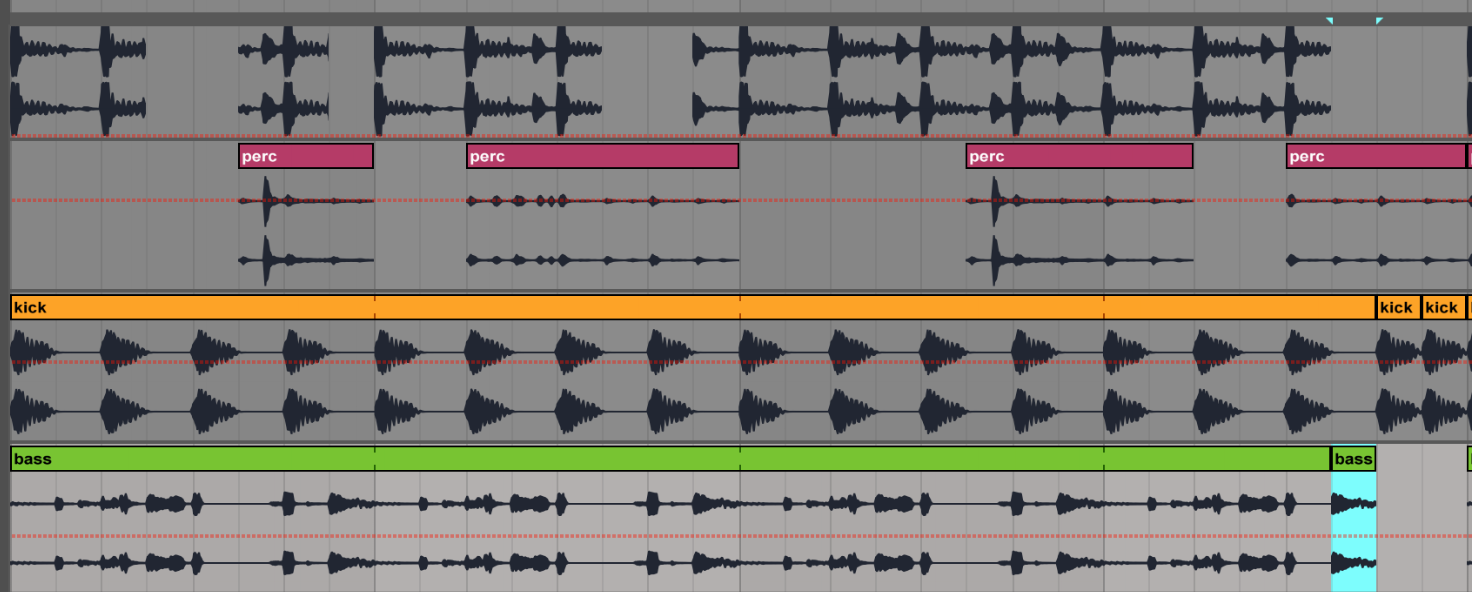
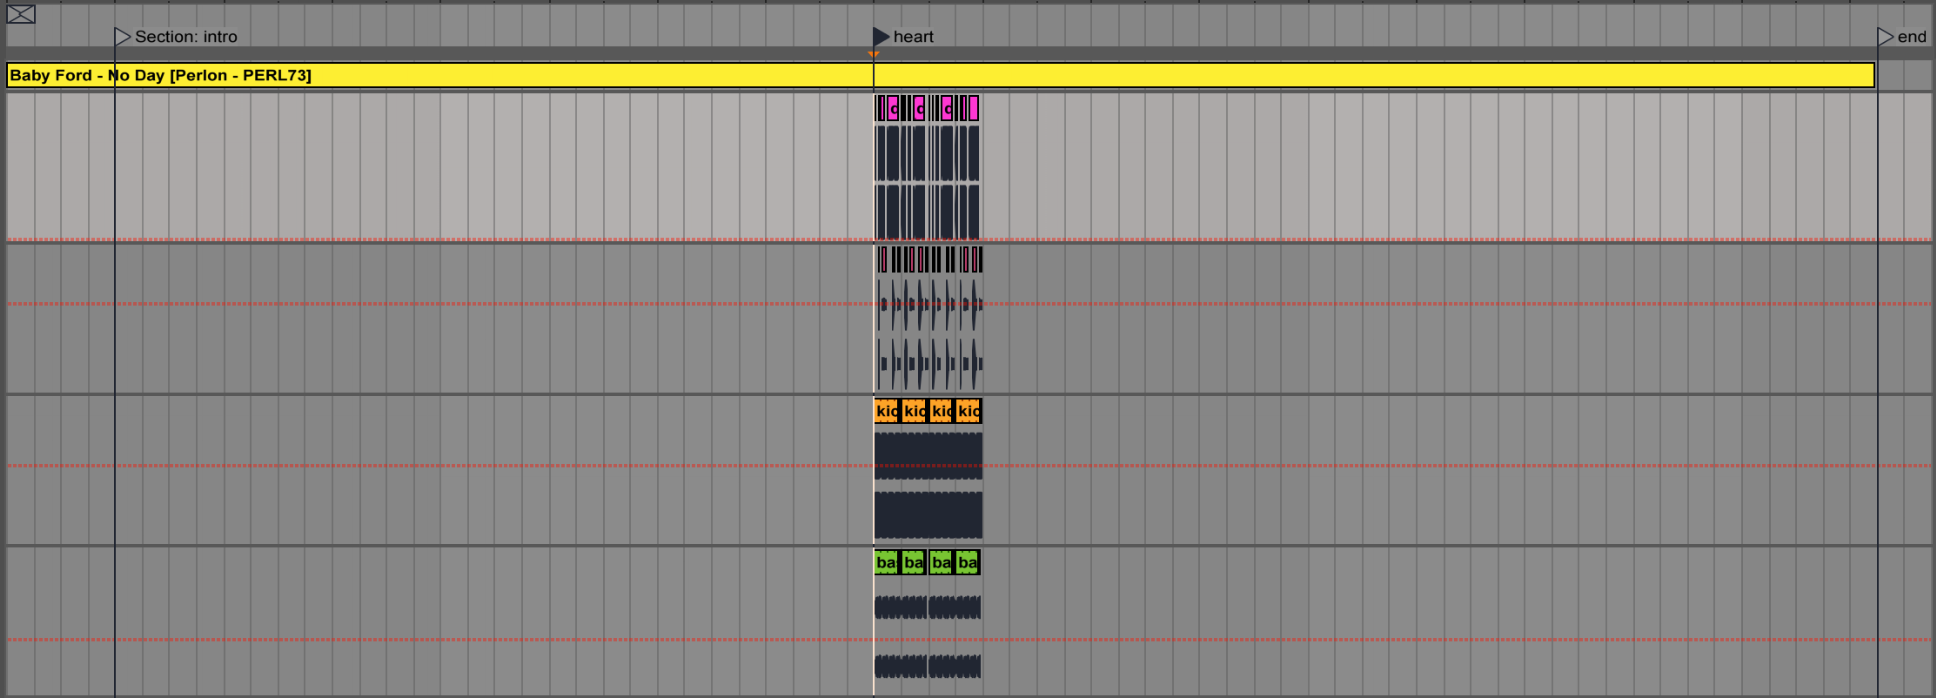

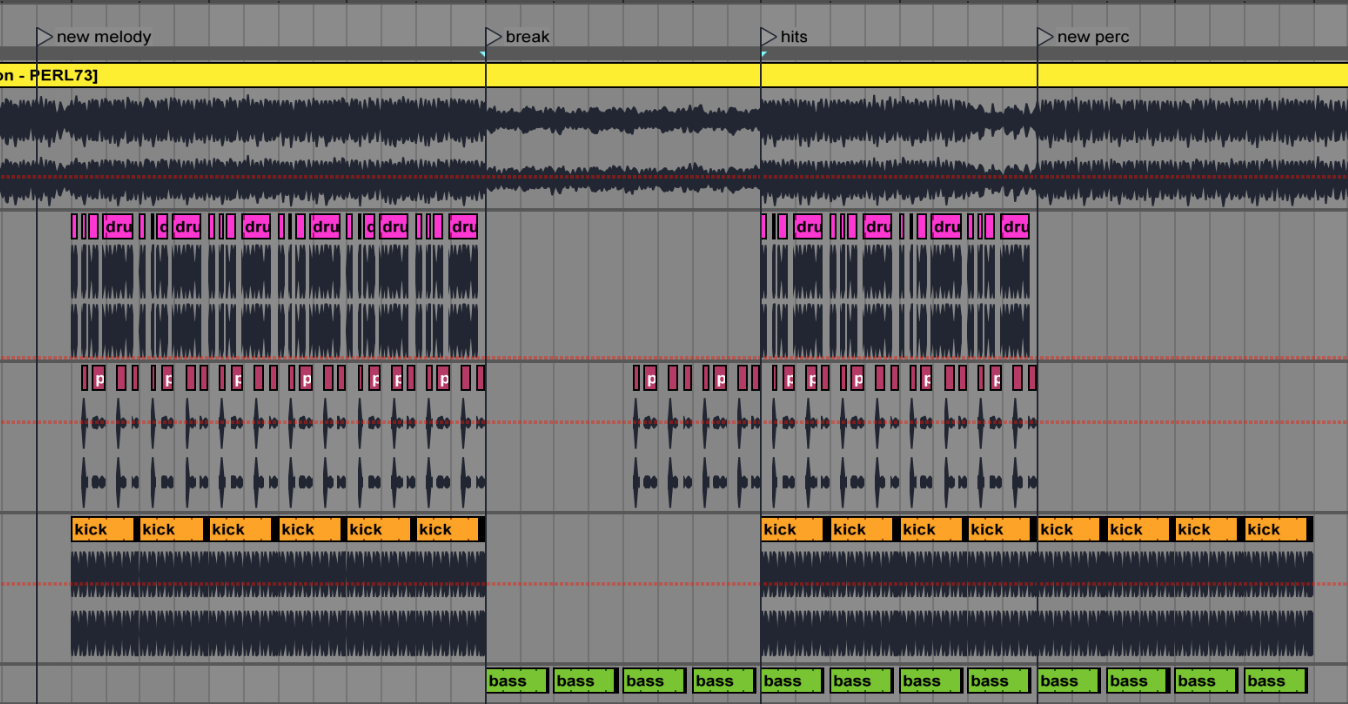
 So with all that being said, within the life cycle of a track, you’ll go through:
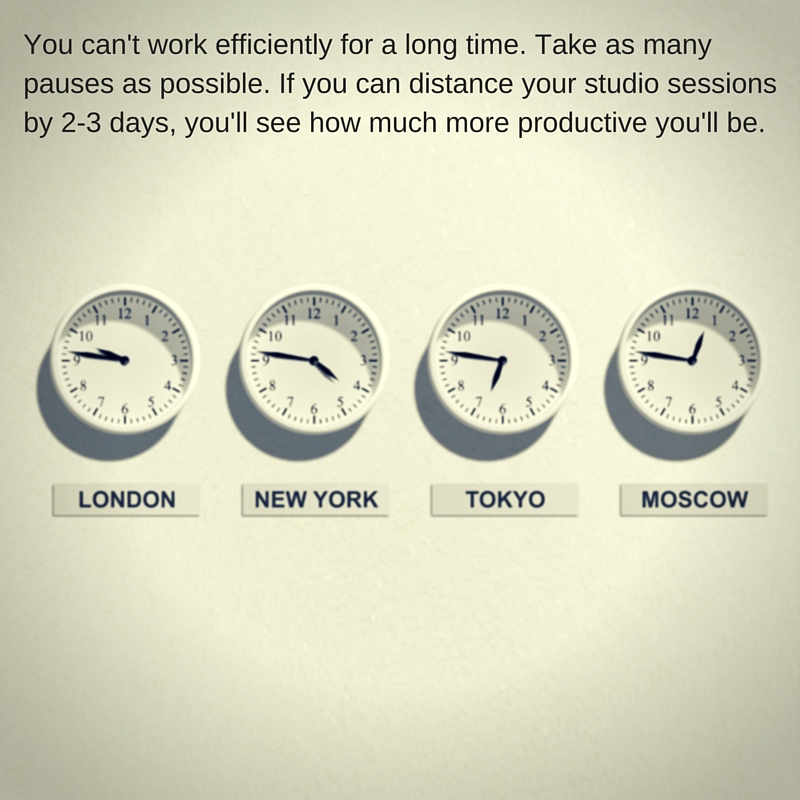
 So overall, a full day’s work at the studio involves only about 2-3 hours of actual music production. A lot of my time will be spent on tweaking, searching, checking references, checking emails, and taking many breaks that might appear as procrastination.