Understanding Headroom in Music
It’s been a while since I wanted to cover the topic of headroom in audio engineering. As someone who work with clients who aren’t always understanding the concept, I thought it made sense to cover the topic but also to provide a few extra tips. Headroom can be a term I use in different contexts, so we will go beyond the usual explanation.
But first, let’s define what headroom is, from the basic technical point of view.
What is Headroom in audio engineering?
Headroom is the safety margin between your average signal level and the point where your system starts to distort — usually called clipping. Think of it as the “space to breathe” for your audio. When your mix peaks too close to 0 dBFS (in digital systems), you risk distortion and harshness; when it’s too low, you might not be using the system’s full dynamic potential.
In simple terms, headroom allows your mix to have space to move and breathe before it breaks. It’s like leaving extra space above your head in a room so you can jump without hitting the ceiling. Engineers maintain headroom so transient peaks — like drum hits or sudden bursts of energy — can pass through cleanly, preserving dynamics and preventing digital distortion.
An example, most clients are familiar with the idea that for mastering, I will need the song to be rendered at -3dBfs. This term directly refers to headroom because it means there is 3dBs of “space” to work with. The loudest sound (peak) will hot the master channel’s meter at -3dB. But there’s a catch here, though. If there’s a limiter on the master, which is set at -3 dB, the peak will be at that level, but it will be heavily compressed, and then it won’t work.
1. Limiting changes the waveform, not just the level
A limiter doesn’t just reduce volume — it reshapes peaks. When it clamps down on transients to prevent them from exceeding a threshold (say, 0 dBFS), it effectively flattens them. This means that the shape of your waveform, and therefore the harmonic content, has been altered.
Even if you later turn the track down by 3 dB, those peaks are still gone — you can’t bring them back. The mix has already lost some of its transient energy and micro-dynamics.
2. Transient distortion and saturation remain
Limiters introduce very short bursts of harmonic distortion and compression artifacts. These are baked into the audio when you render it. So when you lower the level afterwards, you’re not “undoing” limiting — you’re just making the distorted, squashed version quieter.
3. Perceived dynamics are different
A limited mix usually sounds denser and less dynamic. The relationship between loud and quiet elements has changed. Even if the overall peak level matches an unlimited version, the internal balance of the mix will not. The ear perceives the limited mix as flatter, less punchy, and sometimes “smaller” in space.
4. Headroom and crest factor are no longer the same
A mix without limiting might have, say, 6 dB of headroom between its RMS and peaks — meaning it has room to breathe and can accommodate mastering. Once you limit it, that crest factor shrinks, and lowering the level doesn’t restore that ratio. You’ve lost the natural contrast between transient spikes and the body of the sound.
In short:
Rendering a mix through a limiter and then lowering it by 3 dB doesn’t recreate the unprocessed version — it’s more like taking a squashed sponge and trying to stretch it back to shape after it’s already dried. The structure is permanently changed.
In the last 10 years of mastering, I don’t think I have gone a single week without someone sending me a mix with a limiter. It’s so common that it boggles my mind. In some cases (too often, actually), people export their mix with a limiter and then lose the project. One tip I always give is to export your mix without a limiter first and then do a quick master later. It’s one of the reasons why we encourage people to avoid doing “mastering” while producing/mixing their song.
This covers headroom from the mastering standpoint, from peak to dynamics. But it doesn’t stop there, as I’d like to share another angle.
Frequency Headroom
I sometimes get mixes where there is headroom, but there might be too much of a particular aspect of the song. It could be high frequencies, low end, sharp transients, reverb… You name it. Before explaining how this can compromise headroom, I’d like to share an anecdote from recently, while driving my car. I was driving on the highway and listening to some techno. The song was pretty heavy but also sharp with the hi-hats. The melody wasn’t coming through that muc,h and as I was trying to push the volume up, the hats were so piercing that I couldn’t raise the volume. The hats were ruining the headroom, preventing me from making the sound louder.
As an engineer, one of the things I often say is that I chase resonances and dissonances. When I work on meeting the required loudness, those are the ones that stand out in the mix, making the louder version of the mix often quite unpleasant. Resonances can come from various parts such as boosting EQ points, increasing the resonance of a filter, using instruments that are prone to resonances and of course, using sine waves with a synth.
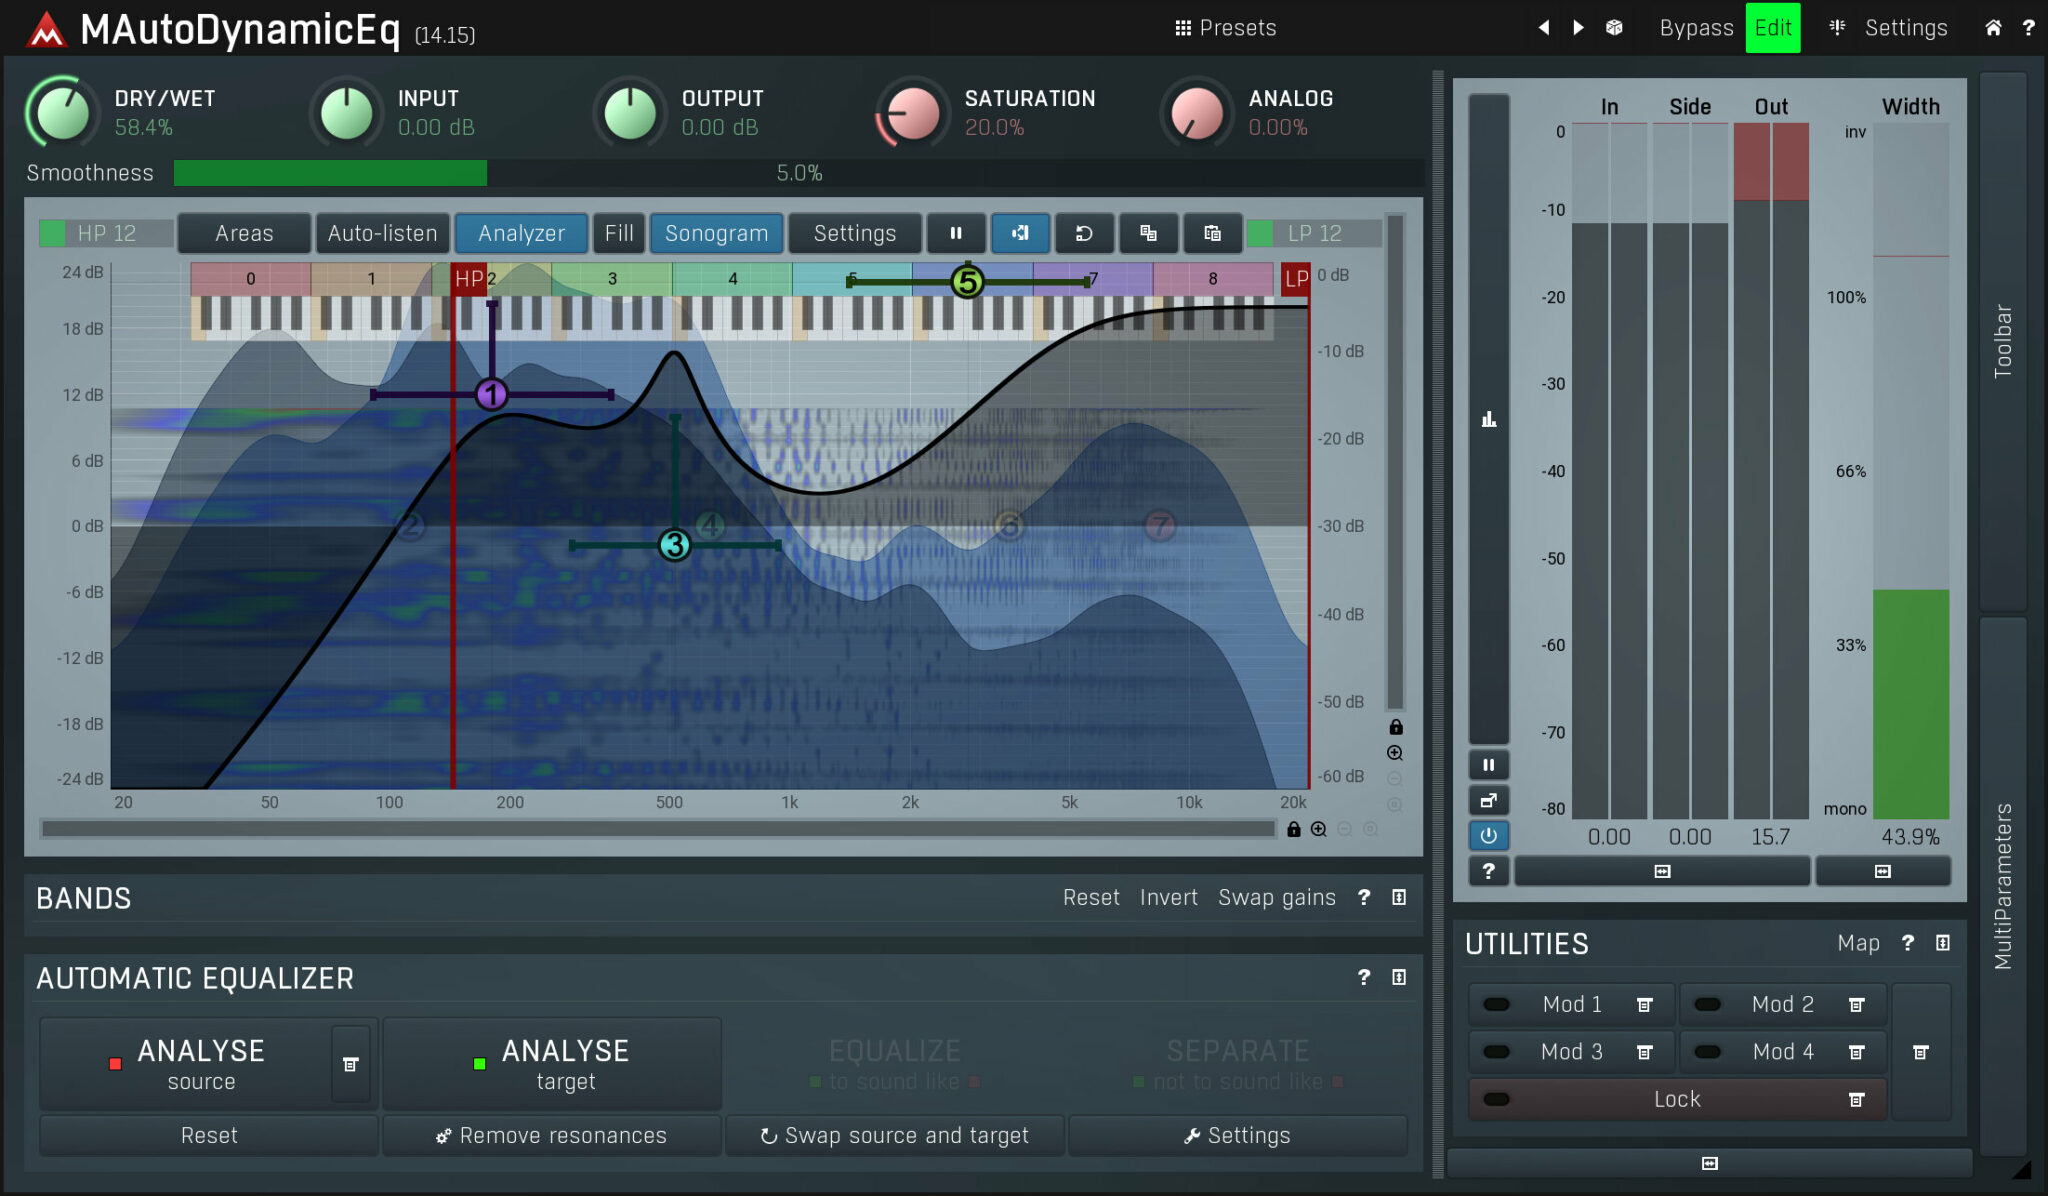
This means that when I receive a mix for mastering, if a frequency area is drastically louder than the rest, I will need to attenuate that section to be able to raise the overall loudness. Cutting is always easier than boosting an area, so overall a flatter-toned mix is easier to work with, as I can set the loudness and then gently accentuate the tone’s colour.
As a mastering engineer, I often see mixes or masters where you’ll either have the fishbone appearance or the solid brick. The form that looks thick will be tight, loud but might not have depth.
How to address this: This is not an easy answer, but you’ll need to train your brain to spot the problematic resonances in advance. Clients often want me to spot them in advance but the most helpful exercise a client can benefit is to hear their music mastered by an experienced engineer. It can help illustrate how some decisions made in the production phase will impact the mastering phase.
Headroom over arrangements
One of the first actions I do with a mix is to normalize it. If at one point in the mix, through the arrangement (let’s say at one third of the song), a sound comes out hot with 5dB over the rest of the average of the mix, that sound will induce headroom as the normalization will be done using the loudest peak, being that sound. That usually means I will have to engage in a conversation with clients to determine if that was intended, as this sound is unusually loud and makes it probably hard to apply compression without riding (e.g., the engineer doing automation) the mix to normalize it manually. The easy way out would be to use compression, and that loud sound will be squashed, but that’s usually not going to provide something ear-pleasing.
I noticed many clients are not using the term “dynamics” properly. When I’m asked to add dynamics to the master, it means compressing less to make the DR (Dynamic Range, the distance between the loudest and lowest sounds) wider. The advantage of having a wider dynamic range is that it results in better clarity, depth, and punch, as there is more space between sounds. For many clients, the term dynamics is misused. They usually mean they want more punch and preserve the loudness, which is not really easily possible.
TIP: I sometimes like to print my master as a wave file, allowing me to see the shape of the audio through the resampling process. This is an insight I heard from Burial, who, in an interview, explained that when he was using basic tools to make his first album, he would rely heavily on looking at the waveform to see if things were okay.
TIP 2: Don’t listen to people saying you should rely only on your ears to make fixes. We have tools that offer visual feedback, so use them.
Wet-Dry issues
One thing that can cause some issues with headroom is not understanding how to set the wet-dry part of some effects. For instance, sounds going through a reverb where it’s set to a point that feels comfortable in the mix, will not be set the same level when in mastering. The tricky part is related to gain staging because if the mix is sent with too much dynamic range and the client wants it considerably louder, then once the compression is applied, what felt fine in the mixing stage will be out of hand in the master.
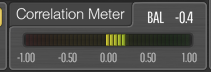
Some of the frequent issues I see are related to reverb use, background and detailed elements, distortion/saturation, and, perhaps worst of all, stereo widening. That last element can become problematic as things that are all pushed to be wide will feel like elements are not sitting in the right place in the master. The loudness processing doesn’t amplify the width per se, but elements that are on the sides can come in out, casting a shadow on the mono signal.
TIP: Using a tool like SPAN where you can see the difference between the mono and side signals, try to keep your side signal slightly lower than the mono part.
Creating Dynamics with Tools
Knowing how to reduce headroom is also essential, as it’s crucial to understand how to create some, which can help with clarity, space, and punch. There are useful tools that you can explore, and many people are unaware of them.
Using Gating
A gate (or noise gate) is a dynamic processor that automatically turns down or mutes a signal when it falls below a certain threshold. In other words, it “opens” when the sound is strong enough and “closes” when the sound gets quiet.
Gating helps clean up a mix by removing unwanted noise, bleed, or reverb tails between phrases — for example, silencing a mic channel when the performer isn’t playing. But beyond cleanup, it also enhances the sense of dynamics: by keeping the quiet parts quieter and letting the loud parts through, the contrast between silence and sound becomes sharper.
That contrast gives the listener’s ear room to rest between events — it’s what makes the groove or rhythm “breathe.” When used tastefully, a gate restores clarity and space, making transients punchier and allowing the overall mix to feel more alive and natural.
In Ableton Live, where you see the properties of a clip, you can reduce the length of the sounds by using the “Transient” setting, which will do a similar effect to gating. This comes in handy on a percussion loop where the sounds are going through a reverb, creating a loud noise floor, and the space and dynamic range of those sounds is reduced. The gate will carve out space between them, creating a crowded loop with a fishbone-like appearance.
There’s also the expander that can be useful.
An expander is a dynamic processor that increases the dynamic range, or the difference between quiet and loud sounds. It’s like the opposite of a compressor: instead of pushing loud sounds down, an expander pushes quiet sounds even quieter when they fall below a set threshold.
In practice, this means low-level noise, bleed, or subtle background clutter gets reduced, while the main signal stays untouched. The result is more contrast, more precise transients, and a mix that feels more open.
Where a gate snaps fully closed, an expander works more gently — it attenuates rather than mutes — which keeps things natural while still creating space. It’s a great tool when you want dynamics to breathe without the abruptness of a hard gate.
Gain Staging as a Creative Habit
A lot of headroom problems begin long before the mastering stage — they start with small gain decisions made throughout the production process. Every plugin, every instrument, every layer adds energy to the mix, and if those stages aren’t controlled, your track slowly becomes louder, denser, and harder to manage. Thinking of gain staging as a creative habit rather than a corrective task changes everything: pulling back a synth by 3 dB might open space for a melody, trimming a reverb return might bring back clarity, and reducing a drum bus by a few decibels might restore punch you didn’t even know you lost. Small, intentional level adjustments create cumulative headroom, and that headroom gives you more freedom to express contrast, groove, and dynamics. The mix becomes easier, the master translates better, and your workflow becomes lighter.
Monitoring and Listening Habits
One of the hidden causes of poor headroom management is inconsistent monitoring. If you mix too quietly, you might boost highs and transient-heavy elements without noticing their long-term impact. If you mix too loudly, you’ll often over-compress or under-EQ because everything feels fatiguing. Establishing a stable listening level — one where you can work for long stretches without discomfort — helps you make more reliable decisions about balance, wet/dry amounts, and dynamics. Periodically referencing your mix at whisper-quiet volume, on headphones, or even in your car can reveal issues that disappear on studio monitors. Good monitoring habits naturally lead to better headroom, because you’re catching problems early rather than fixing them later.
Conclusion
Headroom isn’t just a technical detail — it’s a mindset. It’s the art of giving your music enough space to express itself without being boxed in by distortion, harshness, or overcrowding. Whether it’s peak level, frequency balance, arrangement choices, or the way your effects are gain-staged, every decision you make upstream will shape how much room the music has to breathe once it reaches mastering.
The producers who consistently get great masters aren’t simply “leaving -3 dB.” They’re thinking in terms of margin, contrast, and control. They’re shaping transients intentionally, taming resonances before they become a problem, managing wet/dry choices with the final loudness in mind, and using tools like gates and expanders to add clarity rather than clutter.
If you approach headroom as something that lives inside your tone, your arrangement, and your dynamics — not just the loudness of your file — you’ll find your mixes translate better, feel punchier, and give the mastering process far more room to elevate your work. At the end of the day, headroom is what allows your music to stay alive when pushed. Give it space early on, and it will reward you later.
Photo by Ramiro Pianarosa on Unsplash
 Visual Mixer. This is the bomb within Neutron 2, and for that feature alone I’d buy the entire package. The visual mixer allows you to place and position your tracks visually across the spectrum, (volume, pan, and width). It’s a beautiful process, and the edit window looks super sci fi and modern. If you work with multiple channels and often have mono tracks this is simply a killer addition. One of the things that blew my mind was that you can actually automate the panning, which opens the doors to many exciting and beautiful options in sound design.
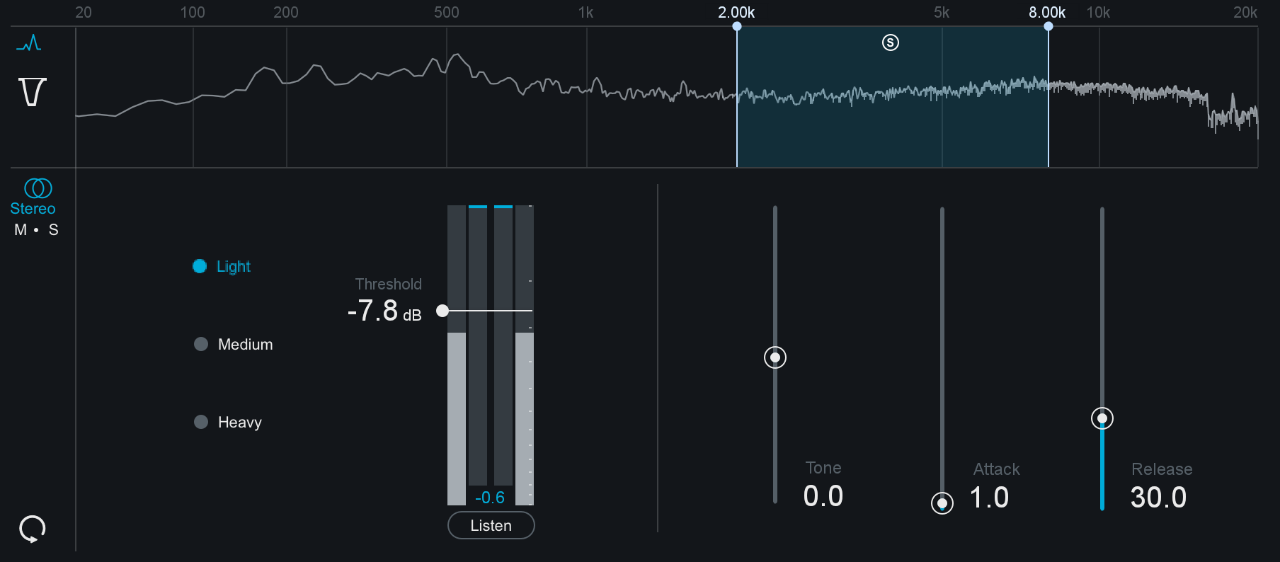 CPU hungry. I have a newish MacBook, fully geared up for performance, and while running several instances of Ozone my entire screen began flickering and making strange glitches. Izotope support claimed it was likely my CPU over-loading, however, I was only using 5 Neutron and 1 Ozone 8 instance, plus visual mixer. If my custom built computer is hit hard with CPU usage imagine how will the average Joe deal with such demands on the processor.
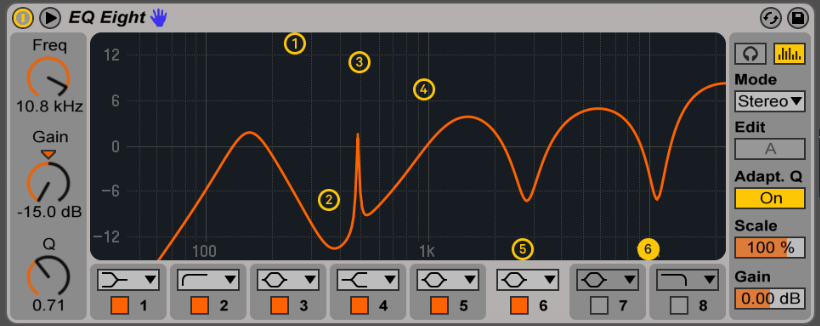


 mastering subtone various artists | Mastering by Pheek audioservices
 Podcast mastering Mehrdad Kanani | Mastering by Pheek audioservices
 Podcast mastering Mateo & Pheek EP vinyl | Mastering by Pheek audioservices