The Best Generative Sequencers + Tips And Tricks
One thing that distinguishes electronic music from other genres of music is that it’s a full-spectrum composition that’s usually done by one, or two people. These individuals are responsible for the melody, the harmony, the rhythm, and their timbral aspects.
Compare this to a band where you have individuals taking on each one of these rolls. They practice for years to fill one aspect of the mix. They are often being able to think of the idea in their head long before they are able to manifest it on their instrument.
In electronic music, we’re responsible for many aspects of a song. It’s irrational for us to be able to play every instrument that goes into our track or even have all the ideas for the said instrument.
Sequencers Are Virtual Session Musicians
To compensate for these shortcomings, we have tools at our disposal. One of these tools is the sequencer. They’re used for notation, where you use them as a robot to play the digital “sheet music” you write. Or they function in a more generative way by mimicking a living instrumentalist that improvises and has its own input on the music.
My favorite sequencers for electronic music are virtual session musicians, at their core. And the best generative sequencers provide this sort of freedom and inspiration.
Sequencers Provide Ideas And Keep Things Fresh
If you want to stay fresh and keep having new ideas, it’s important that you start digging into sequencing, especially the ones that I consider the best generative sequencers.
Popp, jazz, avant-garde and electronic music have a good ratio of elements that are repetitive and sequenced, despite them sounding different from one another. That’s because sequenced sounds, despite being programmatic, can be diverse, lively, and unpredictable in a way that mimics a human.
My Favorite Sequencers For Electronic Music
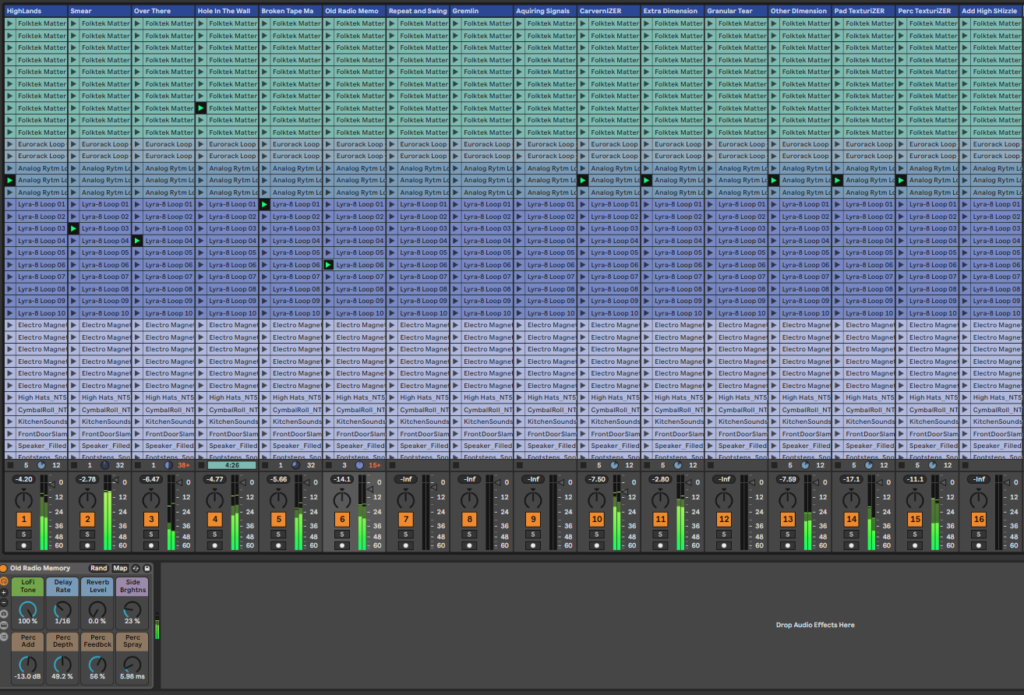
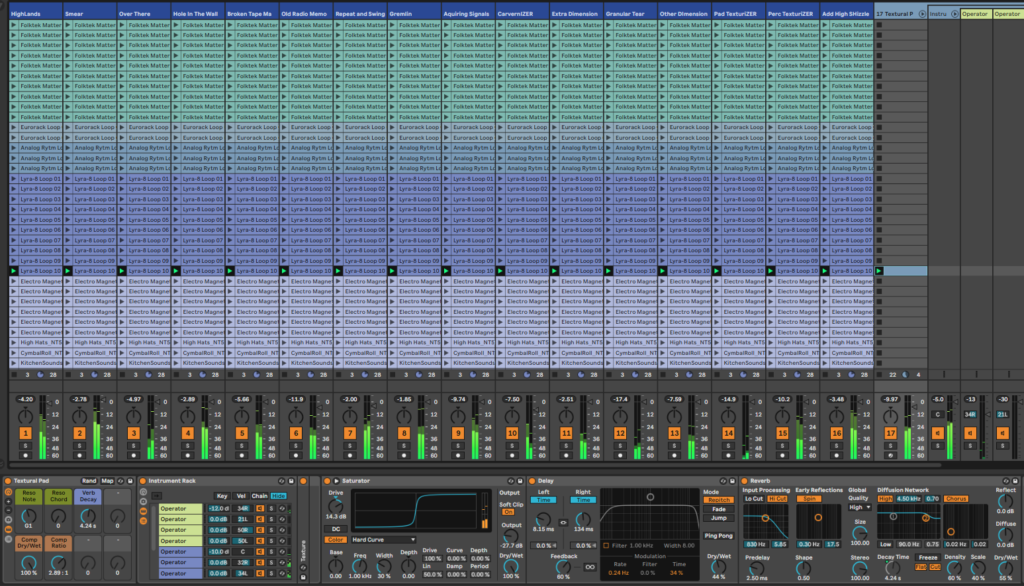
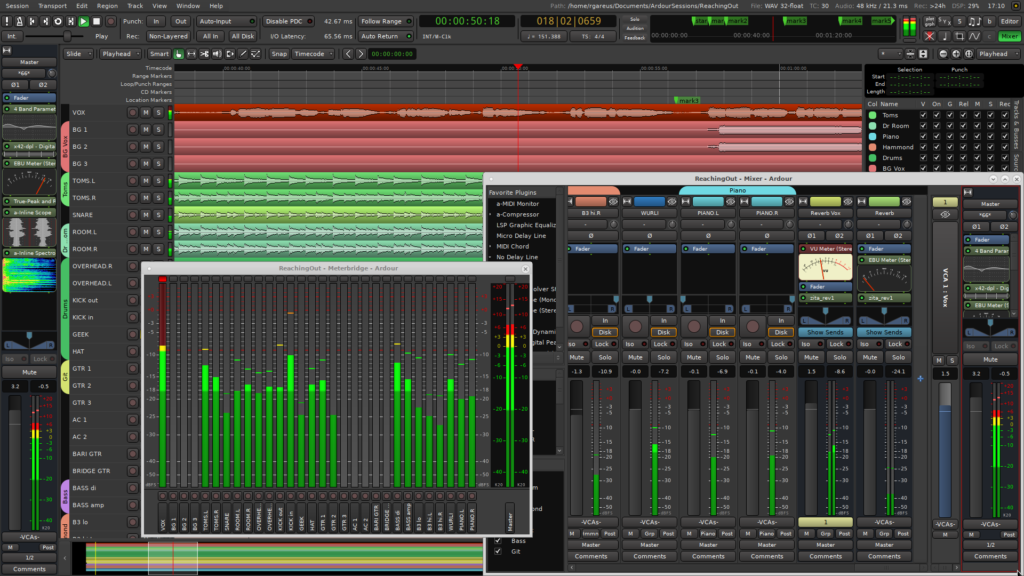
Ableton MIDI Clip:
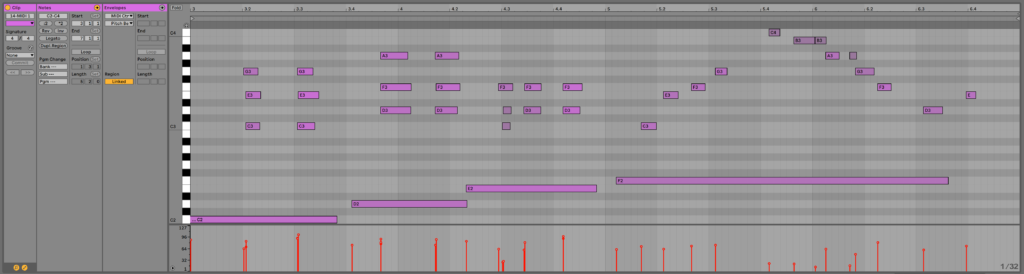
Ableton’s MIDI clip is the sequencer that we are all the most familiar with. It came about as a representation of its hardware predecessors, which sometimes were cumbersome in their programming of multi-note, polyrhythmic sequences, with varying velocities, volumes, and other dynamics such as the sample’s envelope.
Sure, on many of the machines, you can use these features, but not after pressing a set of keys and processes to open up the interface, which often wasn’t graphically represented in an obvious way – well, at least not as obvious as Ableton’s.
While not a pure generative sequencer, Ableton’s MIDI clip has evolved into allowing for other functions, like complex automation, expression, generation, transposition, and other features that were more difficult to program on hardware sequencers. Then if you add some effects to it, and randomize the parameters on the MIDI clip, you will have one of the best generative sequencers, especially for the price.
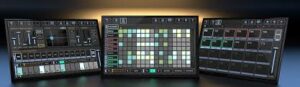
Audiomodern
Audiomodern creates excellent sequencer plugins that focus on algorithmic generation. They have one specific to melody and basslines (Riffer), one for percussion (Playbeat), and one for chords (Chordjam). I use these plugins in over 90% of my pieces ever since I got it.
Playbeat:
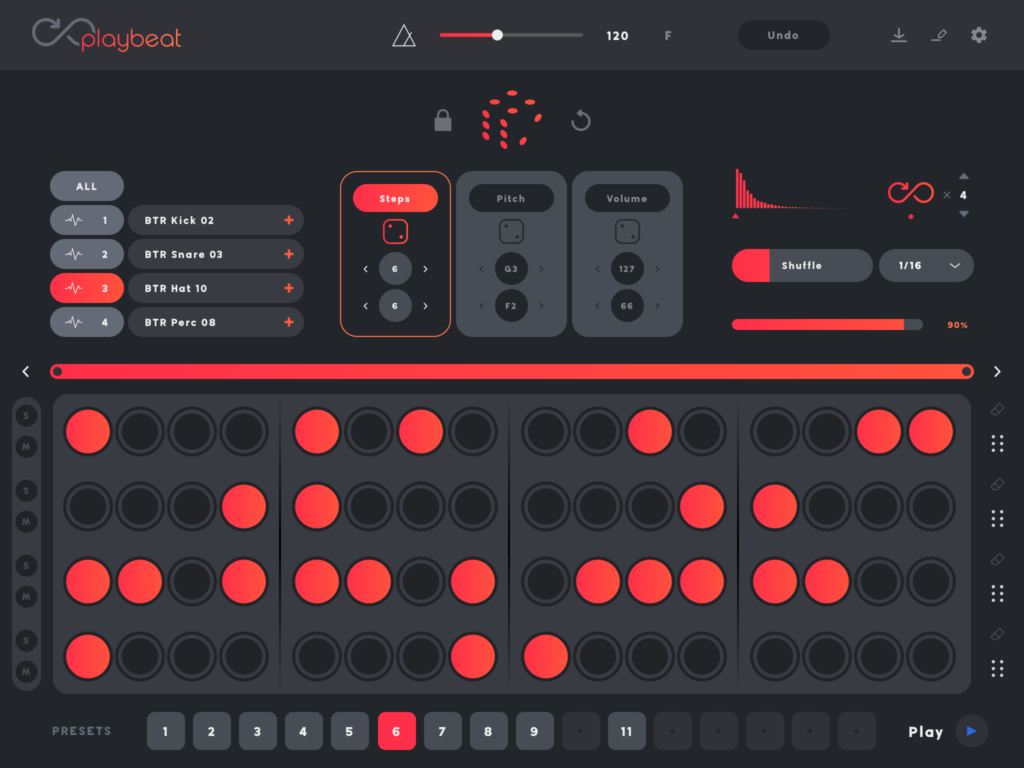
Playbeat isn’t a normal drum step sequencer. Instead of drawing in your notes (which you can do too), it generates patterns using algorithms and randomization that modulate its steps, pitch, volume, and more. You can import your own sounds, and use its capabilities to generate some patterns that have never existed before.
What’s great about Playbeat is that you can randomize any aspect individually, not all at once. So let’s say you’re happy with the steps on it, but want a little more variation on the velocity of the drum hits. No problem, you can randomize only the velocity. There are also no limits to the length of the sequences – you can make an infinitely long sequence and write an entire generated percussion section. Then you can go in and add or subtract whatever elements you want to get it sounding fresh.
Riffer:
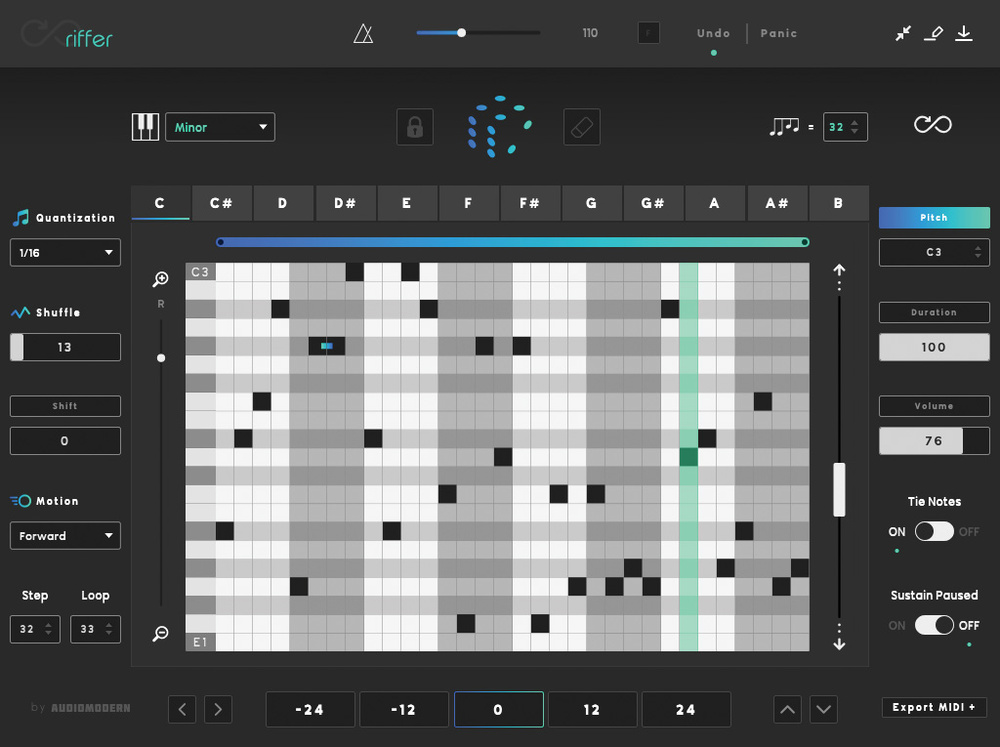
Riffer is like Playbeat, except it does it with melody and basslines. It has 53 different Eastern and Western scales that it will generate depending on the key of your song, and you can set the number of root notes to hone in the theme of the pattern. You can have it modulate and generate different pitches, volume, velocities, and note duration. It allows for easy MIDI export as well, allowing you to take your patterns to trigger any MIDI-capable device or plugin you own. You can set the quantization settings and even quickly transpose the whole sequence. The sequences can also be infinite as well, allowing for intricate jam sessions.
Chordjam:
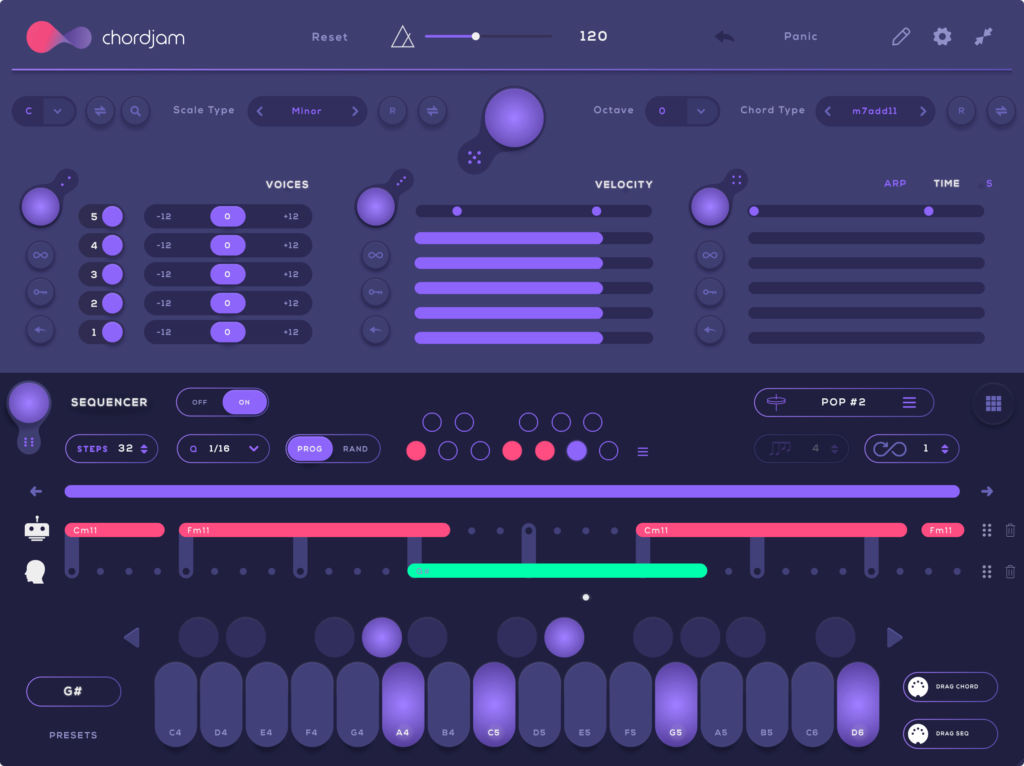
This tool builds chord progressions and chord progression patterns using user-triggered randomization, just like the other two Audiomodern plugins. It automatically generates unpredictable but always musical variations by randomly assigning parameters based on the restrictions that you program in.
It also includes presets for chord progressions, allowing you to generate random chords and sequences inside a set progression. These chord progressions are also known as your harmonic progression and are basically the way that the harmonic aspect of a song evolves. In simpler terms, think of a folk song, like Neil Young and how the chords on the guitar follow a pattern and resolve in certain ways. That’s often based on a theoretical structure that defines how the song will go. Inside Chordjam, you can set those sequences. So let’s say you’re into a pre-existing song that you can find the chord progression for, you can set that in Chordjam and get a structural approximation of that song while having a unique composition within it that’s you’re own.
You can also set the parameters for randomization of its velocity, its timing delays, and its transposition. It even has an arpeggiator mode where you can have the chords be played one note at a time, rather than in a “strum.”
NCoder Audio
These Max For Live plugins are advanced, especially for only one guy designing and programming them. While all his plugins are great, his sequencers stand out. Not to mention they’re cheap, coming in less than $15 in most cases.
Tie
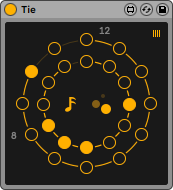
Tie is their updated take on a Max For Live sequencer, with an emphasis on ease for experimental techno producers.
First, you set the restrictions and parameters for your sequence. For instance, you can set the lowest note on the scale, the highest note, the lowest velocity, and the highest velocity. Then you press randomize, and it will generate a unique note and velocity sequence. There is also the option to combine note lengths in random order, cycle notes, change timings in real-time or turn steps off and on, making it one of the best generative sequencers.
Polyrandom

Polyrandom is an 8 channel polyrhythmic drum sequencer that allows you to create complex, generative percussive sequences.
It might seem simple at first glance, however, it has a few neat tricks in its arsenal. It gives you eight lanes of rhythmic function, and each lane has two main parameters: the number of steps in a measure, and the number of steps used by the editor. By integrating these two main parameters, it’s easy to engineer polyrhythmic drum tracks that highlight constantly changing interactions between the sounds you pick.
They call it Polyrandom” because of the tiny button called “rnd”. Clicking the button will randomize both main parameters, and then will randomly select steps within the grid to modify. By clicking “rnd” on each lane, you will create a completely unique, randomized drum pattern that you can keep on modifying either by turning the steps on and off, or hitting “rnd” again. This allows for some interesting, and unpredictable, generative sequences on the fly. This random capabilities make it one of the best generative sequencers for percussive sounds, in my opinion.
Alexkid – Sequencer Bundle A
These Max For Live sequencers are programmed by a producer named AlexKid. I find it to be an efficient way to make quick percussive loops with half generative, half programmed capabilities.
There are 4 different sequencers in this bundle, each having its own function. Combined, they are one of the most powerful, best generative sequencers on the market.
Coin Locker Babies
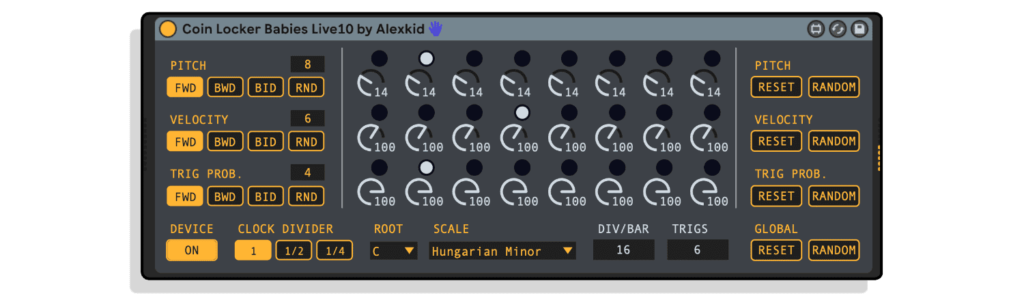
Ok, this one isn’t necessarily percussive, but it’s neat, especially for ambient and techno producers. With this, you can generate strange, polyrhythmic melodies that ebb and flow in interesting ways, You can use it for any sound, and have it generate sequences based on 18 exotic scales, so the world is your oyster.
Probabilistic Sequencer
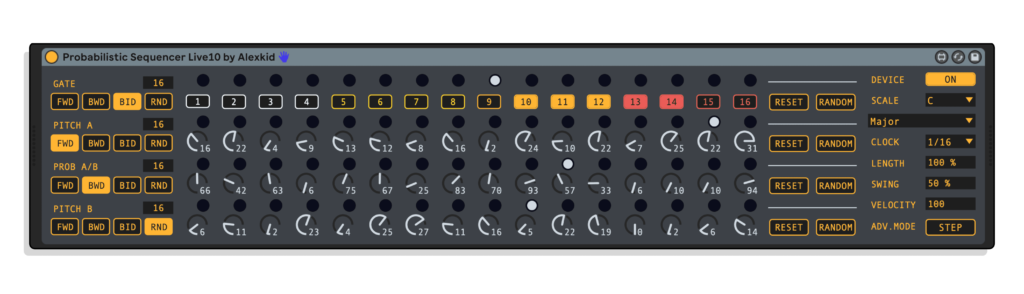
Another probability-based, randomizer sequencer. Use it to create basslines, melodies, percussive loops and more, with the click of a few buttons. You can make each line have different lengths, allowing for things to be less linear and more natural.
Cute Little Sequencer

This is a fun and easy-to-use sequencer that creates some interesting polyrhythms and scale-based melodies. You can use it to sequence any soft or hardware synth or drum machine, and use it to create really interesting patterns.
Hats4Dayz – 16 Step Probabilistic Sequencer for Hi-Hats
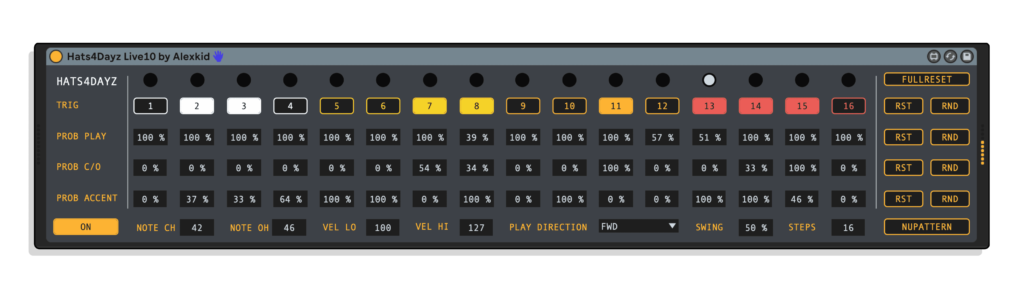
We make dance music so of course we love dynamic hihats; they give tons of energy to a song. However, often hihats sound exactly the same in songs. Well, never fear, Hats4Dayz is here – one of the best generative sequencers, especially for hats. This sequencer affects the step, the velocity, accents, and the timing of hihats, and can randomly apply parameters to it. You can also control how often the hat opens and closes, which gives some excellent variation in composition.
XO
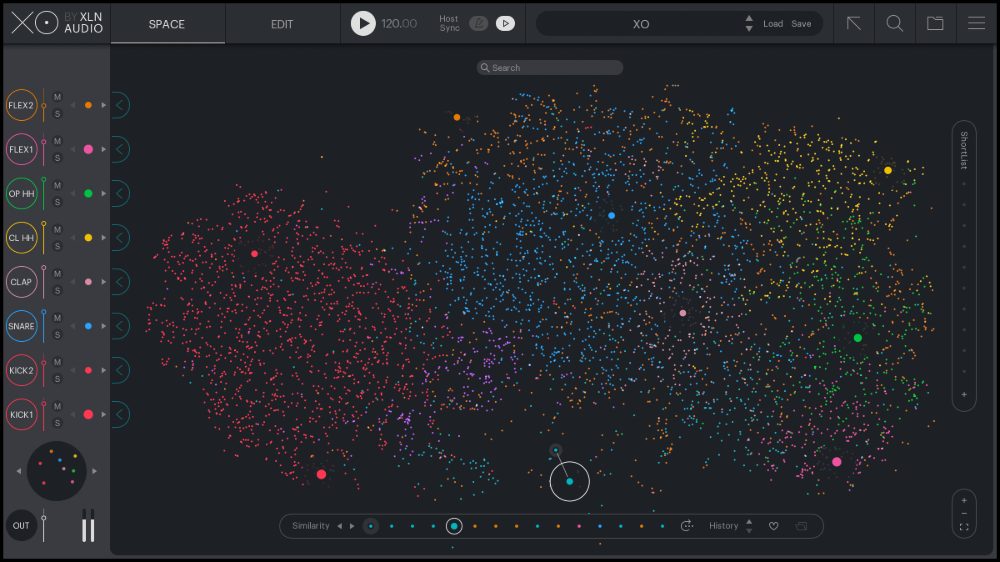
XO by XLN Audio is a great sequencer. It gives you a lot of ways of selecting sounds by making a map of all the sounds you have on your hard drive, analyzing them, and then suggesting similar sounds in your arsenal.
After you’ve found the perfect sound on your hard drive, you can then load them into the built-in sequencer, where you can program them with a myriad of different features, including swing, accents, velocity, panning, pitch, tone, and basically anything else you can think of on a sequencer.
Or you can use “playground mode,” their take on generative sequencing, where they allow you to generate, switch, and modulate a diverse, generative amount of patterns and parameters.
Then, once you have the perfect groove, you can easily export the patterns to a custom Ableton drum rack or MIDI clip.
Reason Beat Map
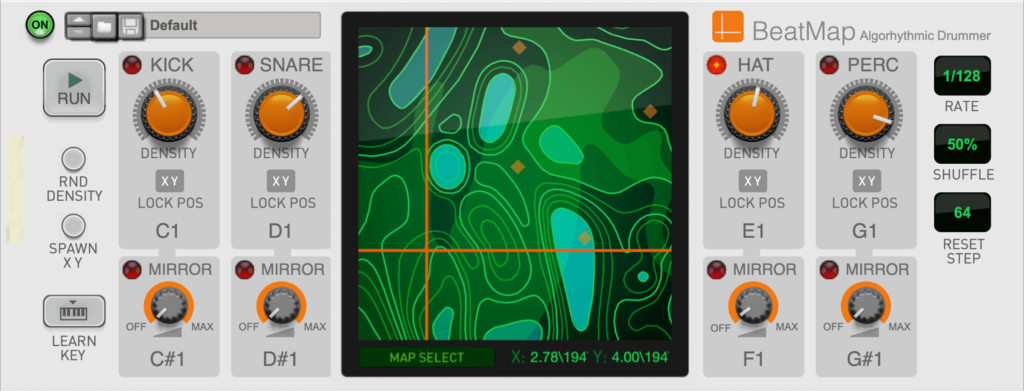
If you weren’t familiar already, Reason is now a VST that can be loaded up in Ableton. Inside Reason is a sequencer called Beat Map, and boy is it powerful. In a way it kind of reminds me of Grids by Mutable Instruments, if you are familiar with that eurorack module.
There are different kinds of maps, and depending on where you position yourself on the map, you can generate algorithmic sequences.
First, you load in your drum kit, such as Kong, which comes with Reason. It will map itself automation to Beat Map. Then Beat Map will spit out a pattern. You can change the settings, and drag yourself across the physical map to alter these patterns. It creates great loops for all sorts of genres from DnB, to house, to techno, to breaks, and everything in between.
Another great feature is its density control, which decides how many notes from that pattern are being played. You can start with a simple clap, and as you move the density, it will sometimes change positions. Or a random new clap will appear to make a fill. It feels like your controlling a real drummer, which is why it’s one of the best generative sequencers.
Sequencer Tips and Tricks
A Bad Sound Will Make A Good Sequence Sound Bad
Whenever you’re sequencing a melody or percussion, there is a rabbit hole you can mistakenly go down where you can have a good pattern, but something isn’t quite right. You keep on altering the pattern, and it doesn’t get any better, and often it gets worse. Often I find that it’s not the pattern that’s uninteresting, but rather the sound you chose. Adequate sound is important.
An easy way to remedy this is to use a sampler in Ableton and load up all the sounds in the sampler and then change which sound plays by moving around the selector. So if you assign a sound to all the notes of the sampler, then each note becomes a sound. Then if you move the selection as a knob, it will quickly cycle sounds.
Ok, that might have been confusing. Just watch this video.
Trimming Samples Gives Them Character
Not all samples have the same length so whenever you test sounds, always trim the sound to a very short length to have a feel of the groove of the pattern that you have. Shorter sounds often have more dynamics, where you can then you can modify the decay or release to open up the sound and find the sweet spot.
Tuning You Samples To Fit The Song’s Key
Some people don’t realize that you can tune the percussion that aren’t harmonic.You can tune it to the pitch or key of the song, and sometime it helps find space in the mix better. If you don’t have any harmonic content, you can generate some by activating the FM function on the sampler. You can add a sine wave, or a square. Adding this to the sound can add harmony and texture. Simply find the OSC function on the sampler, which has the FM function under it, or watch this video for more clarification.
Have A Master MIDI Channel
You can create a MIDI channel that controls the functions of all the other sequencers. So rather than having 5 different patterns for 5 different sequencers, you can have a master channel that affects all of the different sequencers and records their patterns in the channel. This makes things more organized. When you have a lot of channels, you can get lost in adding and subtracting elements. Instead, create a good foundation on the master channel, such as a simple house beat, and then add things from the sequencers to it.
This is kind of my own trick to keep things organized so that you don’t end up having a bunch of confusing layers that are hard to navigate.
First, have 1 or 2 master MIDI channels sending the main structure of the song. Then take a bunch of MIDI channels with content that receives the MIDI from one or the other master channel. Now you can have multiple percussion channels and you can always receive the content from the master percussion channel, allowing you to try out the same ideas in different sequencers. That way you avoid adding more and more layers as you limit yourself to the song’s main idea. This can also be done for melodies as well.
Summary:
At the end of the day, the best generative sequencers are the ones that makes the most sense to you as a producer. Each one that I’ve listed I use extensively in my productions, as well as the work I do for clients. They have made thinking of new ideas a breeze, and I don’t feel cheapened by it at all. Actually, it’s quite the opposite, by relinquishing control to another entity, you are in an efficient dialog, and efficient dialog is the basis for many of the world’s greatest ideas.
Hopefully, as the industry evolves, we can get rid of the ridiculous, pure DIY notion of electronic music, and see it for what electronic music was meant to be – a social and technological collaboration to create forward thinking, futuristic sound.


 One of the most revered electronic albums of the last decade is Jon Hopkins’ blistering techno/neo-classical masterpiece,

 One thing that I love doing is to work with unestablished artists. It’s why I have
  Not all genres are the same, and they require different equipment. If you were to record a cowboy outlaw record, it’s probably not the best idea to go to a micro house producer. However, I have had rock bands come to me because they wanted their album to sound electronic in nature, despite it being a rock album.
 Perception is reality, and some people have different perceptions on what things are supposed to be. Especially when dealing with their art. With audio, producers often get married to their sounds, thinking that they should be specifically in this spot in the mix, when, in reality, it probably won’t translate the way you want it to. This may come from hearing said sound over and over again in whatever room, or on whatever medium they were listening to while they were making it. However, in a well treated room, with calibrated equipment, or conversely, in a club with a good, or poor sound system, it may not translate exactly how you anticipate. Some people are more judicious about this, and accept the reality. However, some you just can’t please. So is the way of the artist.
 Engineers get that artists have a lot of things to say about their work, and may use poetic language in order to communicate it. And this prose sometimes leads to elaboration. However, there is a saying in sales, called K.I.S.S, which stands for Keep It Simple, Stupid. This is because people understand things if they are simplified. No need to get technical, or elaborate. Just say what you mean. A good way of easily communicating is to provide examples of things that already exist. Let’s be real, nothing is new under the sun, so if we can pinpoint where that idea is coming from, then maybe it can be recreated, with a flourish that makes it your own.