Due to popular demand and because I receive questions about what to buy to start making electronic music almost daily, I decided to cover the topic based on various levels of investment. If you follow the plan I outline below, you won’t fail or be mislead into bad purchasing decisions. This list is based on years of discussions with people, consultation with clients, and testing a variety of this gear myself. As previously covered in a past article, we’ll start with the level where you are completely new to making electronic music and then build up from there. If you need guidance beyond first levels, scroll down to see tips for larger budgets and more advanced levels of producing. Just remember, the type of studio electronic gear that you choose to use will have a profound effect on your sound.
Level 1 kit: The beginner Studio Electronic Musician
Your level of knowledge:little-to-none; you’re contemplating making music.
Includes: Laptop, DAW and Headphones.
Music really doesn’t take much to get started with anymore. There’s a myth that many people believe, that the more equipment you have, the better the music you’ll make and thus it’s waste of time if you don’t have much money to invest in the early stages. This is false, I know some pretty amazing music that was done on the cheapest setups you can imagine. Remember, studio electronic music started as a DIY endeavour, in cultures that were not traditionally wealthy.
The only thing I’d strongly encourange you to do is get a demo version of Ableton, Reason, or Bitwig to see which one seems the best for you but my personal pick will always be Ableton, which I’ve been using since 2002.
For your laptop, if you can invest in one, I’d say try to get a PC or MAC with at least a i5 or i7 processor and an SSD hard drive; this will make a tremendous difference in how you’ll be able to manage the needed resources. Plugins and software are mostly dependent on a powerful CPU to process information, while the fast hard drive is to access how the samples are read. If your hard drive is slow, it can create bottlenecks if you’re reading large files. An external SSD is critical should you rely on something not internal. Also with regards to RAM, the higher the better. At the moment, I find that a minimum of 6gb will make a difference but if you can get more, that’s even better. High RAM is also a critical part of how smoothly your DAW will run.
Harddrives & Laptops For For Studio Electronic Music
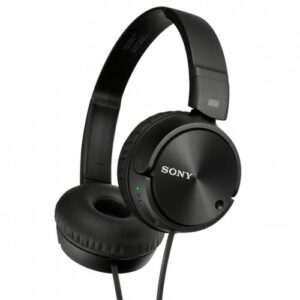
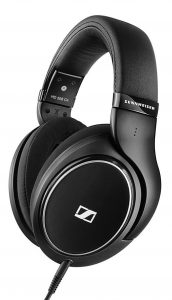
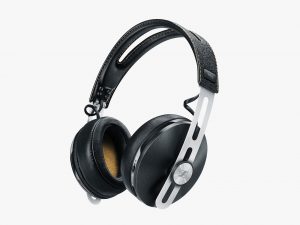
You’ll need a good pair of headphones. If you don’t like making music, you’ll still have a good pair. I find that it can be misleading to not invest much in it so if you can, get the best you can get. I propose here pairs for different budgets.
Headphones
Level 2 kit: Getting confident In Studio Electronic Music
Your level of knowledge: You’ve made some songs and you start to feel limited by the level 1 kit (headphones and a laptop).
Includes: extra software/plugins, Speakers, MIDI controller.
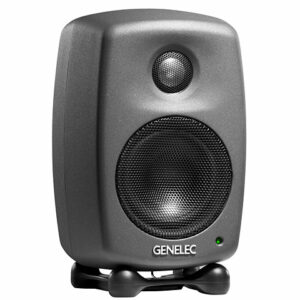
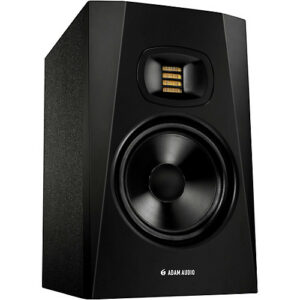
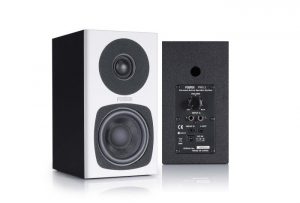
Ok, so now you know you want to do this as a hobby or more. I think it’s important to have better monitoring than just your headphones so getting speakers should be among your next priorities. There’s nothing more important than to go to your local shop and spend time testing a few pairs of monitors with music you know. So get your phone ready and go listen, then you can make a decision and buy. My personal favourites might not work for your style, but here are some of them, including some for different budgets.
Just make sure that the music you listen to is similar to the type you will be making, since your studio electronic music will be influenced by whatever you get.
Speakers & Monitors FOr Studio Electronic mUsic
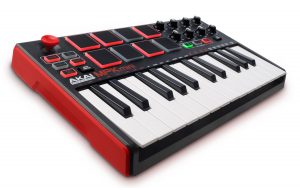
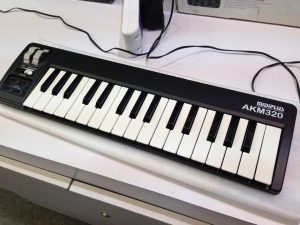
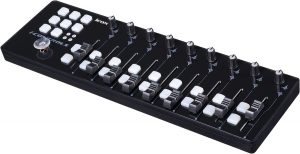
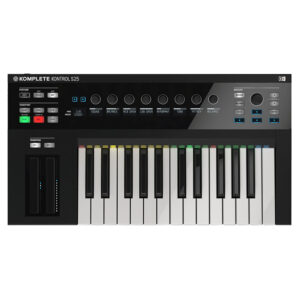
MIDI Controllers
A good investment is adding some controllers for your DAW so you feel a bit more physical about how you interact with your music. This can go from a pad based midi controller, to a keyboard or a midi mixer. It really depends of what you do with your music but any of these will be useful somehow.
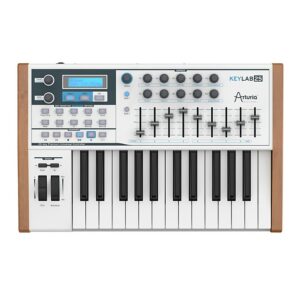
If you’re serious about your music, you will want some original material and investing in good synths is important; you can then combine controllers with sounds. KOMPLETE by Native Instruments is a powerful investment that will pay off for years to come. Otherwise, Arturia is also quite amazing.
Level 3 kit: The Studio ELectronic hobbyist
Your level of knowledge: You’re able to make music and finish songs, you spend considerable time making music.
Includes: extra software/plugins, Gear upgrades.
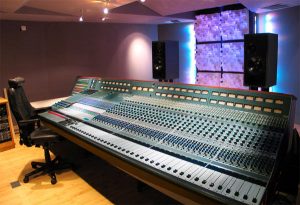
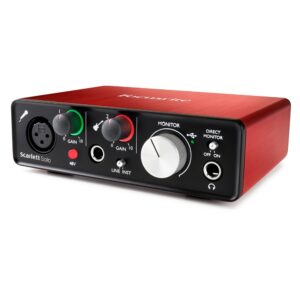
At this point you can make music, finish songs, and perhaps getting some of your tracks signed to a label. This is the stage where most of my clients are at. In general, their needs are pretty much the same. Many haven’t invested in good monitoring, either a proper sound card or monitors. A quality sound card/interface will make a big difference in the quality of your sound; this sounds pretty obvious but many people I work with still need to be convinced…until they get one and come to me to say I was right! Sound cards aren’t like monitors, it’s not a question of personal tastes but a matter of understanding what you need. The very first question you should ask yourself is “how much gear do I need to record?”, because that will determine how many inputs you need in your interface. You could always get a little mixing board to get all the audio in then route it to two stereo inputs, but some people prefer multiple audio in. In other words, studio electronics matter.
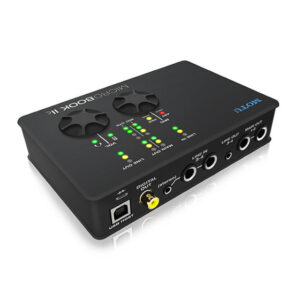
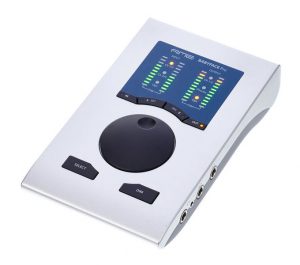
Audio interfaces & Sound cards
Most basic audio interface: Focusrite

Medium budget: MOTU – who also make killer converters for recording.

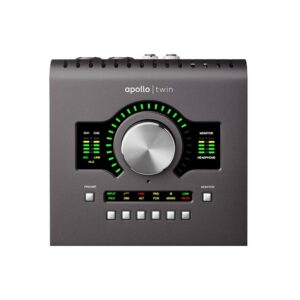
My personal suggestion is to go with UAD Apollo Twin, which also gives you access to all their plugins and outboard CPU power. This is a solid piece of studio electronic gear.
Higher budget: UAD

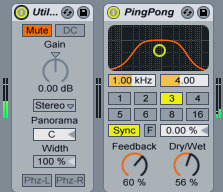
I find that at this point, investing in software to define your sound and to get out of your DAW’s internal sound is a great move. Some companies I love are U-He with their amazing synths such as Diva, Bazille or the Presswerk compressor. I am also on the Plugin Boutique mailing list to get daily discounts on software. Not only do I learn about what exists, but it then also becomes possible to get discounts for plugins I’ve had my eye on. Following KVRAudio is also an essential habit. They are masters of studio electronic gear.
Level 4 kit: The serious bundle FOr STudio Electronic Music
Your level of knowledge: You’re getting very serious at it and want to be semi-pro.
Includes: extra software/plugins, Gear & studio upgrades.
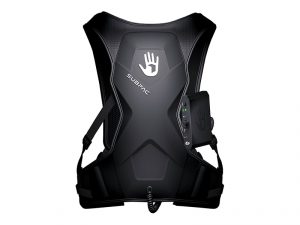
At this point, you have an organized your studio and all essentials are covered. Usually this is where you’ll feel ready to invest into more gear such as modular synths, synthesizers, external effects, and fine tuning what you already have. Before anything else, I’d suggest you make sure you have something to cover your low end. If you have neighbors and still want good relationships with them, I’d go for a Subpac:
Bass & Subwoofers
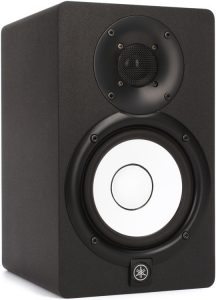
This thing has really been helpful at home and helped me get more precise mixes; there’s this more expensive wearable version, or a cheaper version for your back while sitting in a chair. It’s a piece of gear that gives you a physical impression of having a sub. If you can get a sub though, that’s even better. I can recommend many, but usually something like the Yamaha HS8s Studio Subwoofer will do for a home or small studio.
Nailing the low end is really an important part in solid sounding music, and you can only get there by being able to hear what’s going on down there. To adjust it, you won’t really need to hear it as much as feel it, which is what the Subpac also does.
Synthesizers
In terms of synths, there are many great ones out there. If you can get to a shop to test some in person, I recommend you do so. I can explain in my own words the technicalities of sounds each synth can make, but test driving a synth is the best thing to do, to really know if it will fit what you do. I think my view on this is that when you get a synth, it will become an important part of your artistic identity. I’ll list some of my favorites, based on different branches and aesthetics: Roland, Korg, Moog, Elektron.
TIP: Always search for demos of the synths on Youtube to see how they sound!
Roland: aesthetic – classic sound
A staple player of the electronic music world, Roland basically shaped the beginnings with drum machines and the tb-303 , source of the original acid tones or the Juno
 that shaped Trance/deep techno. After being silent for years, Roland has returned with force, deploying super solid products such as Roland Aira TR-8 Rhythm Performer
 for the 808, hugely recommended if you want classic kicks. The sound is very classic, clean, and efficient. I would recommend the Roland GAIA SH-01 Synthesizer
 which has made a big comeback in many genres in the last few years and is far from being out of date.
Korg: aesthetic – edgy, modern, clean, warm
Let’s cover the basics of Korg as I know some of them. The all favorite at the moment is definitely the Korg MS-20 Mini Semi-modular Analog Synthesizer which is a good cross of analog synths because of its patching options. It can sound very modern and experimental but it can also sound old school 50’s spooky sci-fi. There’s a bit of a learning curve but the investment is very rewarding once you dive in it. Very unpredictable at times, it can provide many outstanding ideas. These happy accidents define so much excellent studio electronic music, as well as live electronic music.
Another one is the Korg Minilogue 4-Voice Polyphonic Analog Synth which is a super slick synth that sounds very clean and modern. It is able to make tight basses and warm fuzzy pads. Excellent for techno.
There’s also the cheaper version as well too. Finally, super useful and fun is the Volca series
 . There’s a nice little FM synth in this series – a very powerful buddy that can provide really warm tones.
Moog: aesthetic – Fat, rounded, electroish sound, vintage and gritty)
Moog is a staple for its name and the legacy it’s left over the years in so many songs we have all heard. Fat and dirty basses are often from Moogs and bold melodies are pretty much a trademark. If you want to dip your toe in the modular world, the Mother is a great machine to get. Its sounds really, really warm and thick plus its patching board is well designed that you can get started intuitively. The Moog Sub Phatty is another favorite of many for the name it carries, and what you get in return. The Moog Mother is another beast that can make extremely powerful sounds, from basses to kick and leads. it’s also a good step in the semi-modular world if you’re looking to make some hard hitting studio electronic stuff.
Elektron: aesthetic – Berlin techno, modern/underground dance music
This company is the current leader for studio favourites. It’s defining a lot of the current techno tracks that are being released. The main bad boy here is the Elektron Digitakt . There are two things that define the success of this monster: it sounds right and the integration with Ableton/DAWs makes it an ideal desktop companion. If you have the budget, you could also get the Elektron Analog Four which is another beast. Crazy possibilities on this one and a resource to do pretty much anything you want.
SEE ALSO : Equipment Needed to Make Music – Gear vs. Experience vs. Monitoring

 The first time I familiarized myself with this concept was when I used the iPhone grid to take pictures. I had read that a tip to take better pictures was to use that grid to “place” your content.


 the organization.


 For example, many people feel that they want to become a DJ after a special night in a club. This is an example of musical stimulation kicking off the cycle of inspiration. People also like to celebrate art, in search of some sort of new stimulation for the mind; to be inspired to create.
 This phase can be when the “aha!” moment hits you full effect; all the technical details fall into place and you can express yourself entirely. I’ve had this moment with two albums I made,
 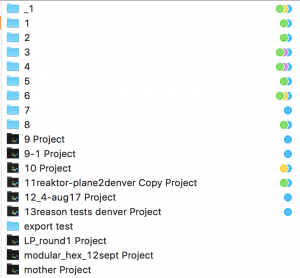 Filtering ideas into a concept
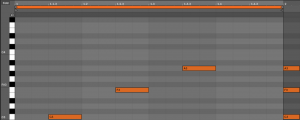
 basslines. If that’s not enough you can also use the midi effect velocity which can not only alter the velocity of each note, but in Ableton Live it also has a randomizer which can be used to create a humanizing factor. Another way to add dynamics is to use a tremolo effect on a sound and keep it either synchronized, or not. The tremolo effect also affects the volume, and is another way of creating custom made grooves. I also personally like to create very subtle arrangement changes on the volume envelope or gain which keeps the sound always moving.
 modulate anything, and they will automatically create movement. For each LFO, I often use another LFO to modulate its speed so that you can get a true feeling of non-redundancy.
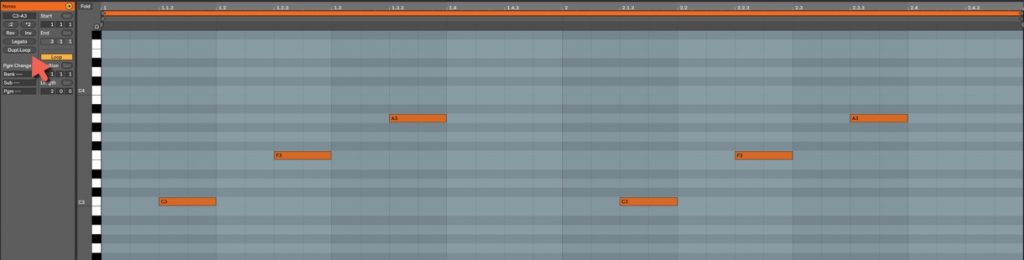
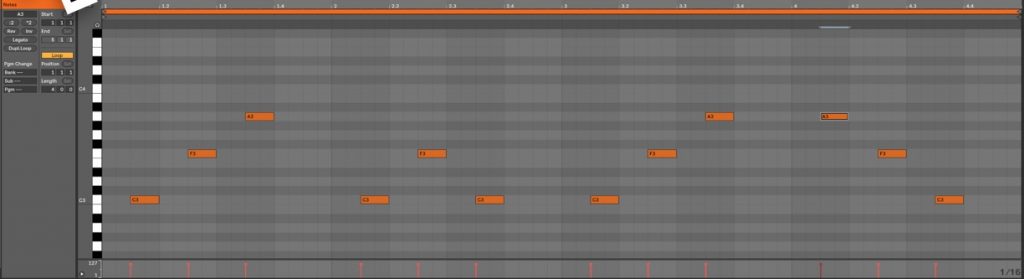
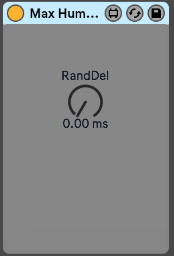 A sound’s position in a pattern can change slightly throughout a song to create feelings of movement; a point people often overlook. This effect is easier to create if you convert all of your audio clips to midi. In midi mode you can use humanizer plugins to constantly modify the timing of each note. You can also do that manually if you are a little bit more into detail editing but in the end a humanizer can do the same while also creating some unexpected ideas that could be good. Another trick is to use a stutter effect in parallel mode to throw a few curve balls into the timing of a sound every now and then.
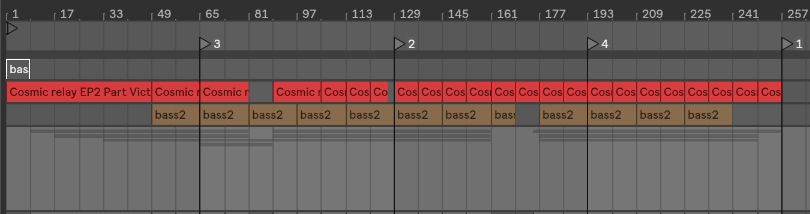
 Investing too much, too fast