Resisting the lust to be famous
While music fame and the desire to “get famous” might seem comical to some, I’m sure that if it doesn’t apply to you, perhaps there are some people in your network who have expectations to build a career in music production. It’s one thing to leave your mark, but it’s another when you have a very strong expectation to be famous. Why do I address this? Mainly because working with people I’ve noticed that many have this cyclical pattern of ups and downs, all based on how productive or successful they’ve been. The thing is, when you’re up, things are great of course, but the issue is how to deal with the lows.
 In my career, I’ve learned a few things regarding how to deal with the lows. It comes down to perception mostly, but also to how you approach things. The thing is, no matter if you’re riding a high or a low, you are exactly the same. External factors can trigger frustrations but they’re not responsible of your emotions. While it is known that physically, making music can release some internal hormones that give pleasure just as a drug, on the flip side not being able to do music can also be hurtful.
Let’s debunk a few things that can help you surf more positive waves.
If you’re in music production to chase success, you’re in for a nightmare.
What is a successful release?
This is a good question; the definition of success can be based on multiple factors:
- Sales. As you know, what might seem like a catastrophic release for one market could be a crazy success for another, with the same numbers. I can tell you that I had a time where 200 vinyl sales was a moment to open up a champagne bottle.
- Reach. It’s so strange how some releases will have all the same amount of effort in marketing but one will pop on social medias and charts. It’s basically impossible to predict what will work and how much it will spread out. But sometimes, something that reaches out more than usual, might have next to no sales.
- Media feedback. So you know, if you pay for PR, it will be between 150 to 1000 euros or more for a company to pass the music to medias, DJs, blogs and journalists. It doesn’t guarantee anything at all. But one thing you want is the music to gain momentum and if you start seeing comebacks here and there, that can be seen as a form of success.
- Other artists’ appreciation. Charts, thumbs up, DJs dropping music in an event are all a form of success.
The thing is, these factors are all linked as you can see, in one way or the other. As a label owner, sometimes it becomes pretty frustrating to deal with artists who complain that you didn’t push hard enough because the previous release did better. Explaining it like a lottery might be the best way to put it out. The strangest thing is, sometimes some of the most talented artists I know make music that is exceptionally beautiful but it just doesn’t sell, reach or get any feedback; it’s as if people completely missed it. I’ve seen some releases on Archipel pop 7 years later because a known DJ played a track in an event, randomly. Thank you Shazam!
In the end, you are the one that can define your own success. Using numbers will help you greatly. “Being famous or known” can’t be measured, but selling 200 vinyls can. And since sometimes things move really slowly; sometimes patience can make a difference.
Over 20+ years of releasing music, I’ve come up with my own set of success measurements. One of them is based on a very tight circle of friends I share my music with once I’m done with a new song. If they all like it, then I know I have something I’ll be happy with down the road. Because one of the main issues with music making is to know if you’ll love your music later on. While you’re in it, you often lose perspective of its true potential
So what does success come down to?
1 – Create personal projects that matter: This is something really important here. Make music, finish your songs, make albums and share them with your friends. Hire someone to make a kickass artwork, make sure it sounds top notch and have something that makes you proud, even years later. Why? Because that is success, honestly. To have your own collection of homemade music is something that creates a portfolio and later on, if anyone looks back at your past work, they can see the dedication and work you put into it.
2- The 1/20 ratio: Keep in mind that one song out of 20 might get attention. Perhaps less. Keeping that ratio in mind, it really brings you down to earth and keeps you humble. Is it worth making music? Hell yes. Make tons of it. Don’t spend forever on that one song you believe will make you famous. Make tons of them, record daily at least one thing, one sound design, one loop… keep yourself engaged in what you love, because you love it, not because it will lead you anywhere.
3- Create your circle of validation: This will take time and patience but if you can find a circle of 5 people you love and that you know have similar tastes to you, then you can broadly share with them. Expect to be frustrated at times but be there to validate their work as well, and remain honest, diplomatic and constructive in any feedback. Make sure that some people of that circle are DJs that often play out so they can test your music in context, if that’s you’re goal. Bonus points if one of those DJs is a social media magician; he might refer you around. I also like to have someone that is very knowledgeable so I can bounce ideas of him/her regarding labels to send my music to.
And have fun!

 Another signpost I’ve used was a sort of music “target” I set through Ricardo Villalobos. I’d study his music, his sets, and a recurring question I had was “will he play this track of mine?” There wouldn’t be any goals attached to this besides, perhaps, having him play my music, but it was more as a reference point of how my music could be made or adapted,
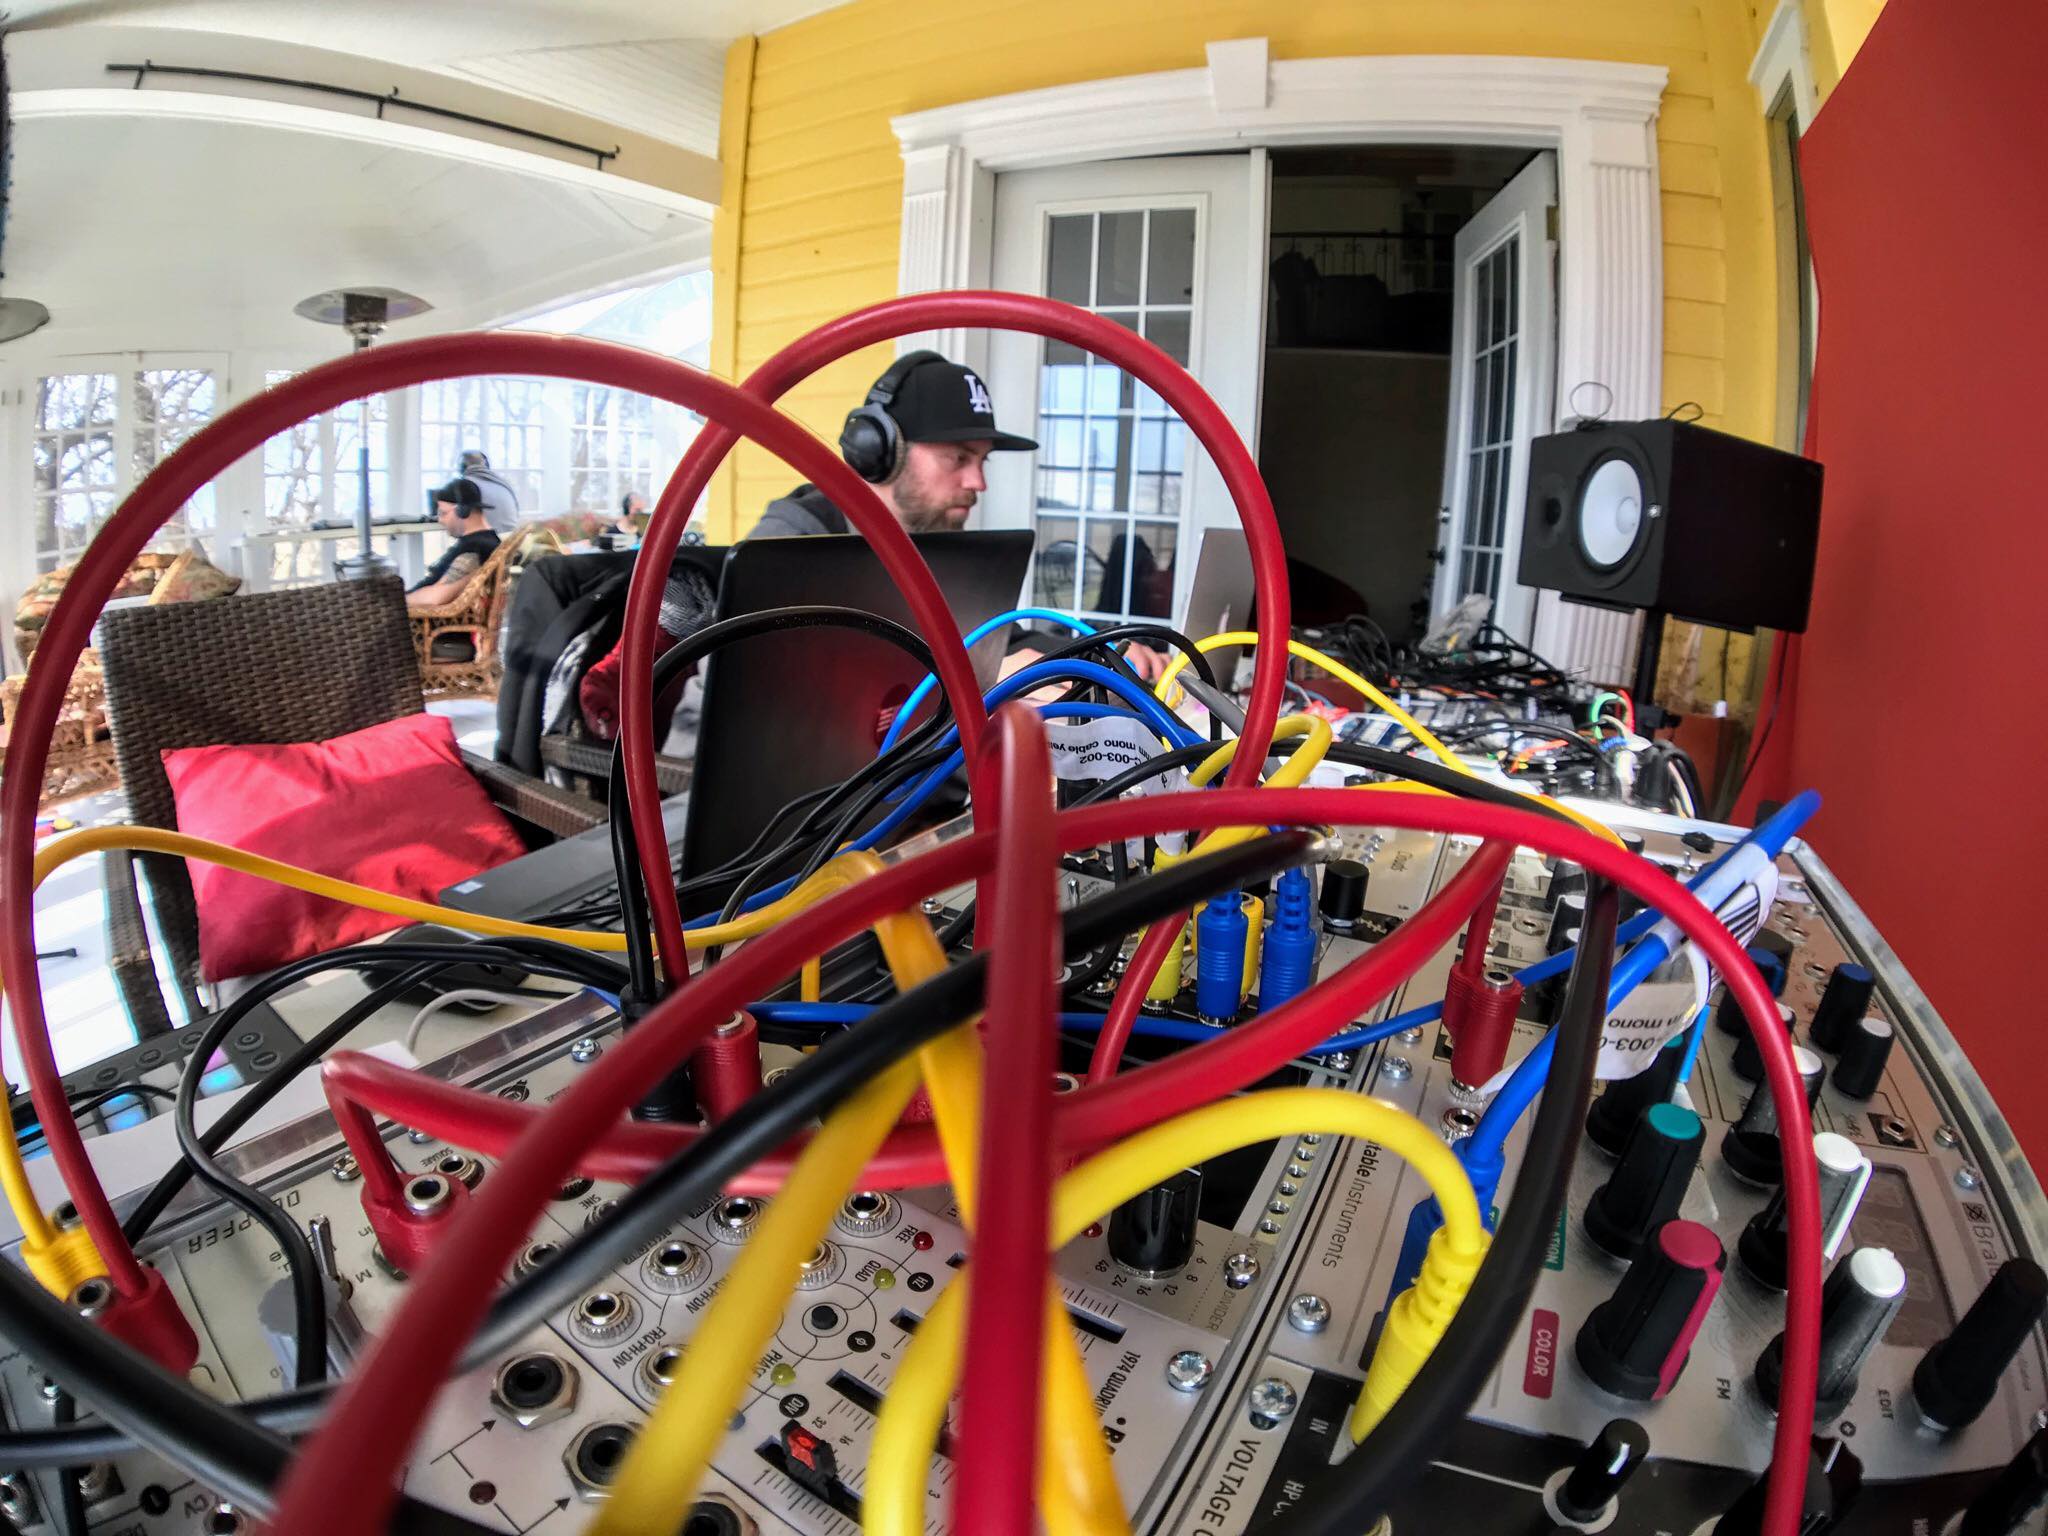
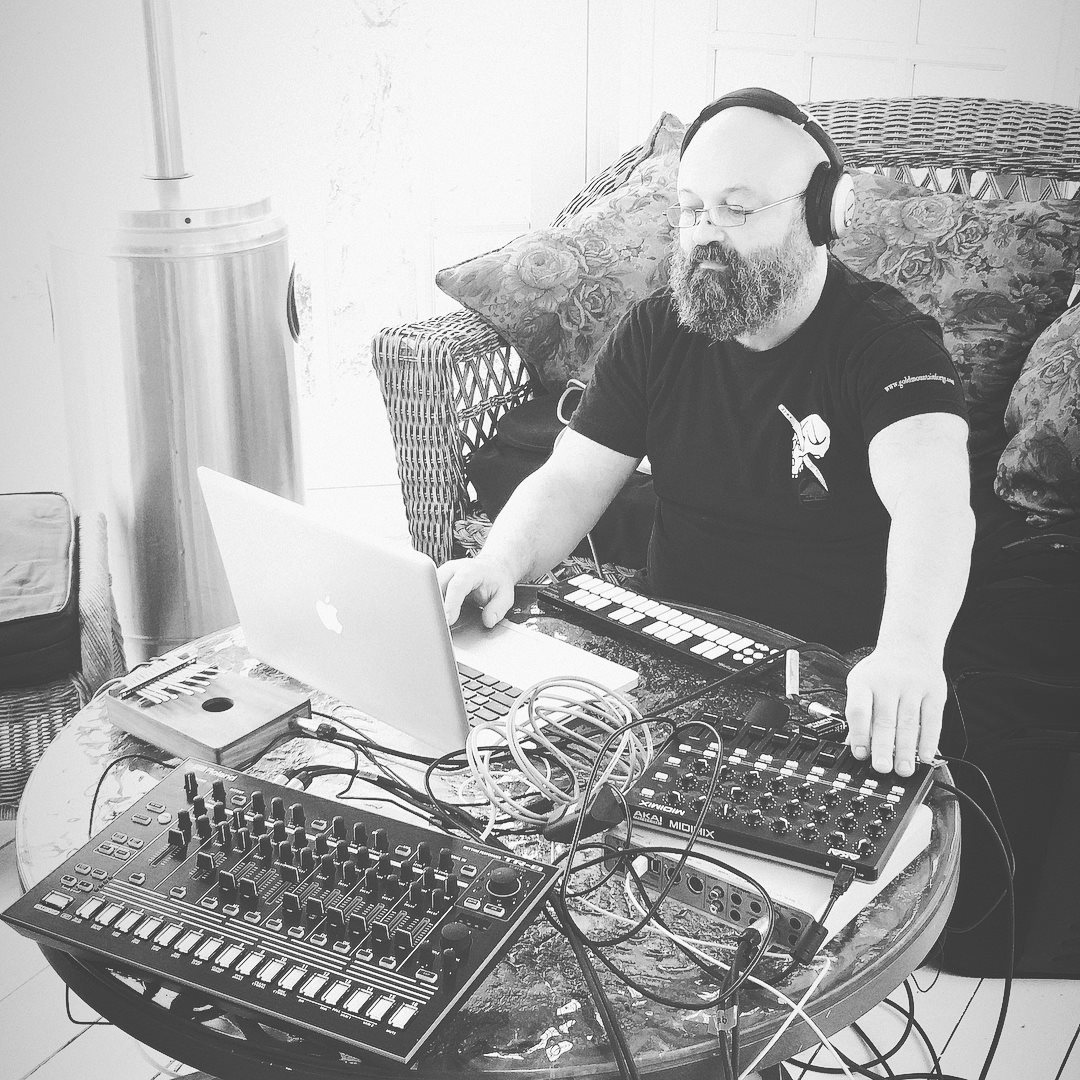
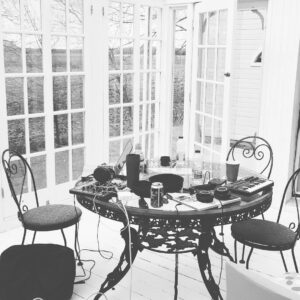 We ended up having 13 people signing (note: we even had people from France who wanted to come but we didn’t posted the dates soon enough for them to prepare) and we found a beautiful manor outside of Montreal with the views of fields and hills as the place for the retreat. The setting was perfect. Fred organized two separate studios and we had plenty of room to be with our laptops to get in our bubble.
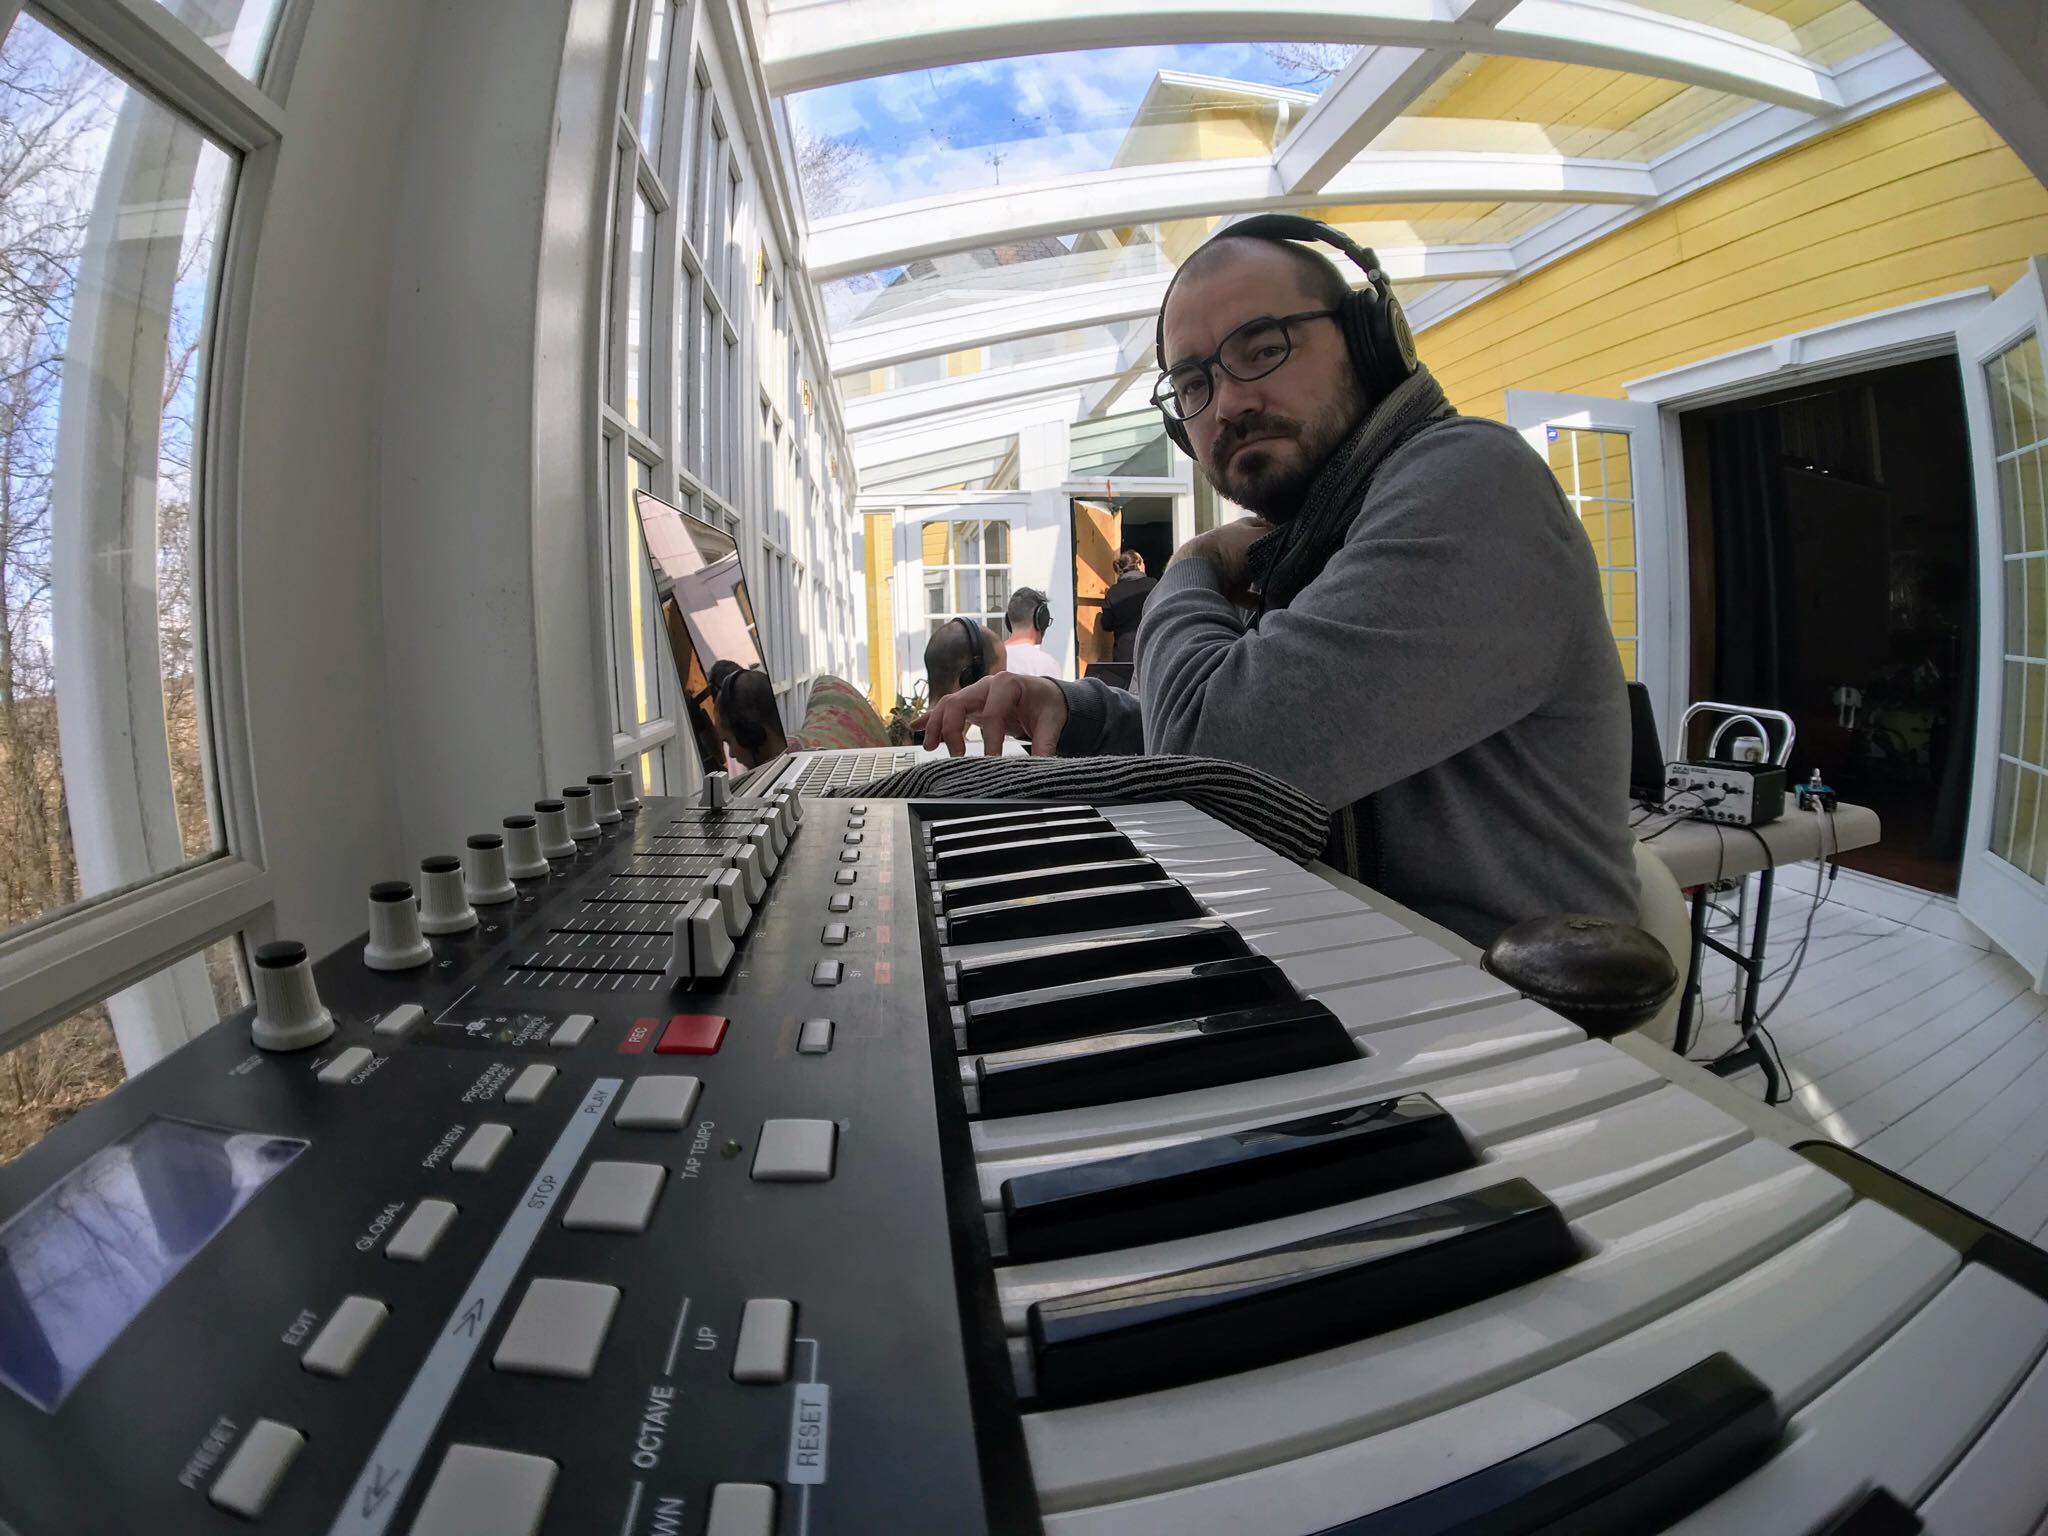
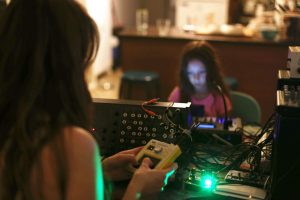
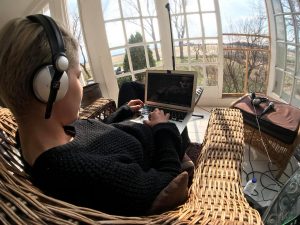 We traded Soundcloud and Facebook for real human contact. Hanging out in clubs to find like-minds felt awkward; being around people who share the same interests, and working at the same time as others really responded to a common need we all shared: connecting physically.


 For example, many people feel that they want to become a DJ after a special night in a club. This is an example of musical stimulation kicking off the cycle of inspiration. People also like to celebrate art, in search of some sort of new stimulation for the mind; to be inspired to create.
 This phase can be when the “aha!” moment hits you full effect; all the technical details fall into place and you can express yourself entirely. I’ve had this moment with two albums I made,
  Investing too much, too fast


 I’ve recently been wondering what will be the future for labels. Are streaming services replacing labels? Or are other communities? I’ve been running my label
  The great thing about this initiative was that people started to really participate and interact, even more than I thought they would. It was pretty amazing to see some people join forces and collaborate, and to see others help out by giving advice with regards to where to send music to get signed. This community has become autonomous; it’s doing what I was doing myself before, through email. I’ve been thrilled by it!
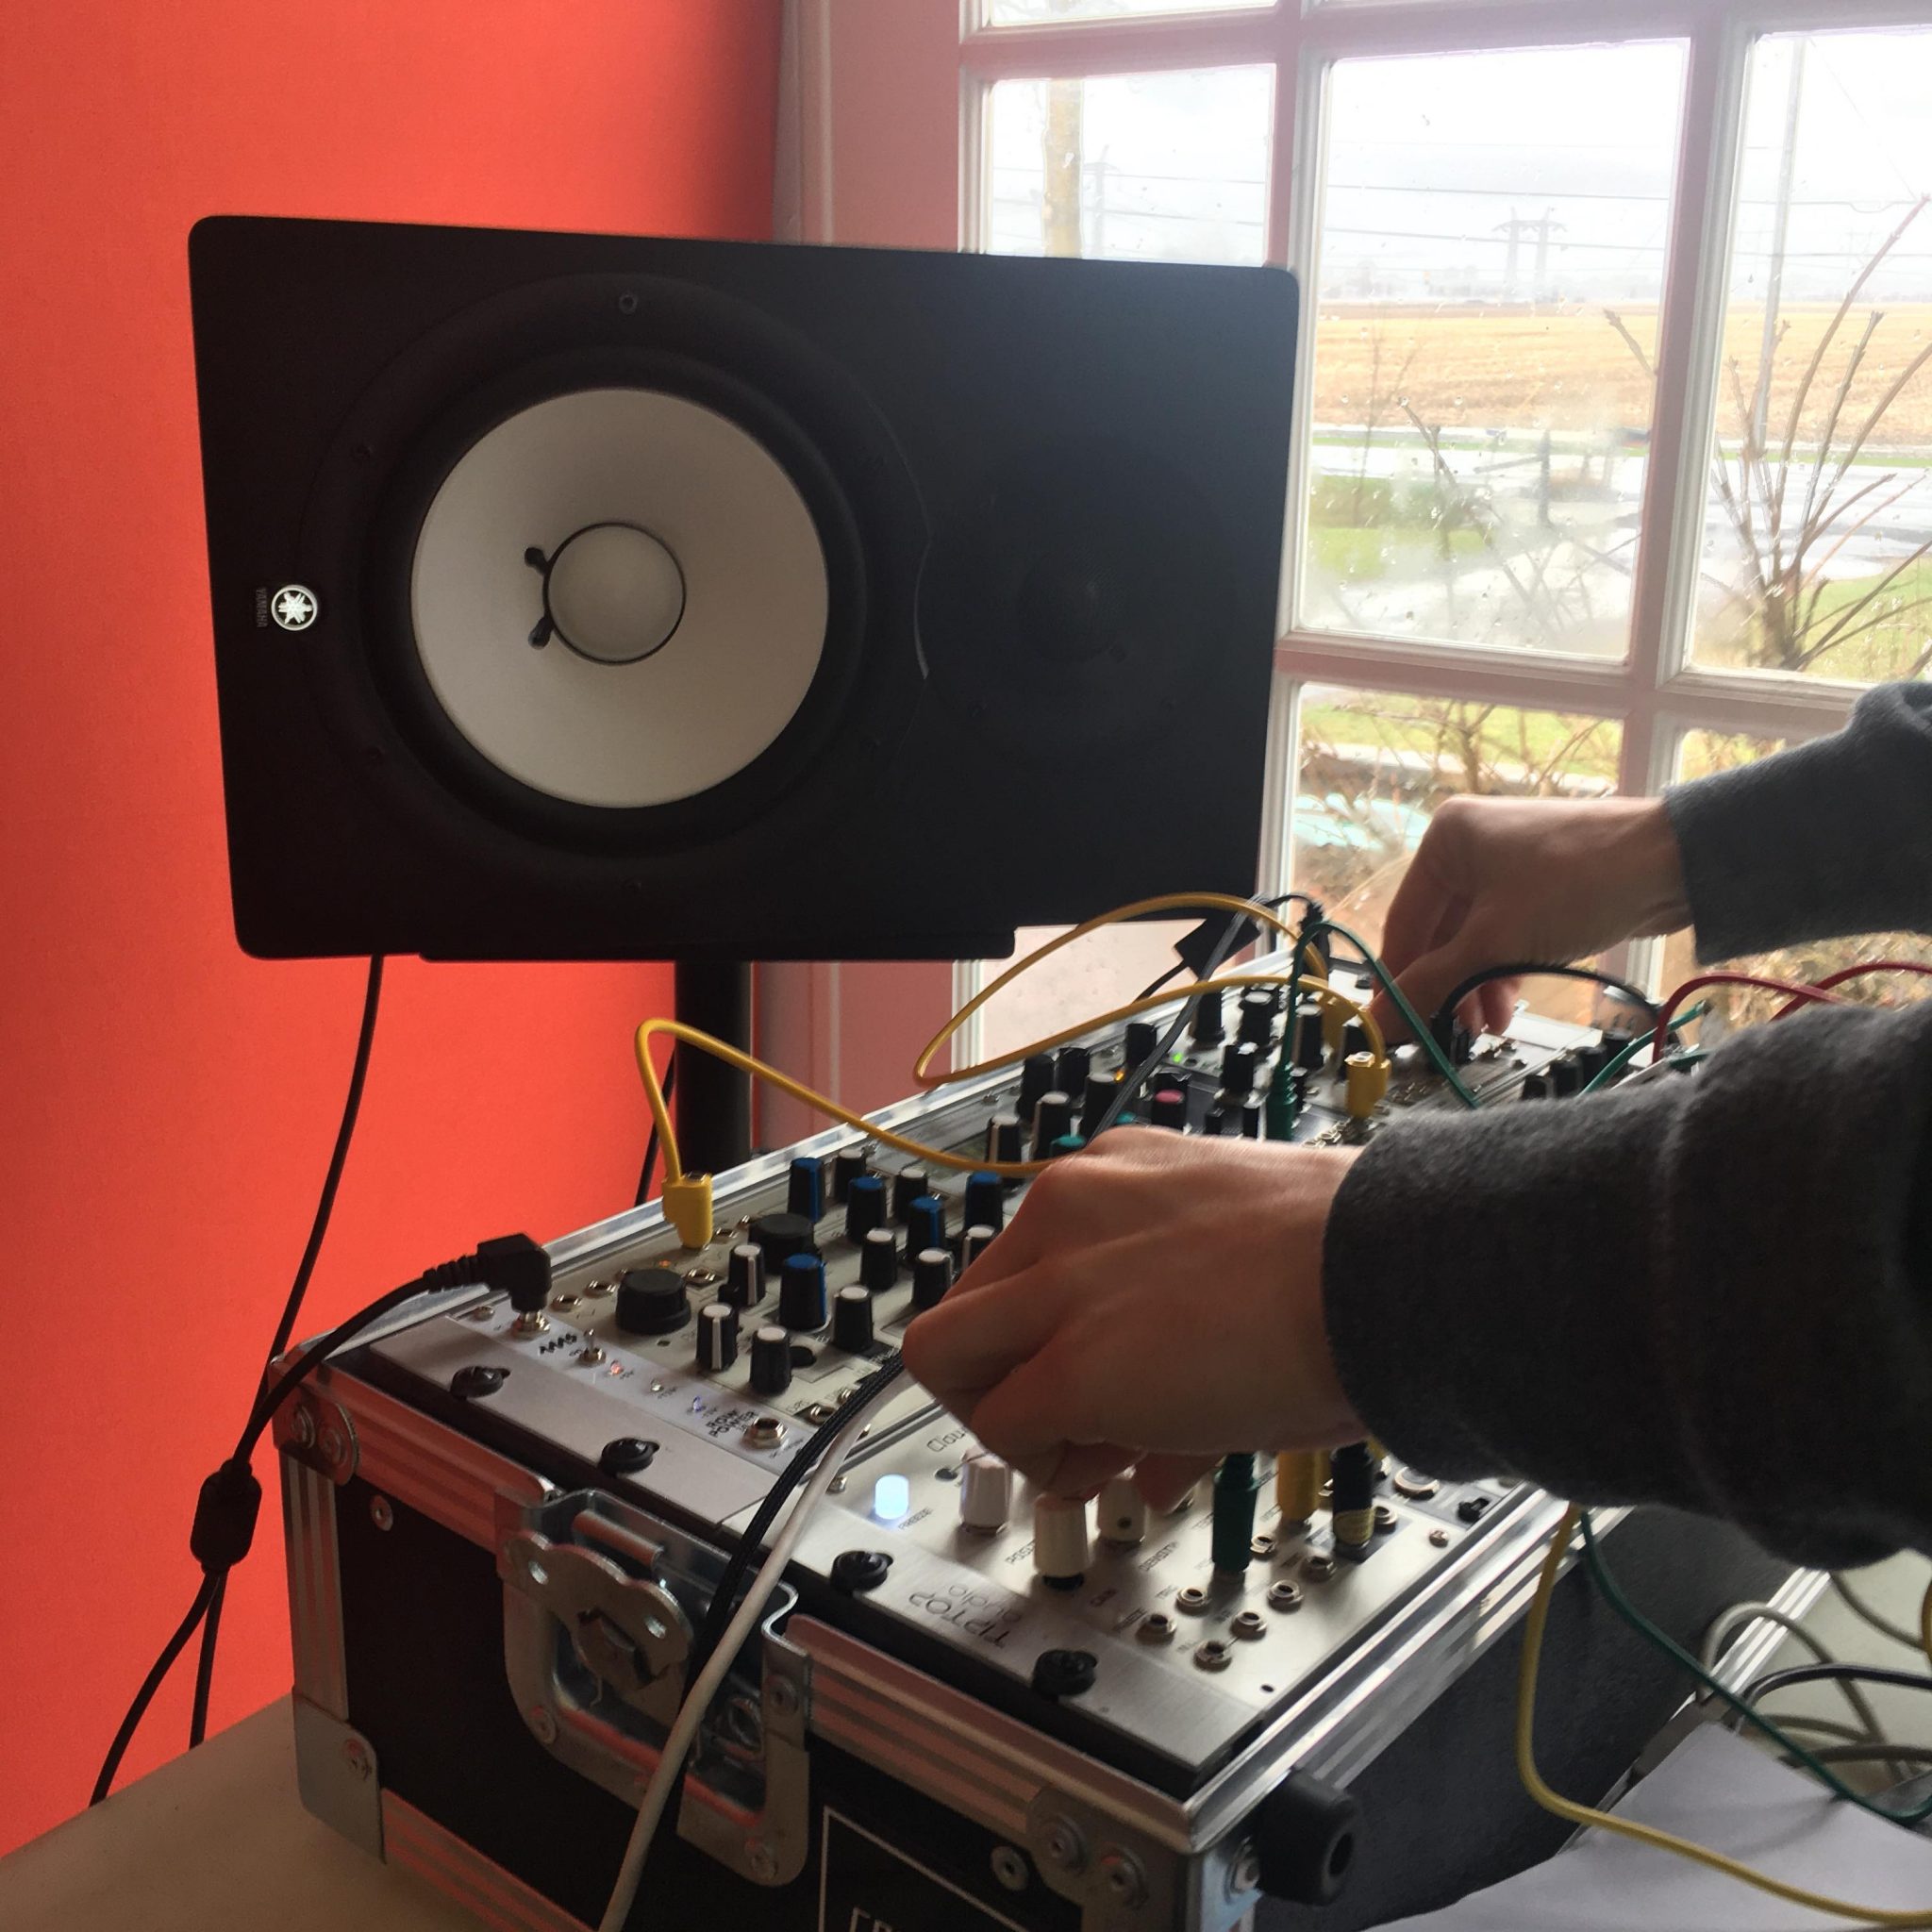
 In a sense, musical intuition is what defines someone who can bring a bit of creative magic into something, in comparison to someone who sticks to truly technical application of software. I’ve often had the chance to watch experienced producers make music, either while I was visiting one’s studio or on the spur of the moment of a jam. For instance, we once had the infamous Narod Niki experience at Montreal’s MUTEK in the early 2000’s where Zip, Villalobos, Dan Bell, Akufen, Cabanne, Dandy Jack, Monolake (even Cassy sang for some minutes) all synced their laptop and gear to improvise a show for us. Our local festival gave us many opportunities to watch, what I would call, masters in what they do, play in front of a crowd to present how to create and perform. The live act itself, when done properly, should sort of represent what the artist is doing in his or her studio, but in a way that can bring the crowd on a journey.
 A notable example would be an artist, during a live show, dropping some sounds or a musical idea that was unexpected but works with what’s happening at the current moment completely. Another example could be a musician proposing a random idea and having that incomprehensible idea make total sense after 2-3 minutes or development.