Templates As Seeds
As a producer, you’re likely trying to balance several tasks all at once while working on your music. If you’re spending time to look through four or five reverbs in search of the perfect sound, setting up buses and groups to pre-mix your tracks while you arrange it, or just feeling frozen looking at a blank project screen and finding it hard to get going, it’s no wonder you aren’t as productive as you’d like to be.
Good news, this post is all about setting yourself up to win before you begin. Begin to see your templates as seeds.
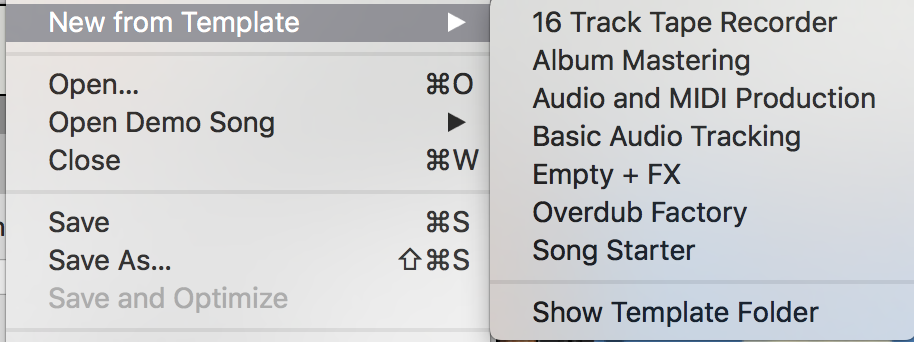 Many DAWs can be setup to load a template as an initial starting point. Reason will propose a pre-made environment, and Studio One will propose if you’d like to setup a project for mixing to speed up your getting started time. Ableton Live doesn’t have that feature by default, but you can easily change that to open a custom startup project.
Even though most DAWs have this helpful feature, that wasn’t enough for me. But it felt like I could do better.
In one way this is a follow-up post to the previous Bonsai Technique that I shared a few weeks back. It was super popular, and many people sent in comments about how it really helped them develop tracks from little ideas. Now, I’d like to follow up with this idea as I realized that many people are missing out on the fun of using a template to get their projects started. Also, there are a few things we can add in that will also be valuable for your next productions. Let’s have a look at the techniques to get rolling fast.
I’m going to suggest something simple in essence, but it’s very effective to get new projects sounding great right from step one.
Start your next project using the last song used. I heard about this technique from Matthew Herbert’s manifesto, and it got me inspired. Herbert would pick up the mixing board where he left things off from the last session. Why is this a good idea?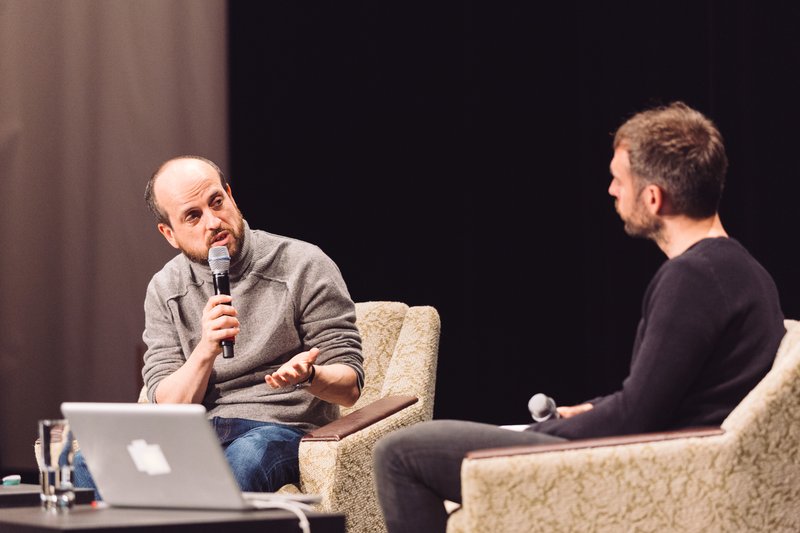
Starting from the last mix would provide a faster workflow but also, the random EQs, compression, effects, would be set to something he would never have set up beforehand. I thought this concept was brilliant and began doing this myself. Very often I would start with the last project loaded but would make the next song right after the end of the previous one. The same configuration and settings for the kick, percussion etc… were the same, which often led me into directions I didn’t expect at all. This is a big advantage.
Consider keeping the effects on each channel as is, but drop your new clips into existing channels at random. In some situations, I also would copy the arrangement of one song and paste it into another song’s arrangement view. Very strange results would come up, often leading to unexpected yet very usable sound design results. I often have one “mother” project which will be a safe place for me to develop and grow these ideas. Then I will copy some loops into another project’s arrangement view, and sometimes move the clips between channels to see which one fits the best. I even did the exercise of dropping a full arrangement into another project keeping it as intact as possible. From there I wouldn’t even listen to it before bouncing it out. I’d then listen to it weeks later and get blown away. I made a handful of tracks from my album Intra or White Raven this way.
Next, challenge yourself to keep your bus routing and groups intact. It’s great to have pre-made sends channels or busses that you can re-use quickly. Of course, an easy way would be to be to assemble a macro of the chain of effects you’ve used, but I like the idea of opening a template and have no idea what effects would be awaiting me. I will sometimes swap my most used effects with others I newly acquired or some I’ve forgotten about. It’s often nice to dig up older, legacy plugins that can bring up a particular grain to your sound.
Clear your finished project from the clips and save it as a template.
One exercise you can start applying today would be:
- Create a folder for your templates.
- Each time you finish a song, you do a “save as…” to that folder. You’ll then clean it from the clips in the Arranger view. I will often leave what I call ‘leftover’ sounds that weren’t used in the project. I’ll set these clips in the session view in a channel named “Leftovers.” Doing this allows you to re-purpose those sounds, which may be a perfect fit in your new project.
- Midi clips could be left there as well because it is usually interesting to have on hand some midi material you can quickly throw new sounds onto and see what it gets that sounds like.
Now, an extra tip, which is to make a template for the design of an EP/LP. As you know, it’s always great to have a common feel for an entire release, and one of the things I would recommend would be in the way you apply your effects.
- Reverb. Either you pick a reverb from one specific company (ex. Altiverb) and use some presets to get started, or you try to remain in the same family of space such as Plates.
- Delays. Using the same plugin but changing the delay speed.
- Saturation. Try to pick one type and stick to it. I recommend applying this through a send channel where you have more control over how each sound is colored.
- Compression/EQ. Some apply a distinct color and are more or less transparent. It can be a good idea to keep the same type of combination through your channels.
As always I want to hear your feedback on anything mentioned in this post. Feel free to share this post or leave a comment below and tell me how these creative, and time-saving techniques are working for you.
SEE ALSO : Pointers To Define Your Sound









Leave a Reply
Want to join the discussion?Feel free to contribute!