The Anti-Loop Method vs The Writer’s Block
Maybe you came here with the idea that I’d be discussing techniques to break the loop issue; I’m relating to the problem many have where they are stuck in a loop and can’t get out. As you can see, this comes on two levels. The first relates to working on a song, finding a loop you love, and deciding how to turn that into a song. Still, another level is a bit more meta, where your studio sessions feel like a loop as well, as you have the same habits forcing you to do the same things.
I often said that making music was the most therapeutic experience. I’m not referring to the fact that one might feel better after a session due to the release of endorphins generated by a productive studio exploration. Therapy, just like meditation, is not necessarily all about feeling good; it’s more about why you feel bad so that you can make room to feel better. When I gave some meditation workshops, there would always be someone who would say they couldn’t meditate or that they were meditating wrongly, to which I invited them to be curious about what successful meditation is. Interestingly, there is no right way to meditate (Mindfulness, MBSR). It’s more about being curious of what the brain does to you when you try to do it.
It’s the same analogy with music production/exploration. In a way, there is no right or wrong. The source of writer’s blocks and frustrations often come from your interpretation of what is a good session, as you’ll compare any session to that reference.
The enemy of productivity is your interpretation of what productivity/success is.
So far, this introduction might feel unsettling, and perhaps you’re wondering where I’m heading with this, but this is the basis of understanding the core of many issues regarding how one might get stuck with their music. While there are multiple approaches to getting out of a slump, you’ll always be pulled down towards your bad habits if you don’t attack the core of the problem.
Stepping back on your practice
If you’re experiencing a loop and are wondering whether your practice is trapped in habits, the first thing to ask yourself is whether it is. While this question may seem unrelated to music making at first, trust me that it is more accurate than you think. When I ask clients that question, I often witness them taking a long pause to think about it, and every time, they realize they are stuck.
Signs that one is stuck in their workflow can be:
- Feeling there is no purpose to the studio session.
- All the music one makes sounds terrible or has nothing to do with what they have in mind.
- Procrastination.
- Unable to finish songs or start new ones.
- They have a loop, but something is always bothering them, so they constantly mutate it to another one.
As explained in a previous post about how one can use their studio time, most of the people who fall into a slump often do so due to a lack of understanding of their own workflow. This results in studio sessions that is mostly focused on making songs alone. Creating songs is exciting because there is tangible development where you see your project evolve and reach its end. It feels like something productive was done. But like I described in this article, it is more fruitful to organize your sessions into different activities so you’re not relying on the success of one activity to dictate how well your session was.
As someone who focuses on just a few activities in the studio, where making songs is the central one, it’s easy to conclude that you have been trapped in a series of habits that once worked for you, but it’s now time to review what you’ve mastered to give a few more options. This starts by breaking the loop.
Curiosity as your antidote
I came across a video with Anne-Laure Le Cunff, who explains how we grow and evolve using cognitive scripts, which can be useful but can also lead to misguided slumps.
One element that caught my attention was the critical role of curiosity in overcoming a negative mindset. The video covers the Escapist, Cynic, and Perfectionist mindsets, which are common mindsets we can fall into while exploring music production. While those happen, triggered by an event or multiple ones, it remains possible to rely on curiosity to step out of the mindset. It’s easier said than done, and it’s not a blog article that will entirely change how your brain is wired. But I could propose some activities that can stimulate your curiosity.
But before I do, let’s see how the three negative mindsets might be present in the music producer. It’s important to understand that one common trigger that can bring these mindsets is more than often related to the feeling of uncertainty. If you’ve been making music for a little while and did some releases (or not), you’ll be exposed to multiple confusing situations, such as whether people like the music or not, whether it sold, if people played it, and perhaps why no one is relaying it to social media. Pair that with the adversity of working with abusive streaming sites like Spotify or seeing pirate websites selling music illegally, and your mind will go down the rabbit hole. Our human mind doesn’t deal well with uncertainty.
- Escapist: In this mode, the mind will try to numb the uncertainty either with substances (alcohol, weed, etc) or by removing oneself from what they’re supposed to be doing (ex. playing video games, inventing stories to not go to studio, not allowing important time to create, etc). However, the escapist can also manifest himself in other ways, such as by acquiring new tools, plugins, and hardware or watching tutorials without practicing (skill hoarding).
- Cynic: As the saying goes, in this mode, the person falls into a zone of negativity and hopelessness, being highly critical of other people’s success, mocking some other artform, or scapegoating the industry’s actors as the cause of their lack of success (releases, gigs, exposure).
- Perfectionist: You might recognize yourself, as many musicians fall into this category. This mode often relies on the thought, “If this is perfect, it will succeed.” Sadly, this is not true, and history has taught us that even some imperfect art can succeed. Also, perfection is arbitrary and while one might feel they’ve converted all the important points, then will come someone who can point out a “problem”, based on their perspective.
Part of the problem with uncertainty comes from the perspective that we expect success to be linear growth, while it is not. If we see someone having success, we are tempted to think they’ve been growing towards that, but we forget that this person went through cycles where there might have been more failures than happy moments for a while. Competition feeds the uncertainty.
Music-Making Mindset
Knowing all this, how can it affect one’s music-making sessions, or how can we step out of that cycle?
What makes someone get caught in the loop syndrome is that they spent time tweaking the loop to perfection, and now, with the idea to expand that to a song, it feels overwhelming: both in the time to pay and in the potential failure it could represent to turn something perfect into something less than ideal. It could be multiple other things, but in general, tweaking something small will narrow your understanding of how to make it bigger.
Quite often, some people come to me with a loop and ask me if it’s “good.” I always reply, “I need a structure to know how you want to develop that idea.” Loops aren’t songs. They’re small, self-contained ideas. Perhaps they are perfect as they are, but that doesn’t mean they are a song. I like the imagery that it’s similar to someone showing me a very nice tomato and asking me if it will be a nice salad; I’m missing a lot of data to understand, and I don’t have access to the person’s imagination.
As said previously, curiosity can help.
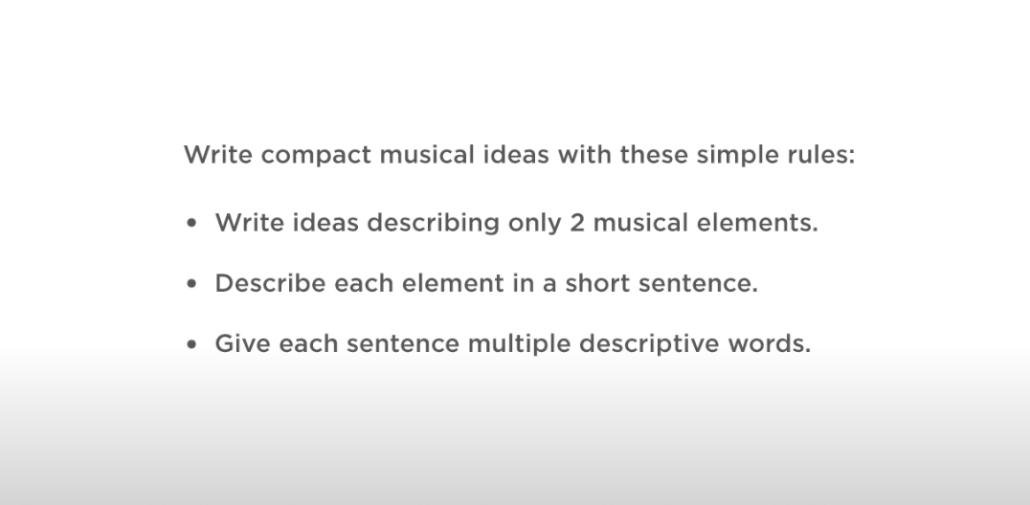
The first part is thinking of ideas in variations before making a loop that supports it. Thinking of a concept for the song will help break it over multiple minutes. For instance, perhaps you have the motif of a few notes over one bar, so start by finding variations and complementary elements that can appear, then think of a call and answer, chorus, breakdown… before you know it, you have a whole arrangement for a song that needs to be assembled. It’s not possible to just be caught in a loop anymore. Plugins like Scaler 3 now have scenes that can help you do this job by breaking down chord progression and suggesting potential variations. I also like Instacomposer if you’re on a budget.
I know it sounds simple, but thinking globally is the first part of coming out of a loop. In past articles, I also discussed using a reference track to understand its structure to populate your song with the elements. Song Sketch also does a nice job at this, covering different genres.
I also suggested studio activities here that you can do in rotation to keep yourself rolling.
But now, let’s dive into some activities to keep yourself curious.
Randomize & React
-
Use random LFOs or MIDI generators to modulate parameters on your loop. I love working with randomized midi patterns to come up with new ideas and in this mode, the idea is to act quickly where you search for ideas, resample everything and then just either layer clips all together.
-
Challenge: Commit to using whatever the system spits out for 1 minute of arrangement.
The result can be a little 2-minute blurb or a more extended improvisation. But where the fun is, this is up to you to figure out.
Oblique Techniques
-
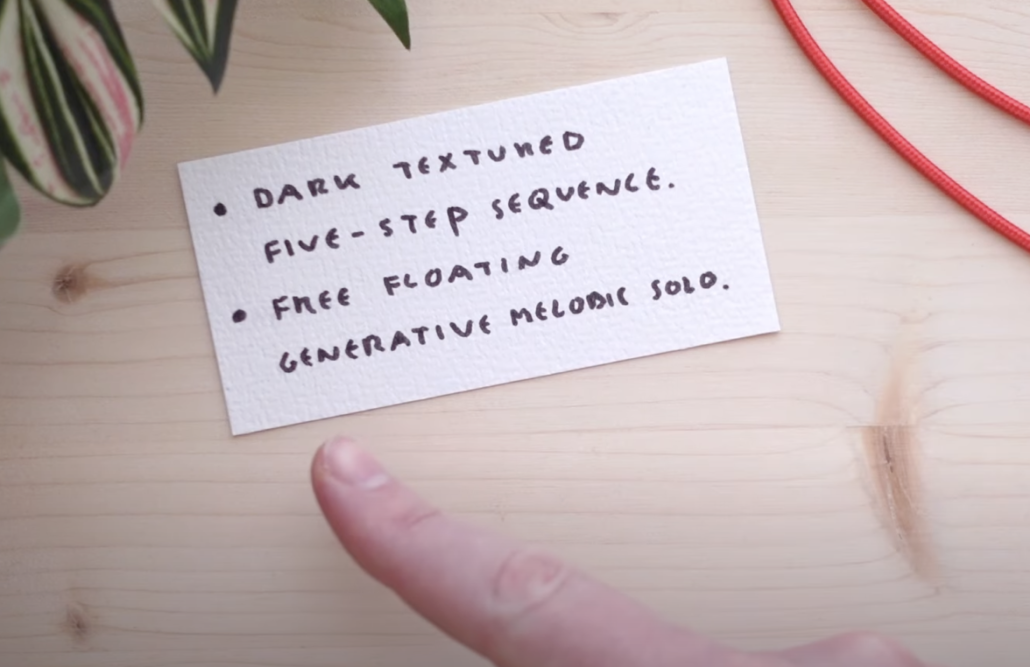
Write down verbs like “stretch,” “reverse,” “break,” “filter,” “chop,” and “double” on separate pieces of paper. Pick randomly one of the words when in front of a specific sound.
-
You can also create a small deck of these as part of a creative toolkit. That can be used with plugins, effects, and techniques.
Deconstruct & Rebuild
-
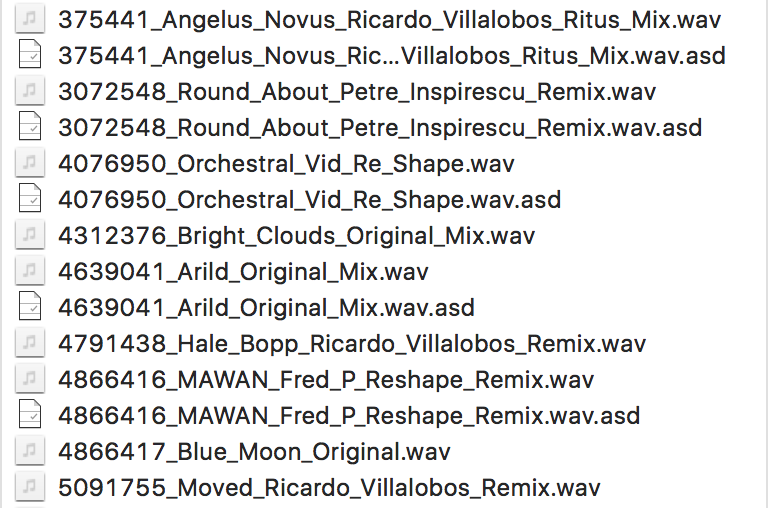
Bounce your loop to audio and chop it into individual hits or micro-samples. Carsten Nicolai once made entire songs based on one sound. Perhaps explore that.
-
Create a new groove or section using only the bounced audio.
Create a Mini Sound Story
-
Imagine your loop as a scene. Ask:
-
“What happened before this?”
-
“What happens after?”
-
“What enters and what leaves?”
-
-
Let these questions shape the intro, build, or breakdown.
- You can also write scenes on different pieces of paper and shuffle them in different orders to explore a new narration of your song.
Speedrun Arrangement
-
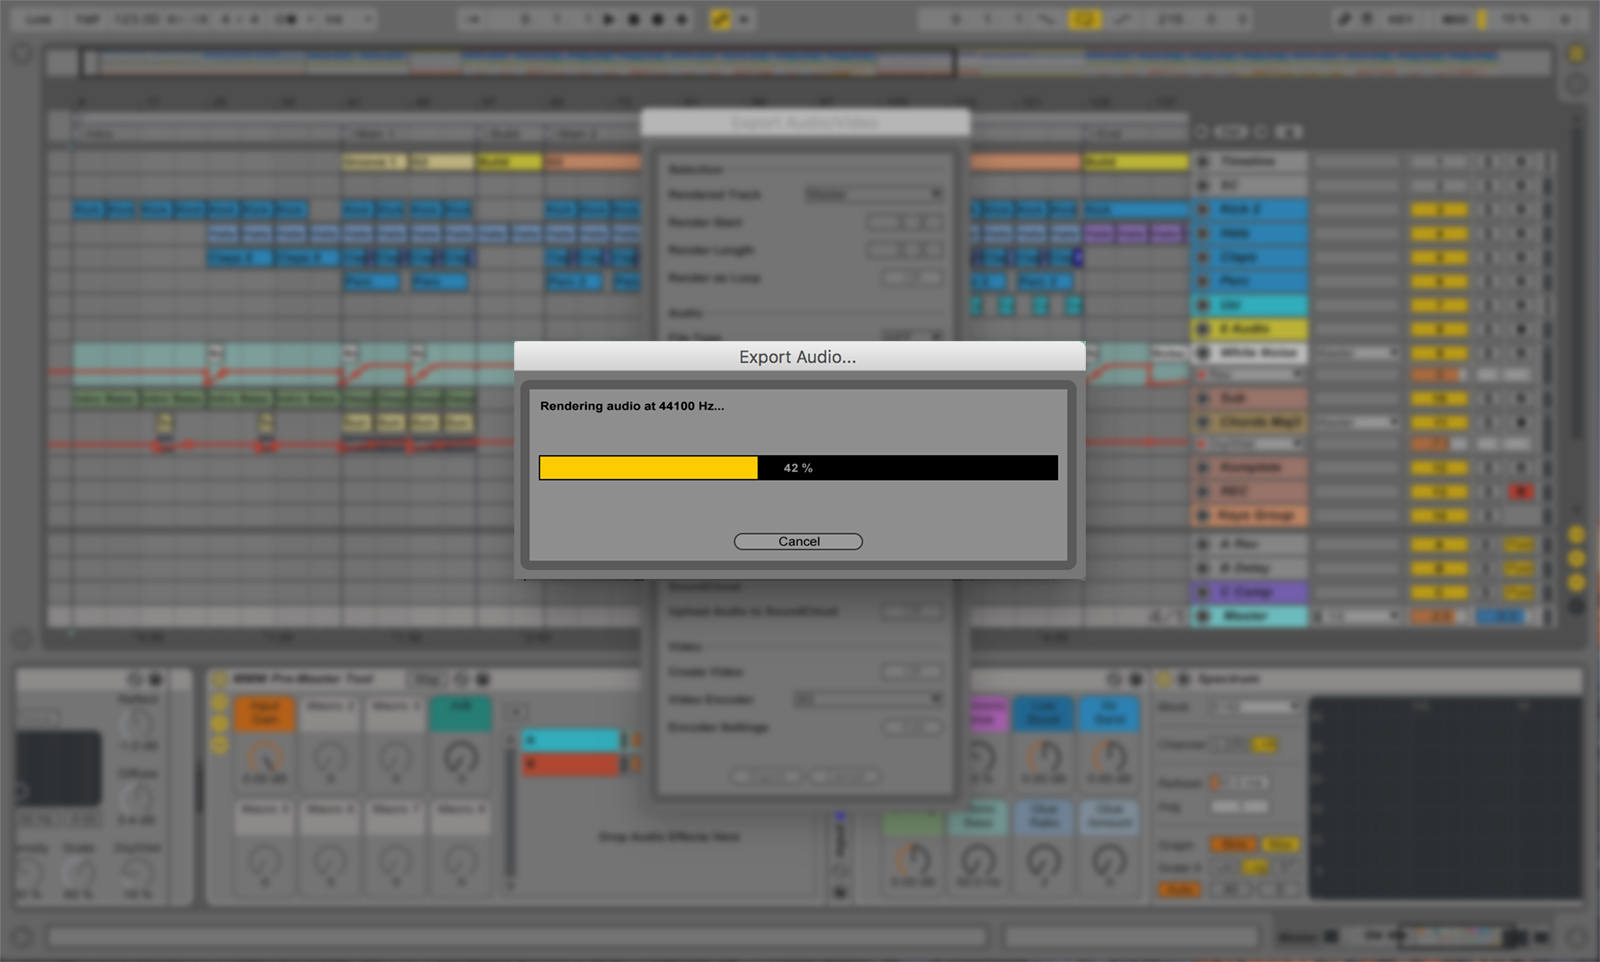
Set a timer for 15 minutes. Copy your loop to fill out a whole 3-minute track.
-
Don’t worry about transitions—move elements around instinctively.
-
The speed forces you out of perfection mode and into playful discovery.
Role Reversal
-
Make your drum loop the melody.
-
Use your melody to trigger drums.
-
Recast sounds in new roles to see the project from a new angle.
Use AI or External Input
-
Ask a friend to suggest a weird transition or send you a sound to work in.
-
Or use AI text prompts to ask, “What could happen after this loop?” Get abstract ideas, then interpret them musically.
Play a Movie Scene Over It
-
Import a muted scene from a film or a short video and play your loop under it.
-
Let the visual action guide the arrangement—timing, tension, and release.
Parametric sequencing
This concept is a bit more advanced, but the idea is to use snapshots or parameter sets and then morph between them. This kind of exploration produces very different sounds than what you might usually do.
Sound design is an endless field of exploration if you’re curious. Whenever I feel out of inspiration, I go back to that sphere and rediscover myself.
Polymetric arrangements
Polyrhythms are a vast field of exploration. It can be in the way you program your beats, but it can also be in how you modulate. If your modulation doesn’t match the length of your loop, it will give the illusion that your loop evolves over what it’s set for, giving it automatic expansion.


 One of the most revered electronic albums of the last decade is Jon Hopkins’ blistering techno/neo-classical masterpiece,
  1. The Hook
 2. Sound design
 5. Structure/Arrangements


 It’s given that there are many reasons why a listener might be engaged with your song – the quality of the mix, a
 Going back to the article
 That last point is crucial here. You can take the same compressor concept (ex. FET compression), but it will sound different from one company to another. There are no real universal standards on how to approach compression or EQing. An EQ can show you a curve but the filter in the back might slightly be different to give a color, for instance.