Tips to Keep a Loop Interesting for an Entire Song
To keep a song built mostly on a single loop interesting, we need to discuss how you work and your perceptions. I can’t just recommend technical bells and whistles that will solve everything. You need to think about how you see your music, and from there, there are certain things that I think can make a difference in helping to keep a listener engaged, even if your song is built around a single loop.
There are two main things you need to consider with regards to listener engagement when making a song:
- How someone listens to a song.
- How your song can engage the listener in his/her experience.
Meeting Your Listener’s Expectations
If you read this blog, you’ll know that this topic has been covered in other posts, so I won’t deeply go into this again but I’d like to remind you of a few key elements. The first and foremost important point here is to understand what you want to do in the first place. From the numerous talks I’ve had with clients, this is where many people get lost. To know what you want to do with a song has to be clear from the start.
Is a plan for a song something set that can’t be changed afterwards?
Of course you can change your mind, but this can open a can of worms, as the direction and vision of what you want to do becomes less clear. Music is about communicating some sort of intention.
When, in the music-making process, should you set your intention?
You don’t have to about your intention explicitly, of course, but doing so helps if you’re struggling with a lack of direction or when you feel you can’t reach goals. I find there are two important moments where setting an intention can provide significant benefits. The first is when you start a project—when you start a song, you can think of something somewhat general, such as “an ambient song” or “making a dance-floor track”; but the more precise you are, the more you are establishing some boundaries for your wandering mind. Many people don’t feel this approach helps and may skip this aspect of writing music, but for others, it can be a leveraged to maximize your efforts in what you do.
For instance, I often make songs without a precise goal because I just like to let things flow and to see how it’s been made affects the end-product. But when I’m asked to make an EP, I need to focus the results.
For me, for example, to meet my client’s expectations, I need to know what they want. It helps if they work in a specific genre or can reference an artist they like so I can help them deliver music that will appeal to people with similar tastes. When working with a clear intention, one needs to study how the music is made, more or less, in terms of variations, transitions, number of sounds, duration, tones, etc.
The objection I always get to this recommendation is “yes, but I want to have my own style.” I feel this a bit of a erroneous statement. We always are influenced by other artists and if you’re not, then you might have a problem in your hands: who are you making music for?
I know some people who make music for themselves, which is great. But when they tried to sell it or promote it, there was no way to know who it was for because we had no model to reference. Can you be original and still be heard? Yes, but I think a certain percentage of your songs need to have some sort of influence from a genre that people can relate to. For example, a very personable version of drum and bass, or house—then your music will fall under certain umbrella.
Meeting Your expectations and Your Listeners’ Expectations at the Same Time
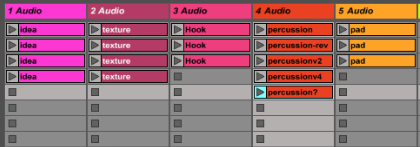
The number one problem I hear is of the producer being bored of his/her own music, rather worrying that the listener might be bored, and that’s quite normal, considering the amount of time one can spend making music. Personally, I make my songs with a meticulous approach:
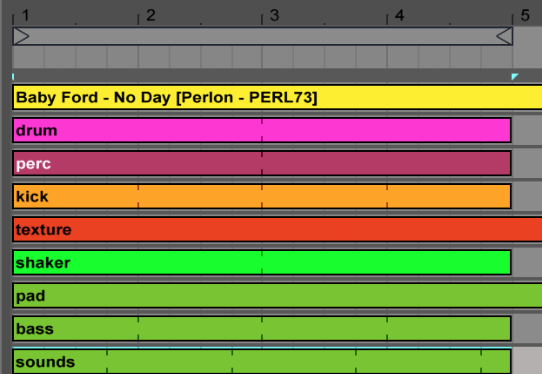
- 1 idea, 2 supporting elements.
- Percussion, limited to 5 elements maximum.
- Bass.
- Effects, textures, and background.
That’s it.
The main idea rarely evolves more than 2-3 times in a song. If it changes more frequently than that, you might want it to evolve on a regular, precise interval, i.e. changes every 2 bars.
When Writing Music, How Can You Keep a Single Idea Interesting?
I use design principles that are used in visual content and apply them to my music. If you learn about these principles for music-making, you’ll develop a totally new way of listening to music. In searching for these principles, you’ll see some variety, but generally these are the ones that usually come up:
Balance: This principle is what brings harmony to art. Translating this to music, I would say that, mixing wise, this could mean how you manage the tonal aspect of your song. If we think of sound design, it could be the number of percussion sounds compared to soft sounds, or bright vs dark. I find that balanced arrangements exist when there’s a good ratio of surprises versus expected ideas.
Contrast: Use different sources, or have one element that is from a totally different source than the others. This could be analog vs digital, acoustic versus electronic, or having all your sounds from modular synths except one from an organic source. If everything comes from the same source, there’s no contrast.
Emphasis: Make one element pop out of the song—there are so many ways you can do this! You can add something louder, or you could have one element run through an effect such as distortion, and so on. Emphasis in music is often related to amplitude, dynamic range, and variations in volume. In a highly compressed mix, it will be difficult to make anything “pop”.
Pattern: This is about the core idea you want to repeat in your song. It can also be related to the time signature, or an arpeggio. It could be the part you repeat in a precise or chaotic order.
Rhythm: This is the base of a lot of music in many ways, and this, to me, can directly refer to time signature, but it can also mean the sequence of percussion. You can have multiple forms of rhythm as well, from staccato, chaotic, robotic, slow-fast…it’s really one of my favourite things to explore.
Variety: This relates to the number of similar sounds versus different. This is a bit more subtle to apply in music compared to visual design, but a way I see this is how you repeat yourself or not in your arrangement. If you make a song evolve with no variety, you might lose the listener’s attention…same thing for if you have too much variety.
Unity: This is what glues a song together. To me, the glue is made from mixing, but there are things you can do that makes it easier, such as using a global reverb, some compression, a clean mixdown, same pre-amps (coloured ones) or a overall distortion/saturation.
To wrap this up, I can’t recommend to you enough to space out your music sessions, set an intention and pay attention to your arrangements. If you know what you want to achieve with your song, you can refer to a specific reference, and then build up your ideas using some of the design principles I have discussed in this post. Good luck!

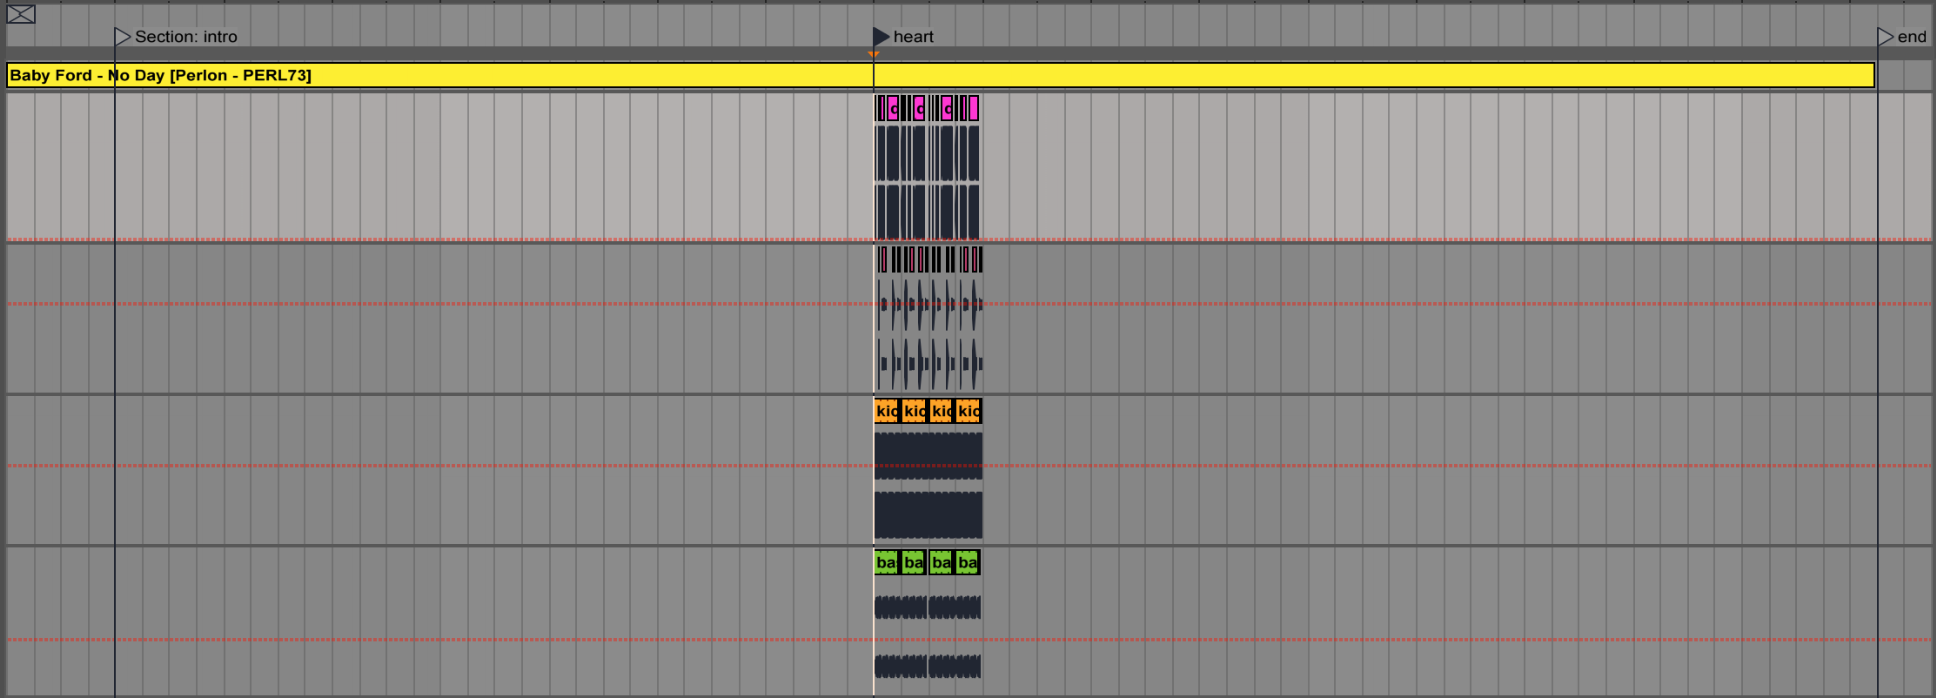
 Filtering ideas into a concept
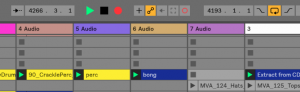
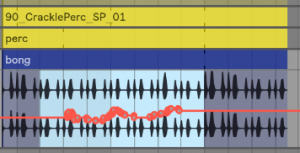

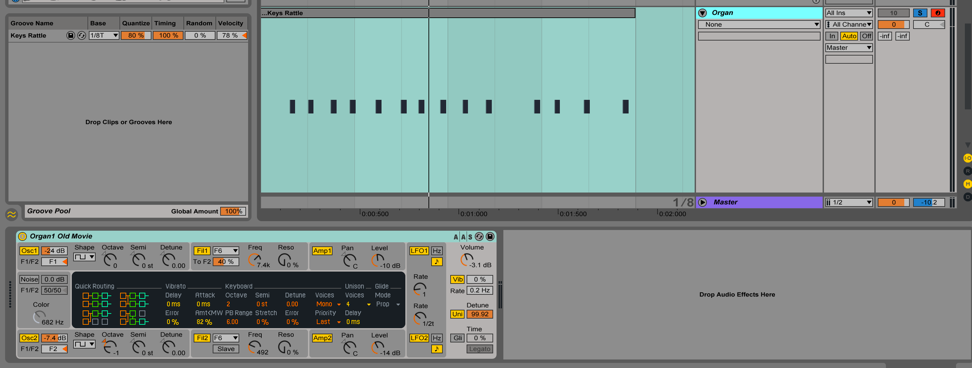
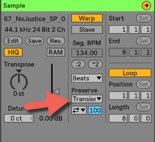
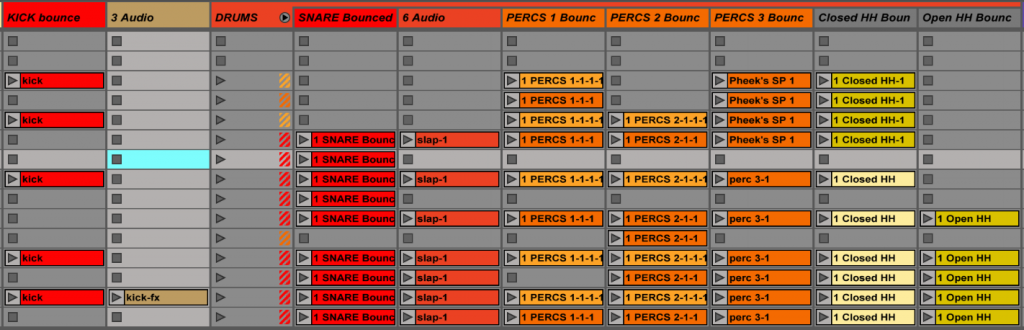
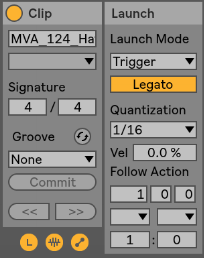 Legato: This is probably the most useful thing to activate for clips in variation. Basically, the Legato option will let the selected clip to take over the one that was previously played, based on the quantization you have set. So for instance, let’s say you play a hihat clip, then press the first clip of the variation. It will stop the activated clip and immediately switch to the other one you just started. On the image, I have set it to 1/16, meaning it will be played on the next 1/16th, keeping it on tempo. Keep in mind that the variation clips are “in sync” with the one playing so that it will continue at the same position in the clip. If legato wasn’t activated, it would start at the beginning of the clip.
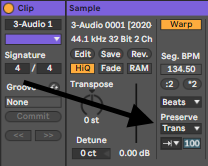
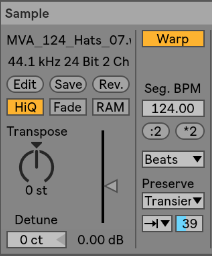 Intensity Variation: If you want to quickly go from open hihat to closed one, one of the fastest way is to play with the “Preserve” section and set it as in this image. Playing with the percentage will let you adjust how much of the end of each sound can be preserved. Having it at 100% is fully open and let’s say 25% is more closed, building tension. So one variation can be set low at first and then the other ones can be more open. If you see the need to boost the energy quickly, then you can go in one of the variation.
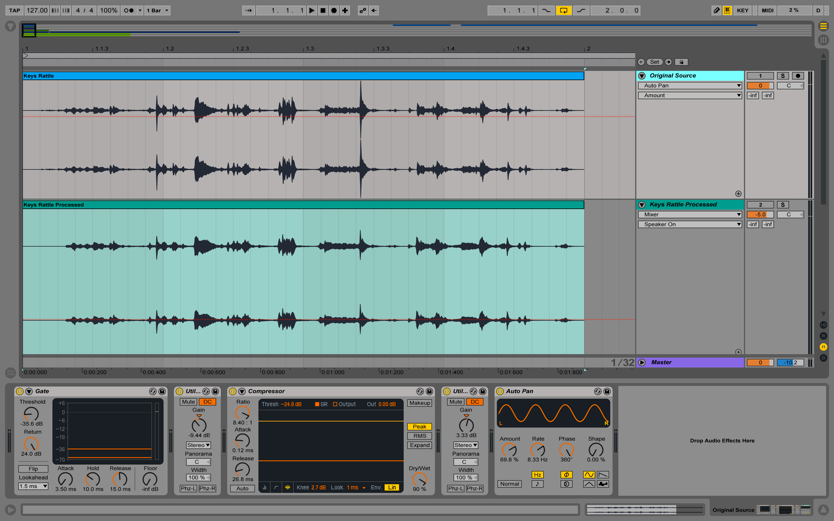
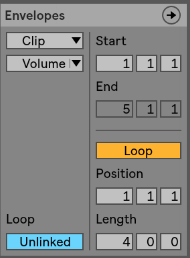 Envelopes: Super useful for variations as well because you can create automation on a very small scale or a longer one. Many artists will use this on EQ to give life to a clip and making sure it feels like it is alive. The important part is to make sure that the envelope isn’t linked and then you can decide of the length of the automation, on one attribute. Tip: make sure you select “Clip” in the first drop down to make sure the changes are made in the clip itself.
 1. The Hook
 2. Sound design
 5. Structure/Arrangements

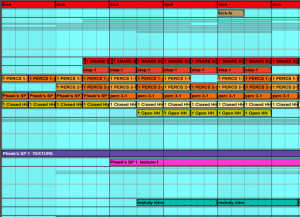
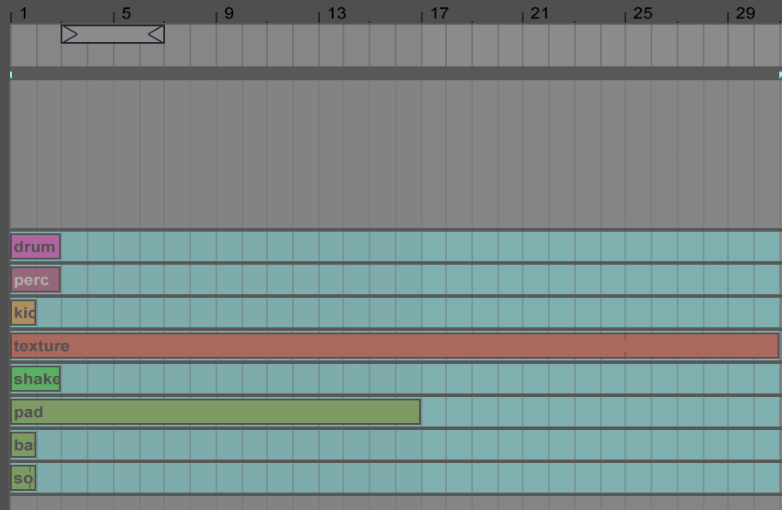
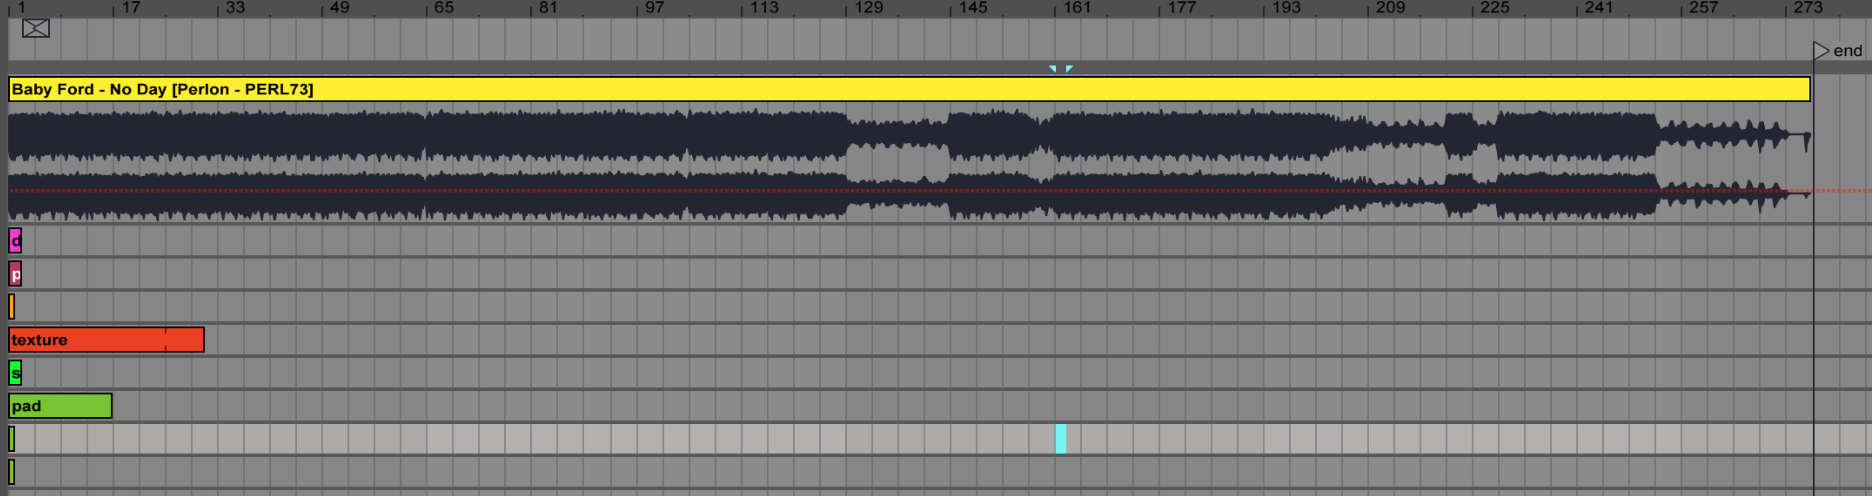
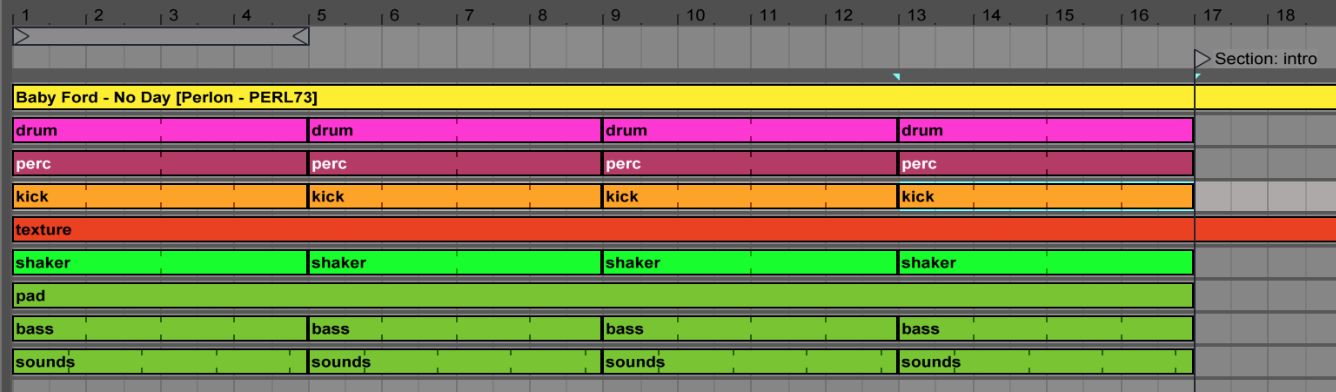
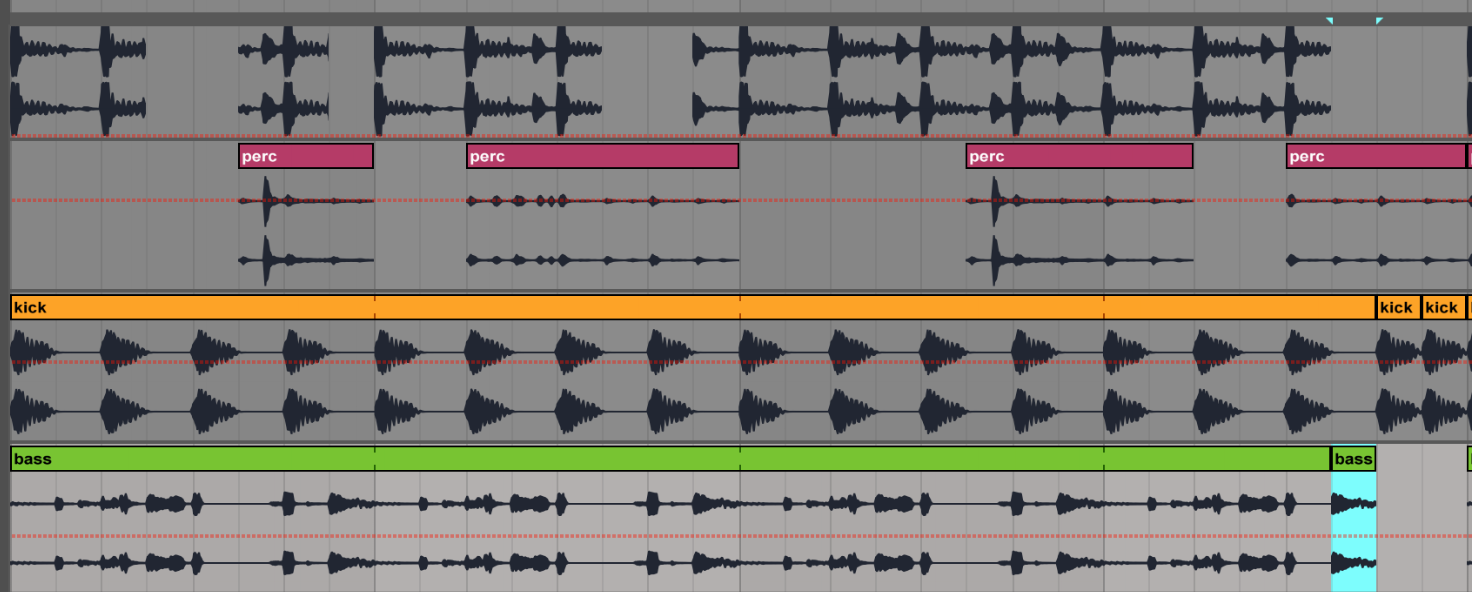
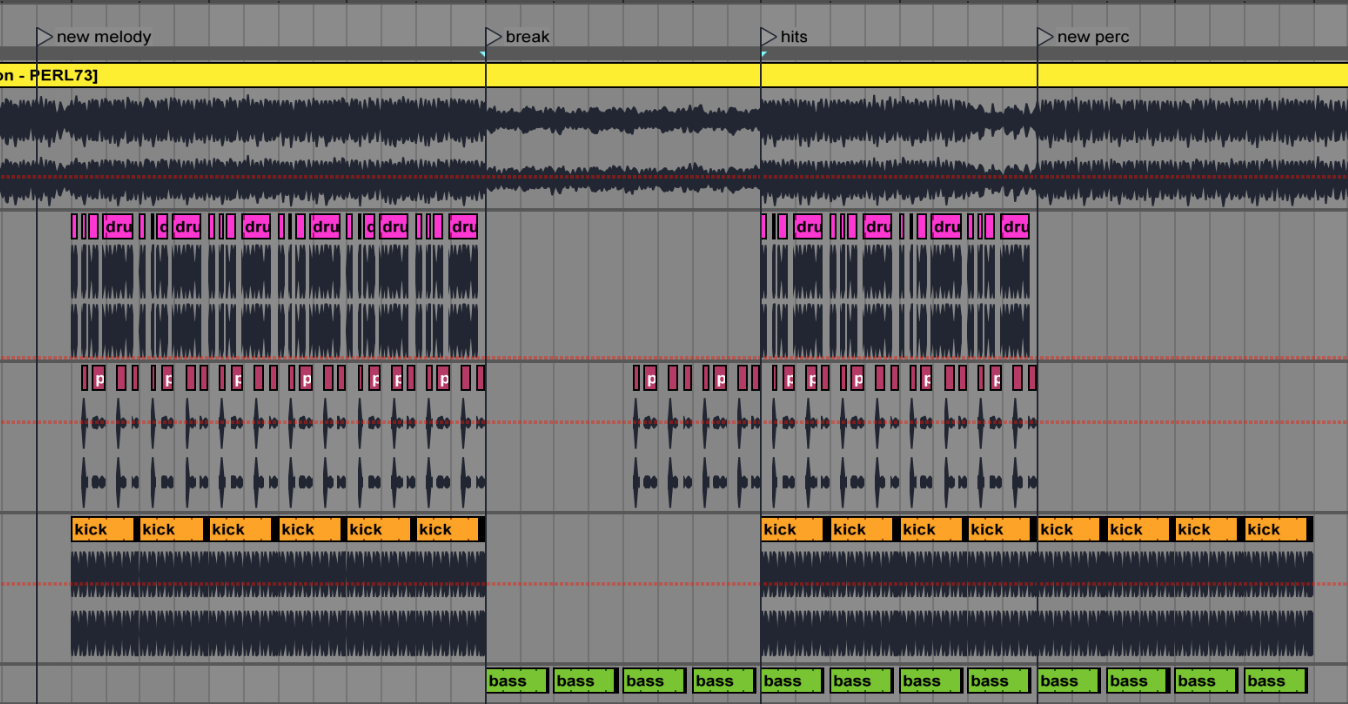
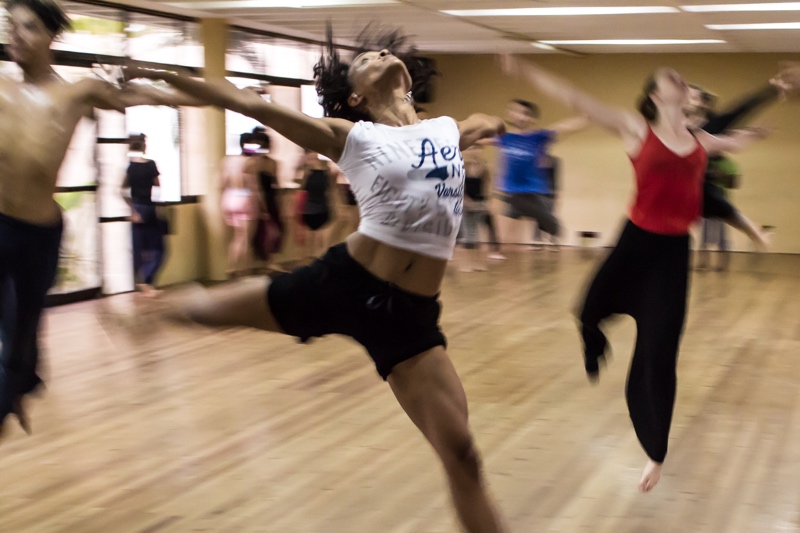
 I think my best live sets were good mostly because they had a core to work around that had some preparation, but also had a lot of room to improvise, dependent on how the actual event turned out. These sets were versatile; I could open an evening with them or play peak time, mostly because of how flexible they were. These sets were more or less made up of the same songs but the variations would be so easy to perform on the fly that I could really just follow what felt good to me in that moment in time. I’ve never really understood the point of having an overly prepared set. I’ve tried the prepared approach before and it just made the whole experience boring, because there would be no risk-taking; it also felt out of sync with whoever was listening. For example, imagine that your track has been built to have a drop, breakdown at one precise point and a moment of tension after, but if the dance floor is just starting to warm up when you drop, you might lose people’s attention or it might feel out of place.
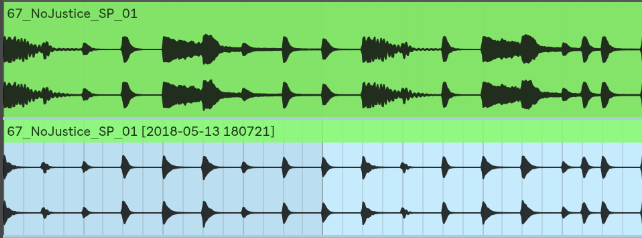
 Set two variations of the hook with some complementary percussion. If you listen to a DJ set, especially techno or loop based music, you’ll see that it’s mainly a loop with variations. Try to have variations in your percussion, melody or bass. That way you can toggle between the hook and this part. I really really encourage you to listen to DJ sets to get ideas.