My tracks always have the same song structure
(Cover Photo by Luca Bravo)
One of the common things I often see and also struggle with myself is that sometimes I feel like my songs are always arranged in the same way; my song structure is often the same. While there’s nothing inherently wrong with following a regular song structure, often I feel like I need to have more arrangement variations in my work and new ways to present my music.

So, what’s wrong with repeating song structures you already know work?
There are secret ways to consistently get great results with certain arrangements that, for the most part, will always “work”. When I used to DJ hard techno or drum and bass in the late 90s, eventually I became really bored of all the tracks had the exact same structure. Yes, it was extremely easy to mix the tracks together once you understood the “tricks” but at the same time, it was also underwhelming for listeners and DJs with a creative minds who preferred more challenging music and mixing.
It’s important not to fall into repetitive habits and patterns; you might find new arrangement tricks while exploring and experimenting with new song structures.
Before jumping into slice mode to get your arrangements upgraded, let’s outline a few rules that will be very useful to consider before we actually begin editing:
- Export a wav file of the last track worked on (any project!), finished or unfinished. Especially if you’re working using my method of Parallel Music Production; this technique will be very useful. Start a new habit of not only saving your project at the end of your session, but also bouncing a wav file of what you have.
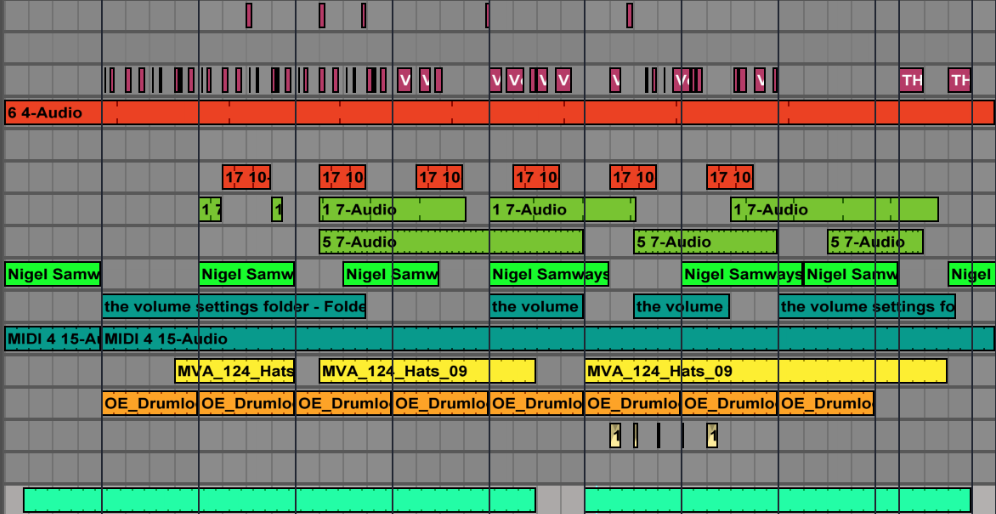
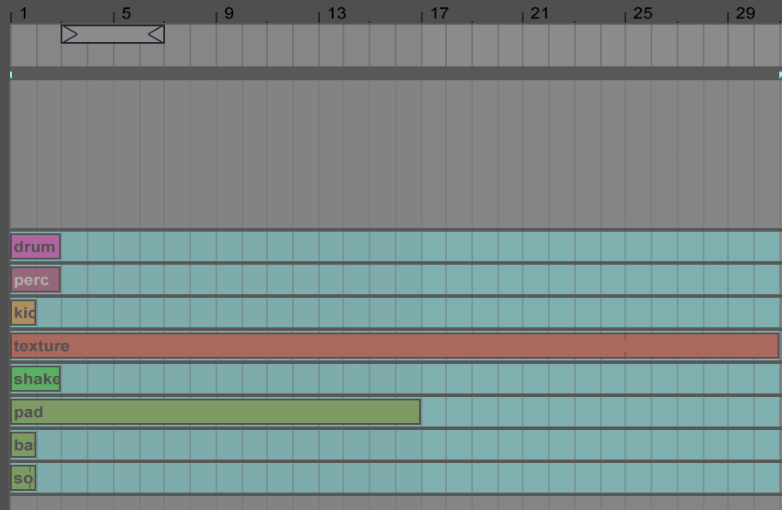
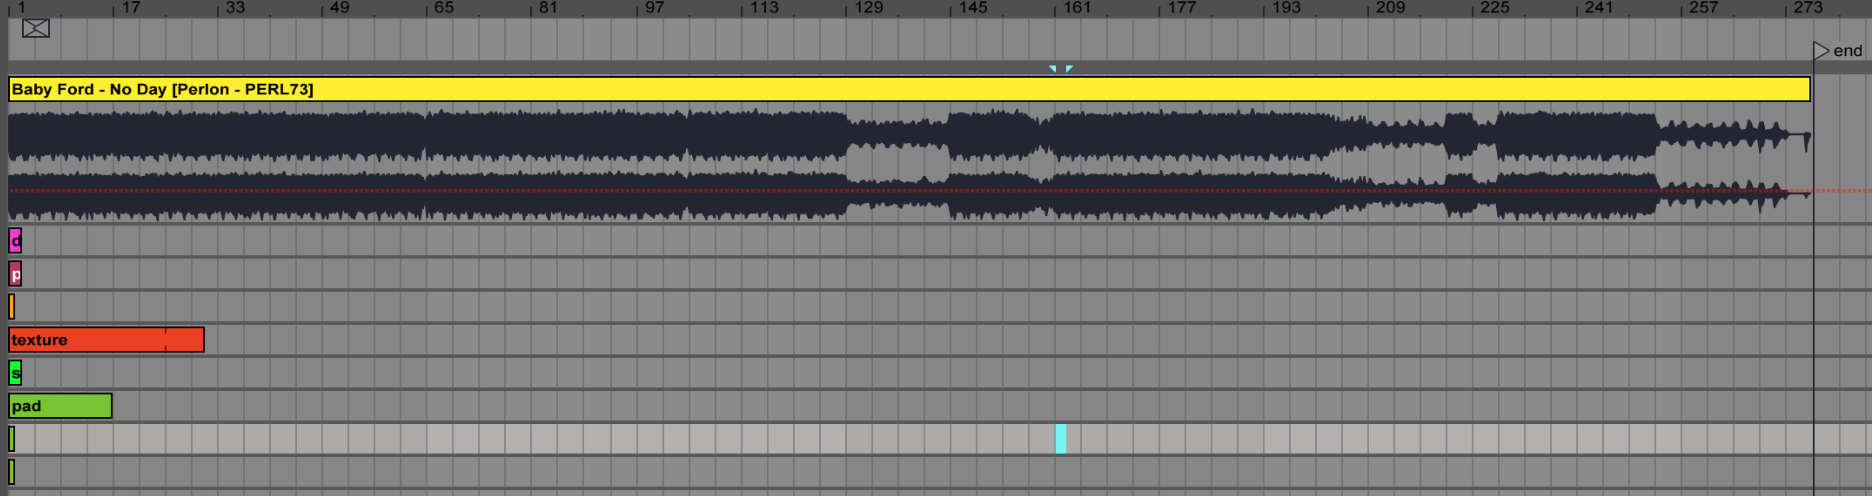
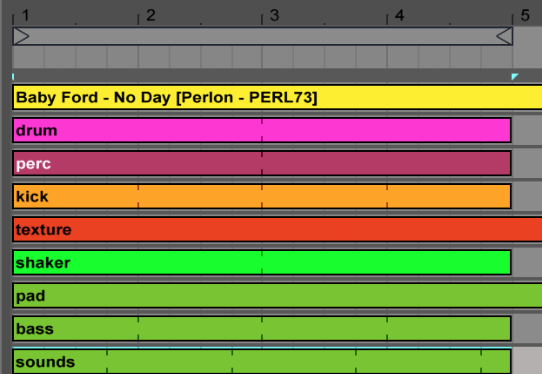
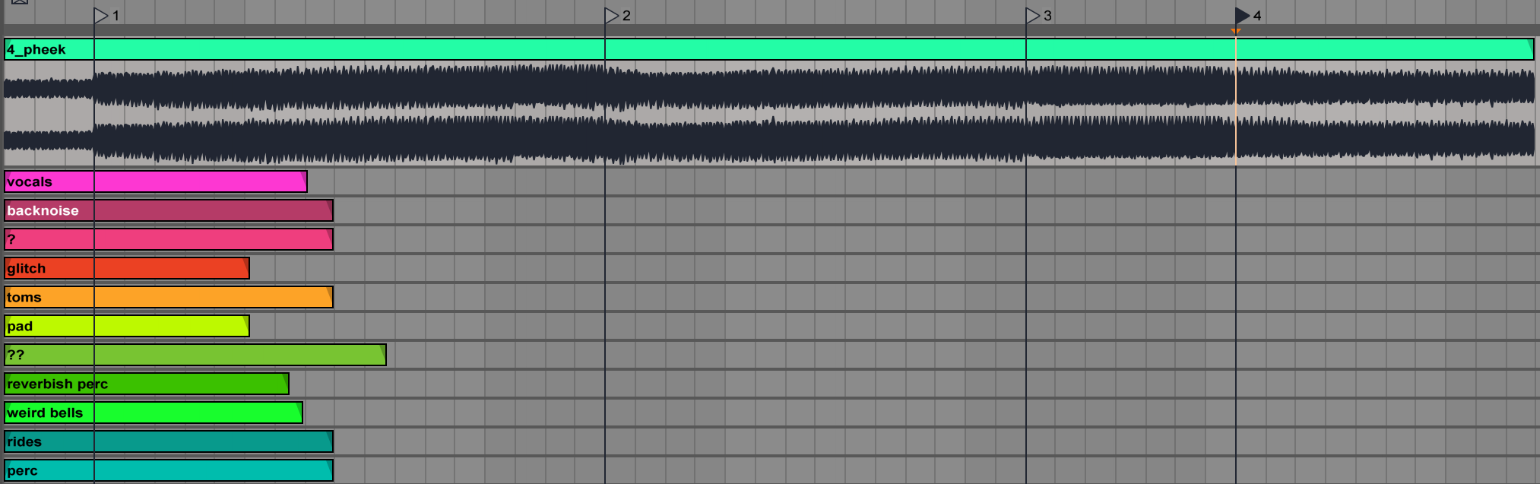
- Import your file into the current project you’re about to work on. By importing, I’m referring to the arrangement section where you can drop in an empty, dedicated channel.
- Use markers for the arrangements as for where there are key points, changes, transition. With these references, you can see if your current project has similar points as your previous wav file, and then you might want to change it up if they are similar.
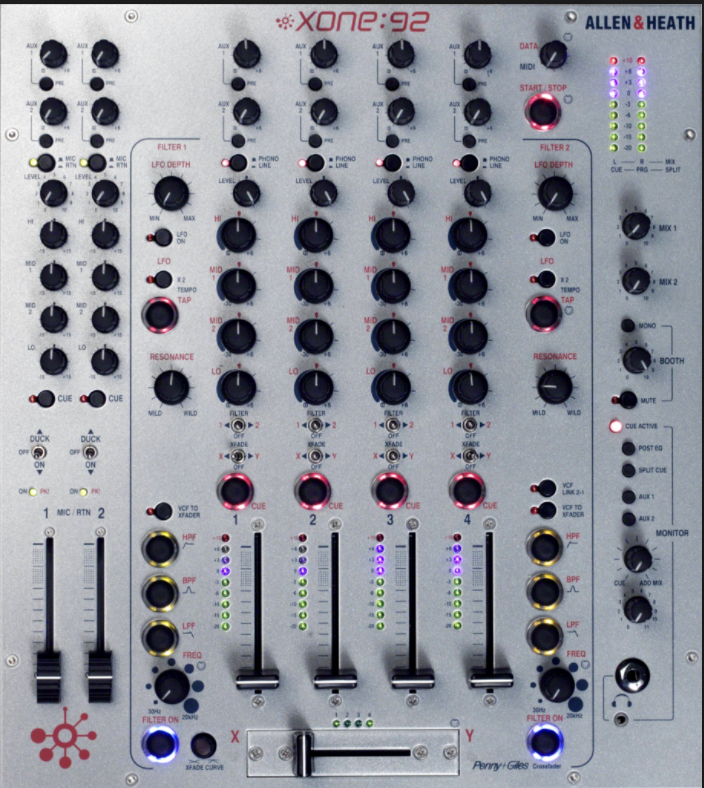
- See if the two projects can be easily mixed by a DJ. This is a good test to see if your track has too much going on, or if things will be fun to mix. I’ve said countless times before that if your music is fun to mix, DJs will carry a copy of your track for all their sets.
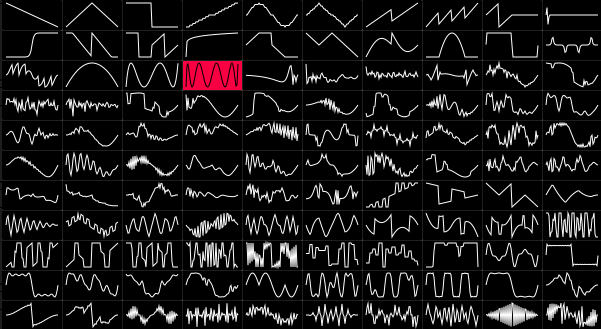
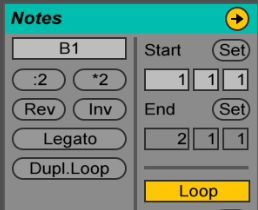
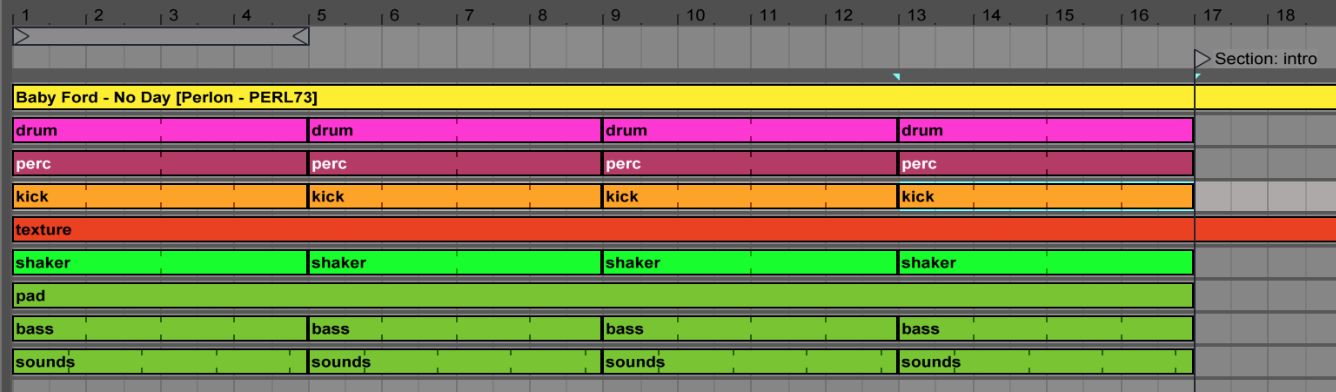
Slice your song structure
With your new habits in place, now go into slicing mode and get things started. As I’ve discussed before in a previous article, How to Turn a Loop Into a Song, you’ll need to decide the bpm and length of your track as starting point and build from there. I invite you to refer to the post if you need the full tutorial on that topic.
So let’s say you finally have a structure made up that you’re happy with. Here are the main key points I often use to avoid redundancy:
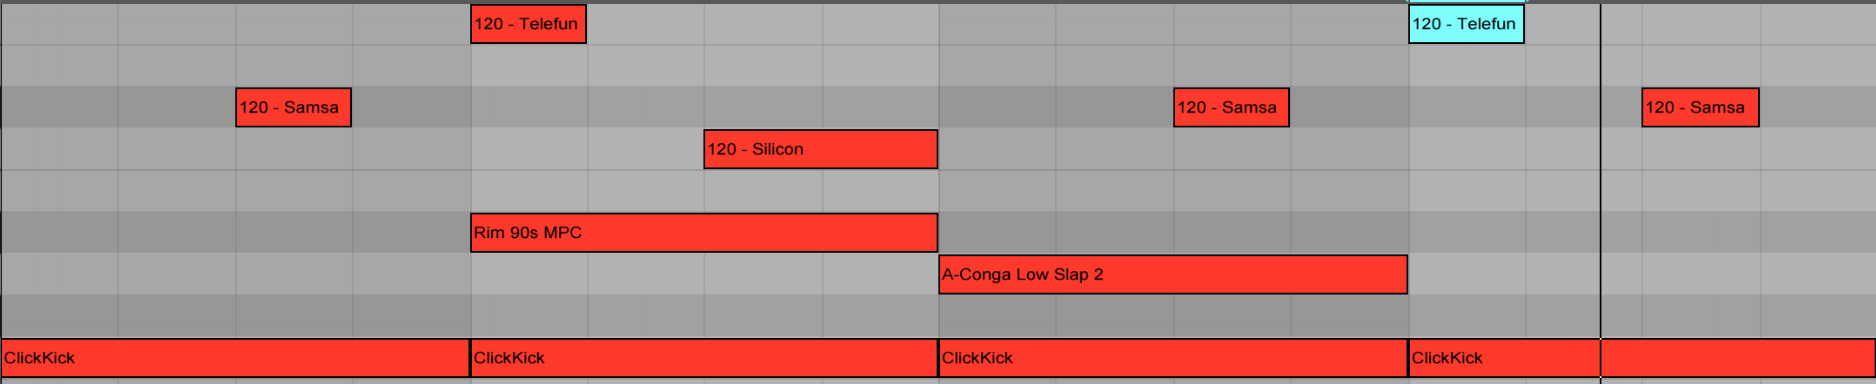
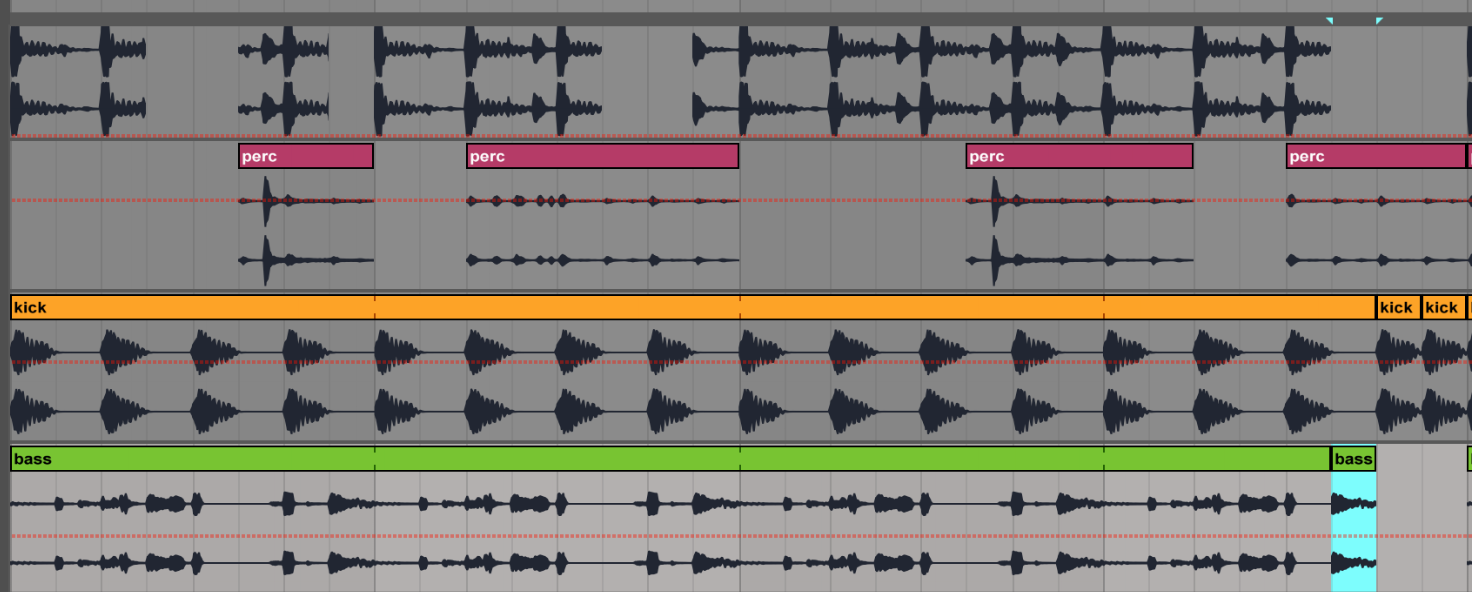
- Find the main sections of your song, and slice off the beginning and the end. A “section” of a song is a part that is different than others for its content. In pop music, we refer to these sections as bridges, breakdowns, choruses, etc. In electronic music, these types of sections might be a bit more subtle or non-traditional, but they’re still there.
- With your sections isolated, determine if your perspectives are balanced. By “perspective”, I mean this just like it is used in photography; see if your track has balanced ratio.
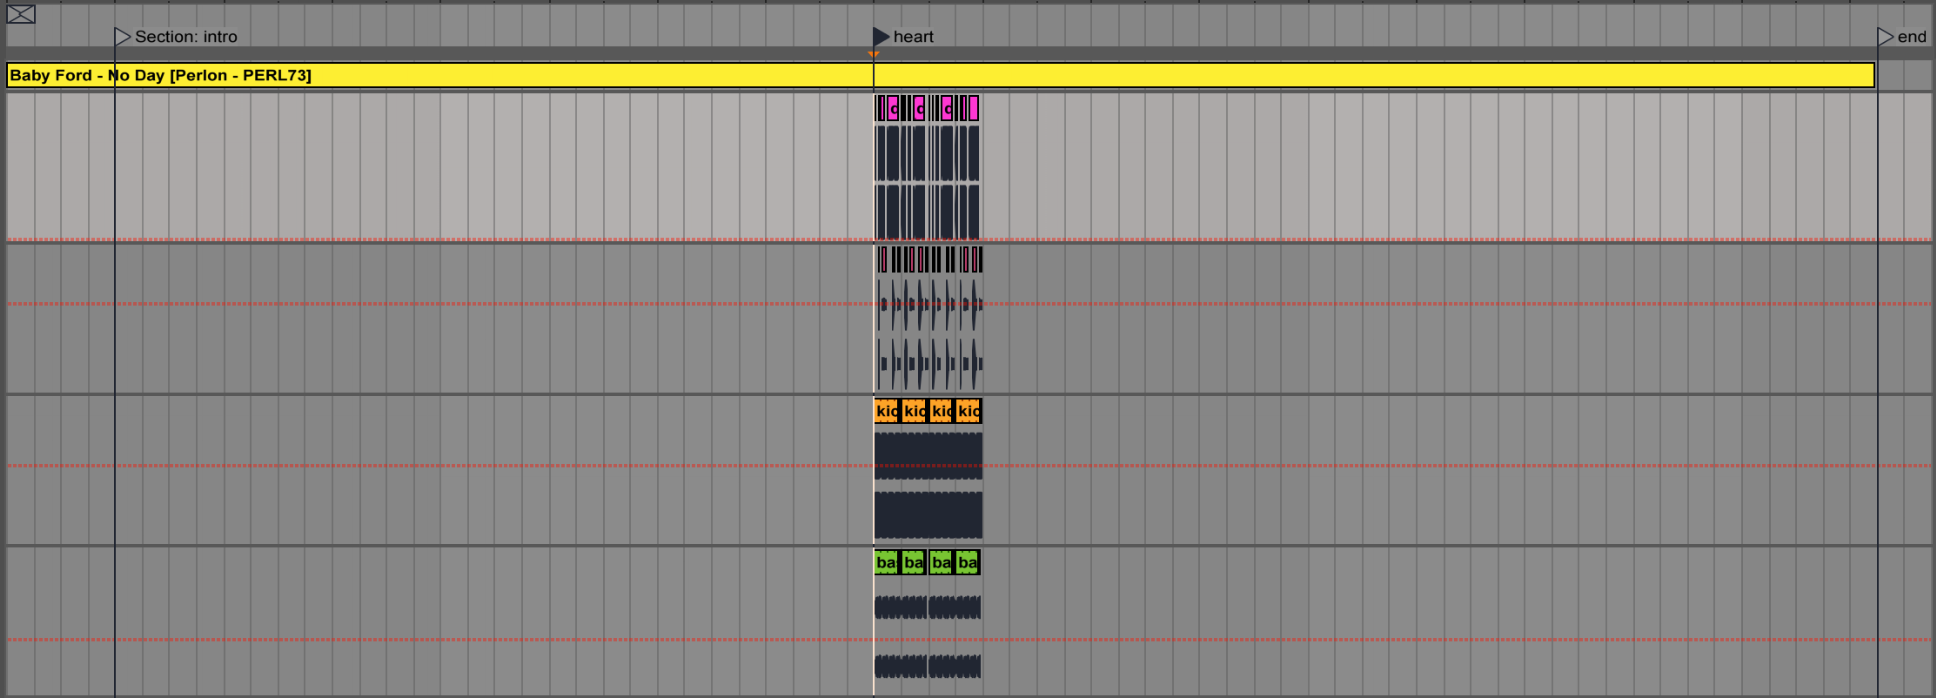
- Insert empty slices in middle of the parts as well as some random points in the song. Check some “winks” that you might be able to make from the reference track you originally imported. “Winks” are when one song might “talk or reply” another if mixed properly.
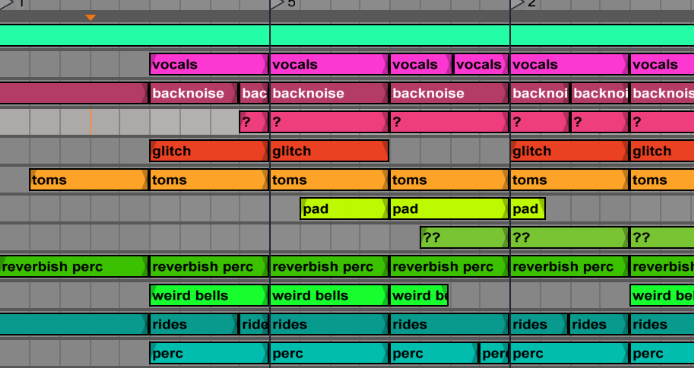
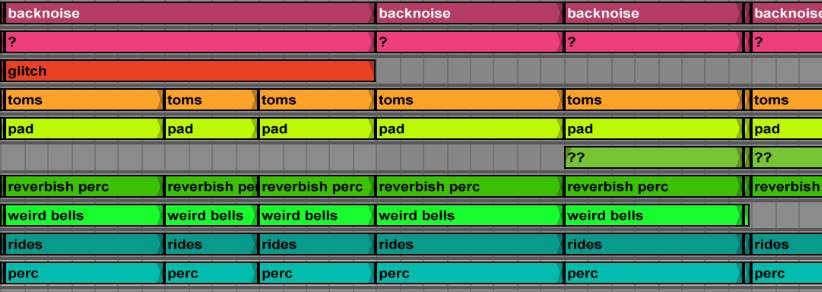
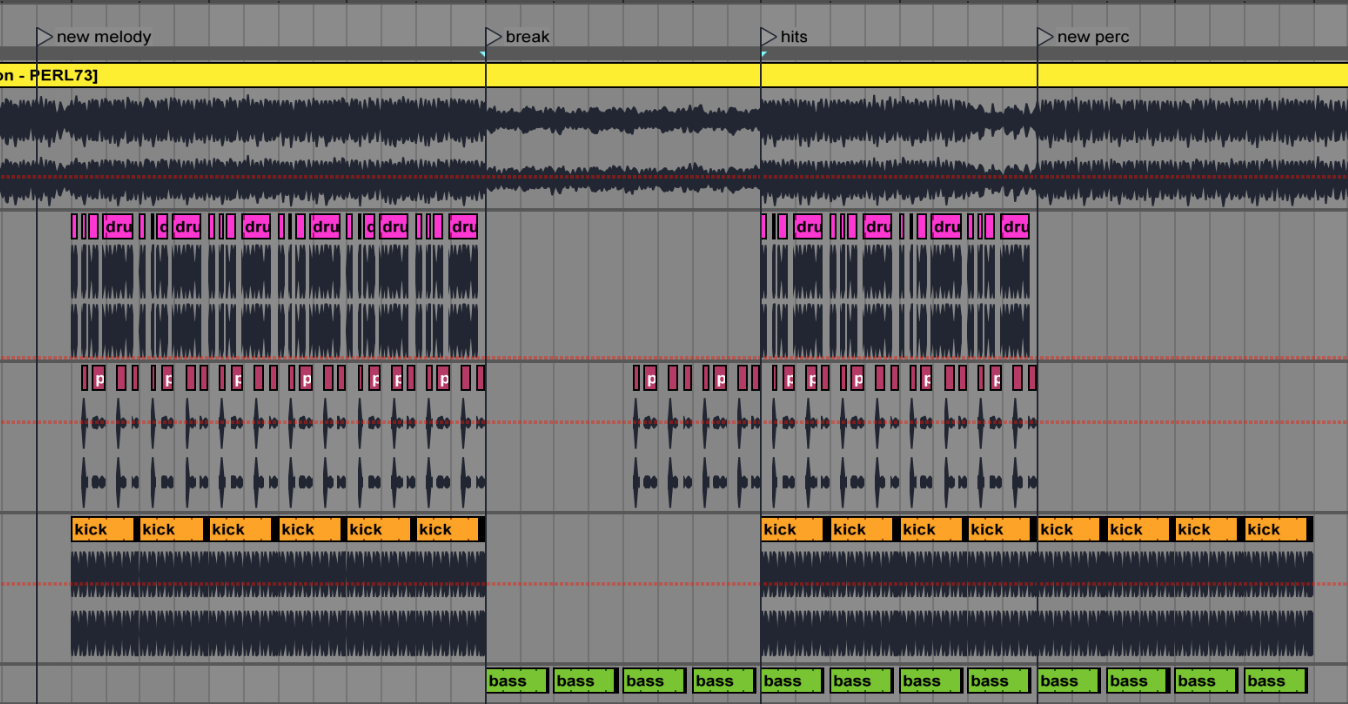
- Move around your sliced blocks/sections. Try wild swaps and mess with perspective. Be creative. In contrast to the often useful “use your ears not your eyes” advice, in this case I highly suggest working on your structure visually alone without any sound at all so you’re not biased or held back in your arranging experimentation. If you’re new to the idea, make sure you make a backup copy first of your project. Personally, I spend quite some time to make something visually appealing with my blocks even before listening.
- Intentionally leave mistakes. Did you move something slightly off the grid? Did you paste a section at the wrong place? Try leaving in it the structure until next time you come back to it.
Try messing with your song structure; let me know how it goes!
SEE ALSO : Lego Blocks as Song Structures
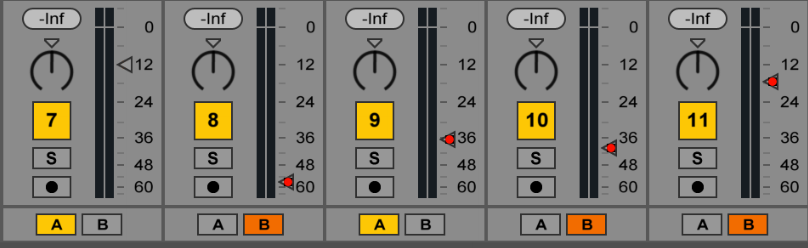
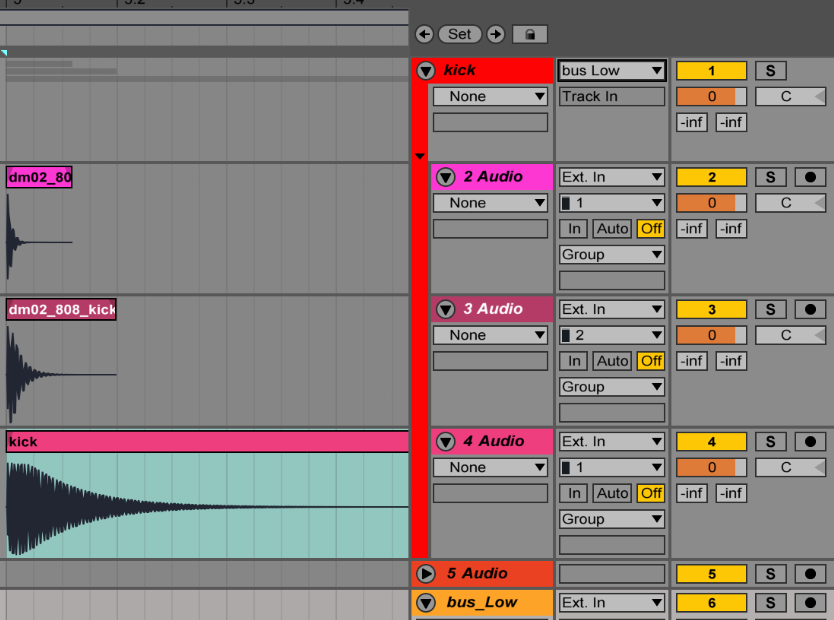 Visually it looks better and is easier to manage, and additionally you can also put effects on the group to glue all the sounds together – generally you’ll need a compressor and one or two EQs for a relatively uniform group. Once I’ve done that, I usually like to have an additional bus for all sounds (eg. groups) that will glue everything else together.
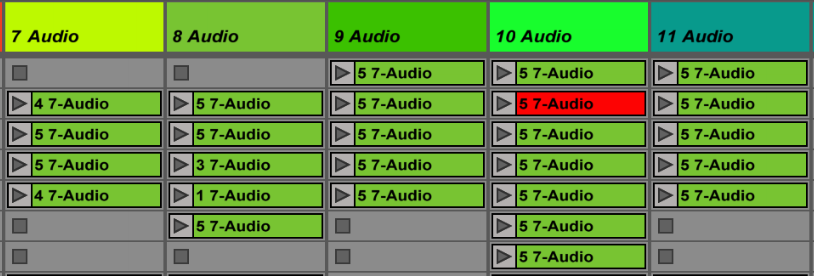
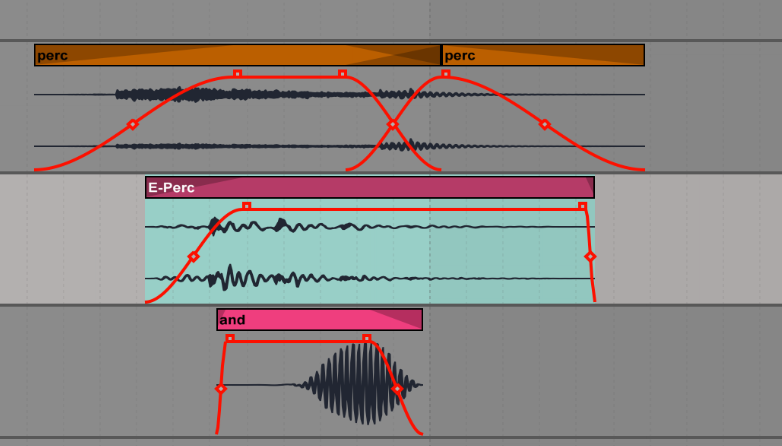 If you work in the arranger, you drop sounds in the channel and it’s an easy way to see the layers. I like turning off the grid to do this so it feels a bit more natural.

 Many DAWs can be setup to load a template as an initial starting point. Reason will propose a pre-made environment, and Studio One will propose if you’d like to setup a project for mixing to speed up your getting started time. Ableton Live doesn’t have that feature by default, but you can easily change that to open a custom startup project.
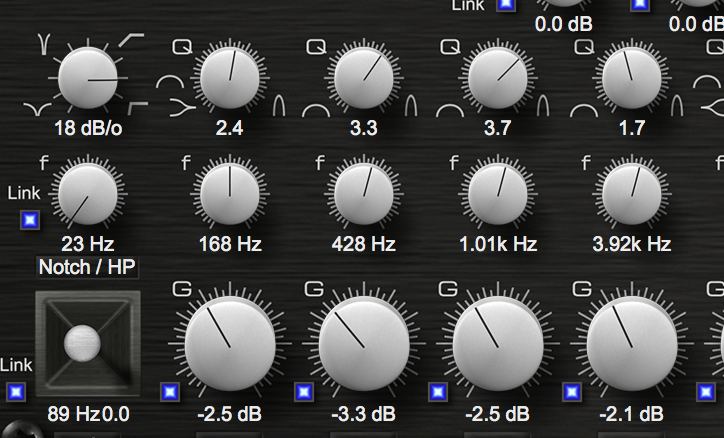
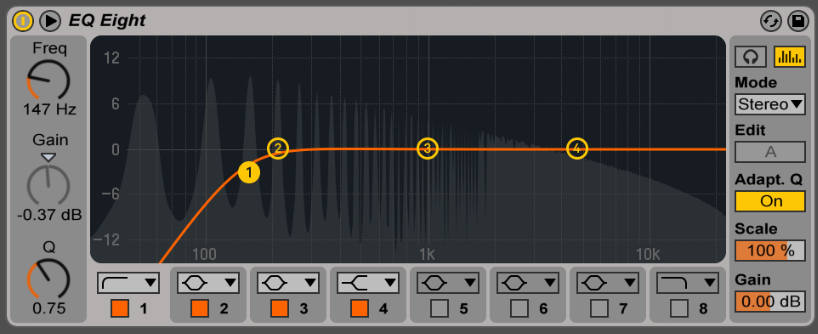
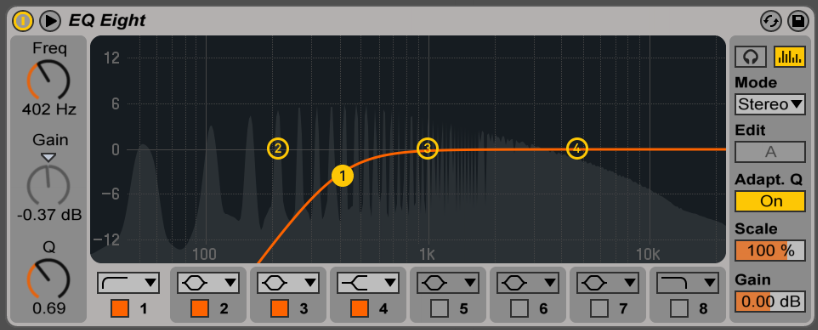
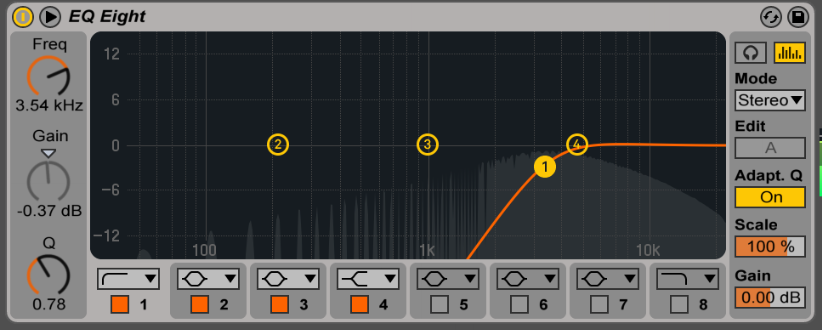
 That last point is crucial here. You can take the same compressor concept (ex. FET compression), but it will sound different from one company to another. There are no real universal standards on how to approach compression or EQing. An EQ can show you a curve but the filter in the back might slightly be different to give a color, for instance.