What Makes A Difference Before Mastering
I often explain to clients, almost daily, that a good master starts with a solid mix. Therefore, I thought I’d list what actually makes a difference for me when I get files to process. This article will also talk about certain things that producers do to their tracks that they think will make the job easier for me, but really, they just end up making me work hard.
I would like to start with what is obvious to me but seems to not be for many clients, which is about how people listen to their music. Many times, people send me a song that will have issues related to how their studio is set or because of a lack of understanding about how their studio translates to the outside world. If the way you listen to music in the first place influences how you perceive it, it is clear that you’ll misunderstand the song you will get, once mastered. When I get feedback from a client that their song has a tone-related issue (too bassy, too bright), I will always reply with “compared to what?” Because in the end, that’s what it is – a comparison. You will always have some people comparing you to other things and the definition of perfection is extremely arbitrary. That’s why it’s always a good idea to provide me a reference.
Every mastering engineer has their own touch, therefore the idea of working with a mastering engineer is directly related to how you like their work. The engineer will work with a definition of what they think works best for what you have, related to a genre, within a range of technical points that will make the best out of it. Therefore, the first thing that can make a huge difference is trust. When you have your song done and need the last touches, there can be some wild differences, but in the end, it’s about communicating your vision and hoping the engineer can manage to do it. I often get people sending me files and asking me if they’re ready for mastering to which I always tell them that the best way to know is to do tests, where you send me a version to master, and I see how your mix translates after the process. This is, to me, a huge step to build trust.
Obvious Technical Details
These have been discussed inside out. They’re also covered on pretty much any mastering sites or forums. However, I still get files prepared wrong. Some people forget, but there are also some people think they know better too, so let’s see once more, here:
- No compression or limiting on the master bus: If you have your gain staging done properly, there will be no need to really have compression on the master as your loudness and density will be already solid. If you want to glue things all together, leave it to the engineer. If you want a certain vision, bounce a home master as a reference. A limiter is useful during production in case you get hot and push things a bit. Still, for mastering, you need to remove that tool because otherwise, it creates some intense processing on your transients and density that will be problematic for mastering. Note that many use limiters within the mix itself, either on the low-end buss or percussion, which is ok but sometimes can cause distortions too. Also, be careful with saturation on the master. Many people actually mess up their mixes that way – a 3-5% of wet factor of saturation may feel huge once mastered, so treat it with care.
- Headroom: The usual requirement engineers will ask for is -6dBfs but nowadays, I’m cool with -3dBfs too, as long as there’s no limiting on the master 0and the transients are healthy looking.
- Resolution and sample rate: This keeps changing but I find that the bare minimum is 24bit, 48khz. Some people send files with better resolution than that but on my side, I run most of my sessions in 96khz to get the best headroom so I can deal with pretty much anything. Of course, files have to be in stereo, wav or aiff.
These points are easily handled by most clients. If you aren’t sure of one of these points, you’ll easily get answers on forums or straight from a Youtube tutorial. I would say I often get files that don’t meet those requirements, but often we can easily fix them.
Average Level Technical Details
This is where things get messy. It’s what I would call, mostly average level. Meaning that new producers will have some difficulty with these but if you’ve been making music for a few months, and finished a bunch of tracks, you’ll probably run into some of these issues and the lack of experience might lead you into trying different things. It takes time to really pinpoint how a mix will translate after a mastering. It comes down also to your pick of engineer, their aesthetic and communication with you. Of course, the more you work with someone, the more they’ll know what you expect. Most of my recurring clients never ask for a revision because it comes as they want.
Advanced Technical Details:
- Loudness. This is where many people are confused. There’s a difference between the peak loudness and the density of a song. I’d encourage you to get a loudness measuring tool and look into the LUFS indicator.
If your track is at t -6dB, it means that I will need to add 6 dB gain as I’m trying to get it as close to 0dB as possible. In order to do this, I will need to boost the density to match other songs on the market. If your song is close to 0dB without density measures, it probably means that it’s not loud enough.
There are multiple ways to boost the density such as saturation and compression. Sometimes, people wonder why their song is compressed and the reason is always about matching loudness. We can’t simply boost the gain, that won’t be enough. That said, people need to do their gain staging properly. I can’t explain in this post how to do it but there are multiple tutorials online for that.
So, in the end, I always prefer a mix to be roughly around -15LUFS ideally. I can do with less but you’ll have to accept there will be a pretty steep difference.
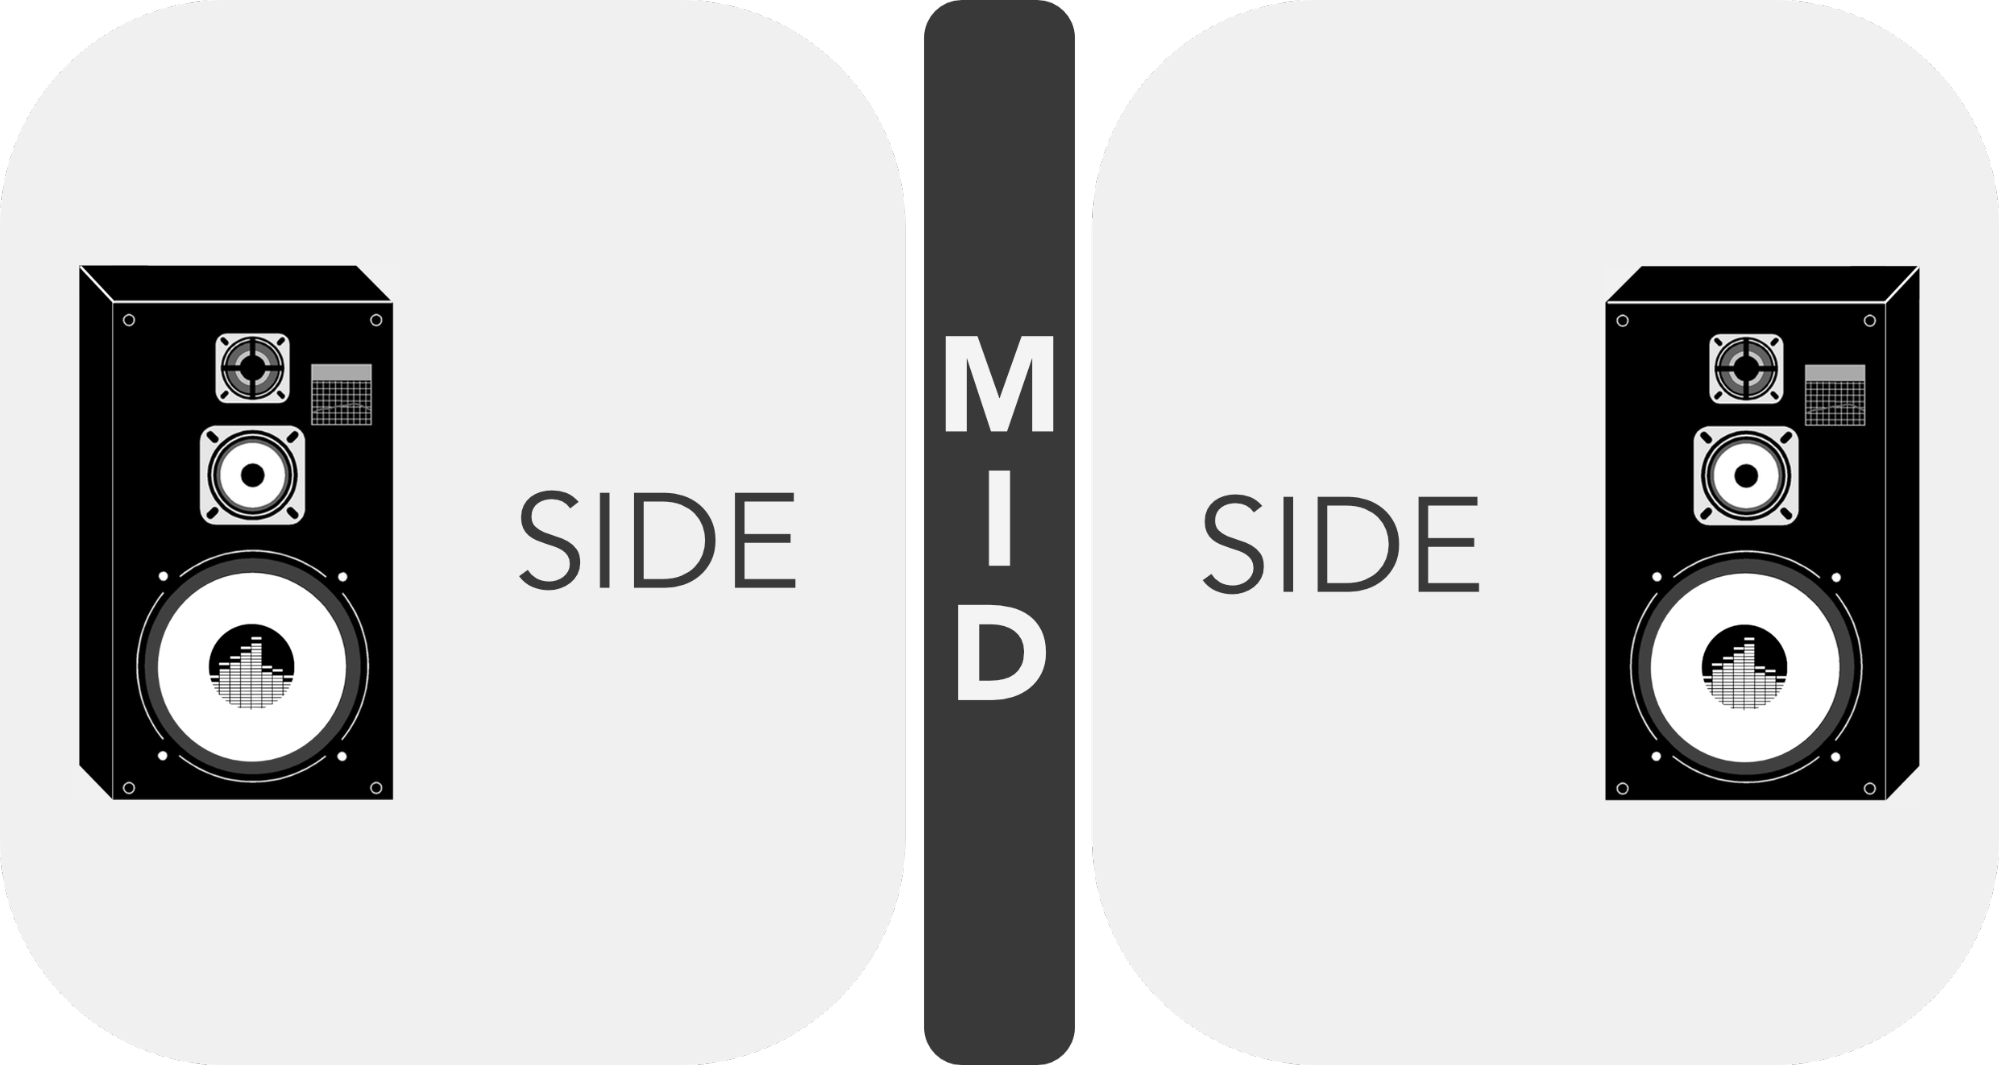
- Stereo width. Most people I know love their song to be returned with a nice width, as they love to be wowed. If it’s too wide, there will be a loss in punch and assertiveness. Usually, people are pretty ok with this but there are a lot of people who get addicted to plugin that use width and clients might boost the sides a bit too much. I often have to rebalance the signal between mid and side. It’s not much of a big deal but if, in some frequencies, I notice the sides are too loud, I’ll have to control that because it might be a sign of phasing. That is one type of issue that clients have a hard time spotting because it requires experience or good monitoring tools.
- Saturation. Every now and then, I’ll have clients who will push saturation a bit much without knowing that loudness matching will multiply that crunch by much. This results in weird clipping, distortions, noise, nastiness. Some people are ok with that but some need to redo their mixes to find the sweet spot. My general suggestion is to add saturation until you hear it and then dial back a bit. If you hear a lot of the saturation and your gain staging isn’t right, I will boost your track much and the saturation will be boosted a lot.
- Noise floor. If you record from synths and analog gear, there might be some noise in the background. You need to record as loud as you can so the noise doesn’t get boosted by your gain staging. It often happens that people record with lots of noise in the back and when I boost, then it gets amplified. So, be careful.
- Effects. In general two red flags occur here: overuse of phasing, MS or reverb that is way too loud. Often clients have to fix the reverb and send me a new file. Long reverb are super tricky and sometimes I suggest to use ducking on it so it doesn’t mess up the transients or make the entire mix messy.
- Compression. This one is tricky. Sometimes people will put compression on the master to glue everything together but I don’t recommend doing that so much. This is something I like to control myself since I do the final gain staging and overall adjustment of that matter. People who use compression as gain on the master or all over the place will end up having a track with exaggerated tails on the sounds that are supposed to be a bit shorter, which can have dramatic effects on the bass or the kick for instance. If they bleed into one another, the low end will be mushy and messy. Snappy kicks need space to be cutting through and if the mids are also bleeding all over the place, there will be a lack of precision. Overall, compression is useful yes but with some moderation, unless you want a puffy, really inflated-sounding track.
- Samples. The higher the quality of your samples, the better the mix you might get. In essence, using mp3s or youtube ripped sounds will sound lofi and that might be exaggerated, once more, in mastering. This is where aliasing and weird digital artifacts can make a pristine-sounding song into a harsh one. When I refer to quality samples, I not only relate to the bit rate, but also for a good balance of density, clarity and precision. Samples with sibilant resonances and sharp transients also can be hard to control in the mastering process.
What usually really helps and will make a huge difference:
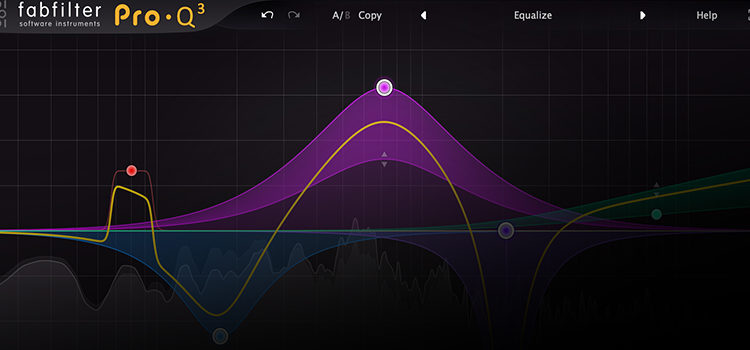
- Resonances removal: If you think that I might do gain staging, you’ll quickly see how they’ll escalate into a harsh ringing if you have any resonances in there. Removing resonances isn’t something you easily learn but once you start being aware of the impact they have on your mixes, you’ll want to handle them right in the sound design part. While I can control them with my mastering EQs, there’s nothing like having a clean mix to start with. I had a try at this Reso EQ and it turned out to be quite solid. There also the MAutoEQ by Melda that detects resonances and lets you cut to taste.
- Transients taming: There’s nothing more annoying than harsh transients on big sound system or at high volumes. There’s a difference between snappy and harsh, sometimes people don’t really realize until they hear the master. While I can control things, if you do the most cleaning on your side, your mix will sound stellar. One of my favorite transient shapers is Impact by Surreal Machines. But if you want something that is game changer, you can go high level and get the Oxford Transmod.
- Proper leveling: This is the mixing 101 of all tips. Not much you can do else than practice, take breaks, listen to references but if you get your levels right. This always is a win in mastering.
- Sidechaining, unmasking: If you have multiple sounds that are in the same frequencies, it will soon head into a masking issue territory. You can spend some time cleaning the frequency of one to let the other be heard but the fastest fixing method is side-chaining. Using TrackSpacer is always clean and fast, but lately, the new Neutron 4 has proven to be quite amazing. It also has a lot of other practical tools and it has been in every songs I mixed lately.
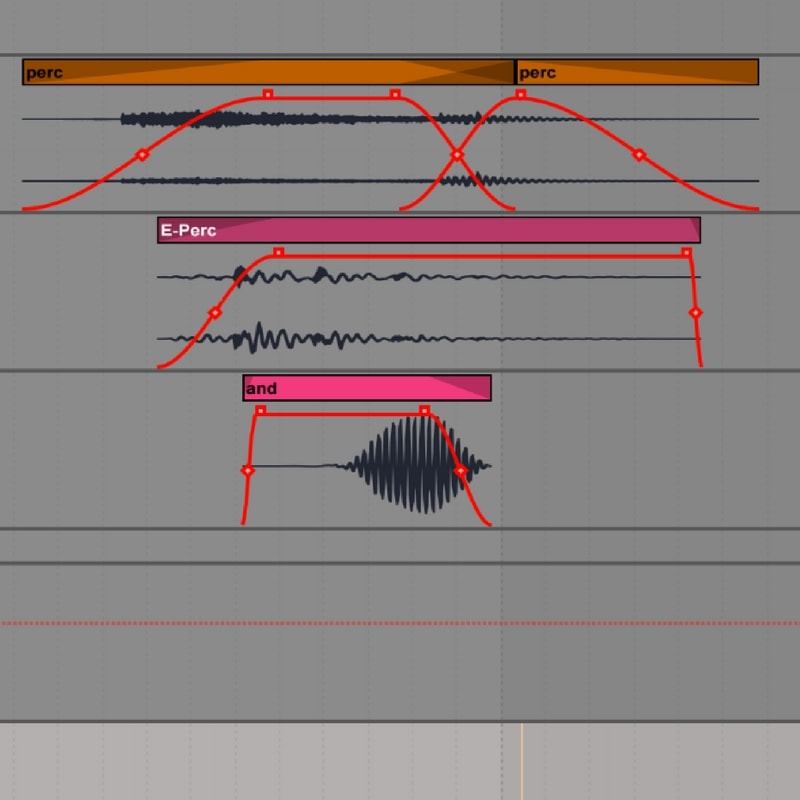
- Proper gating: Gating is often misunderstood but it is a technique that will bring punch, clarity, dynamics to drums or anything with tons of details. It also resolves masking sometimes, clean noise floor and avoid muchiness all around. If you don’t know much about it, go check tutorials!
The last stretch of points is what I’d consider advanced but those are actually the ones that I will have the most trouble with because they should always be handled in the mix. The cleaner your mix, the better the master.


Thank you for sharing this insightful post. I found it to be engaging and informative. Keep up the excellent work.