Create an Ableton Live Session Template
After months of seeing clients repeat the same mistakes in Ableton Live, I thought, “If only I could provide them with a session template to use as a default, it would help them so much.” It’s not that I wanted to free myself from fixing certain things, but I really believe that having a good starting point is the key to jumpstarting our projects.
And so, here it is! Below I describe the Ableton session template, and provide some tips to help you along:
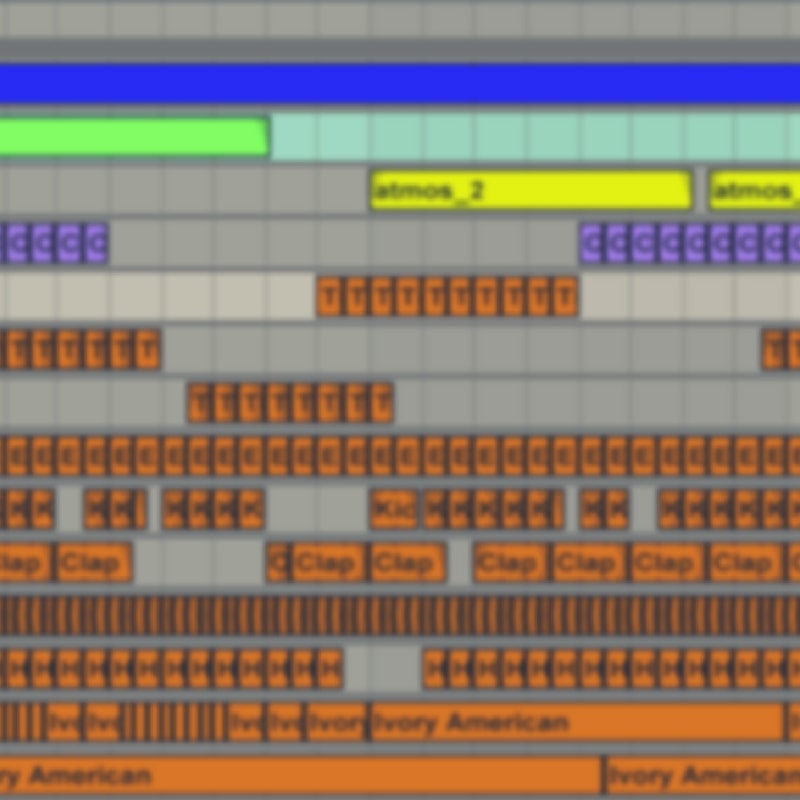
 Label each channel. As silly as this sounds, labelling your channels is a very easy way to see what’s going on in a glimpse. Especially if you have a sound engineer like me working with you, when you swap projects, you avoid having to re-explain yourself all the time. It’s also very practical to colour-code each sound family. Organization can only do you good.
Group sound families. If you have multiple percussion samples like hi-hats or toms, it will be way easier for you if you group them and then EQ them all at once. Adding some compression evenly will also help glue them together,
Cut bad frequencies out. Anything below the fundamental frequency of a sound can potentially be problematic, as it can add a certain muddiness. I suggest you use the EQ to cut it down until you start noticing the sound becoming thinner.
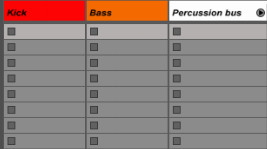
 Put the kick in the first channel. This is a simple detail, but keeping the kick in a highly visible place can be very practical, because you’ll often come back to it to adjust something. If it’s up there in plain sight, you won’t lose time looking for it.
Keep the low end in mono. This is to avoid phase problems. It’s also a must if your track will be heading for vinyl pressing later.
Sidechain your bass for clarity. You’ll get a clearer distinction if they’re sidechained, and punchier mixes. When the frequencies are close together, both sounds won’t be fighting to be heard.
Make macros. It’s important to create macros out of your most frequently used effects. This way, you’ll have your tools ready and reusable.
 Have an EQ on each channel. This is the most important tip on this list!
Put your reverb in a send channel. I often see projects with 5-10 reverb plugins. No human ear can notice all of that though, so you might as well just have one in a send channel, and then any of the sounds that need reverb can be adjusted to various degrees. If one isn’t enough, have multiple reverbs in multiple send channels.
Put a limiter on the master. This is to avoid clipping.
The final step is to go in the File Menu and select “Save as template…”
So that’s the list. To download the Ableton Live session template, join my coaching program on Patreon.


Your services look as if they might prove very useful tome in future! I’ve sigend up to your mailing list, but still can’t find how to download the free template – have I missed something? Thanks.
Almost! All you need to do is follow the link to subscribe to my mailing list which is a Coaching program. You’ll get your template there 🙂 Let me know if you have any troubles.
Looking for the free template!
Its currently for the Patreon participants only. You can join here: https://www.patreon.com/pheekcoaching