EQing Resonant Frequencies and Harsh Sounds
EQing resonant frequencies can be a very difficult task. Once in a while, I see ads in my Facebook feed that claim to reveal some “secret” EQ tips. Recently, I clicked on one just to see what they had to say, and was very disappointed to read stuff like “if your track sounds honky, you need to cut at 500hz…blah blah blah…”, as if a simple cut at a specific range would easily solve everyone’s EQ problems. The thing about EQ’ing music is that one simple solution cannot apply to every case—it’s more complex than that. Yes, there are things that you can do consistently that will make a difference, and yes, in some cases, cutting at a specific frequency can help, but there are other ways to EQ, too.
In this post, I will provide a very high-level outline of how to identify resonances and to fix them with surgical EQ’ing. If you’re an advanced audio nerd, I recommend you carry on with your online searches for EQ tips.
In past articles, I’ve referred to the benefits of shelving EQs in certain cases to fix tonal issues in a song. Using shelving EQs to correct tonal issues is one of the most misunderstood concepts in mixing and it is also, in some ways, probably the easiest to fix. Surgical EQ cuts are the exact opposite, as they are difficult to really explain—especially through a simple blog post—and can be a bit of an esoteric subject.
Training your ears to detect resonances
Ear training is the most important part of EQ’ing and it is also the most difficult to develop; it demands practice and guidance. I’d say roughly 90% of my clients’ projects have bizarre EQ correction(s). I often see multiple cuts, very sharp and very low. When I remove them, I hear no difference in my studio. Why? Probably because of how they hear things at home with their speakers/headphones. Bad referencing is counter-productive, as you might expect. It’s like wearing glasses with a stain on them; you’ll see it everywhere. Problems can also arise from the acoustics of the room which might overload certain frequencies, creating resonances that aren’t in the mix itself, but from the room, which results in people cutting valuable frequencies from their mixes and sounds.
I find it useful to mute a problematic sound and listen to an oscillator on its own, to train your ear to recognize that kind of frequency.
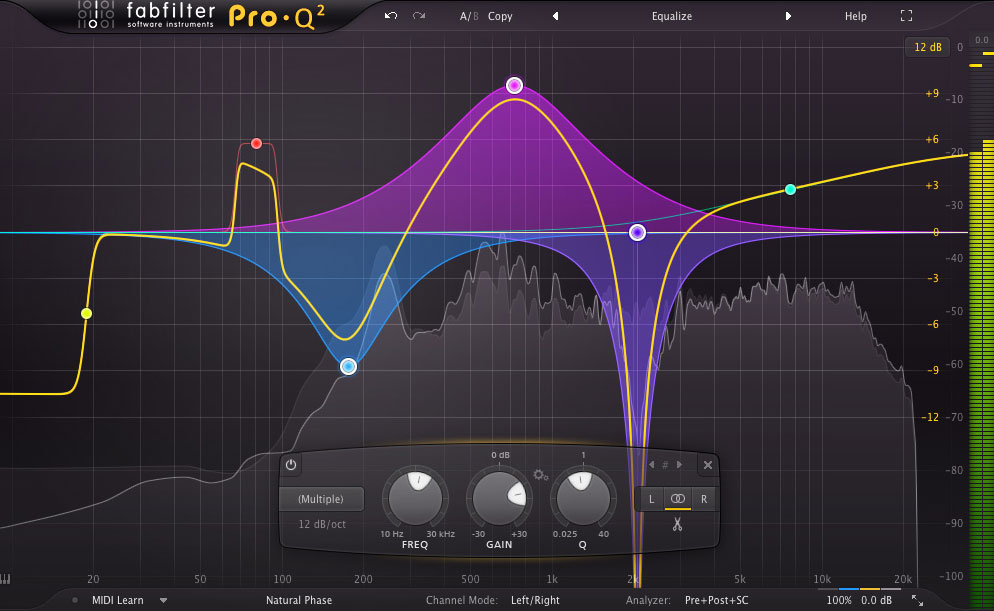
One trick I found useful in developing my understanding of resonances is the use of a keyboard and a simple oscillator (note: Ableton’s Operator will do). When I hear a resonances—which sound a bit like a delay with too much feedback—I would try to play the note on a keyboard with a sine oscillator to mimic what I hear. With the help of a FFT or a great EQ plugin like Fabfilter Pro-Q3, I can then “see” the frequency of my note and compare it to my sound. You want to play them roughly at the same level to see exactly where the resonance is in the spectrum.
Another way to identify a resonant frequency is to take your EQ, starting with a wide Q of about 1, and boost it by 5dB then scroll through the frequency spectrum. This will amplify what you hear in certain ranges and you might notice a resonance. Once you spot a sensitive area, leave your boost on that spot and slowly increase the Q to 2.5, then adjust the covered area to pinpoint where the resonance might be. Once you get to about 5 on your Q, then you can cut down on the problematic frequency, starting by cutting 3dB off. Toggle the bypass on the EQ to see how much of the frequency you removed.
Sometimes resonances are the sum of multiple incoming sounds that have similar frequencies that overload on top of one another. These are nasty because you might want to EQ one sound, but you can’t really pinpoint where the problem is coming from. It’s best to group similar channels and EQ them all together.
I usually tell people to group channels by “sound families” such as all metallic sounds, organic percussion, synths, etc. Grouping can be great for fixing issues, and also to place sounds into a specific spot in the bubble you’re creating in the mix (ex. fore front vs background).
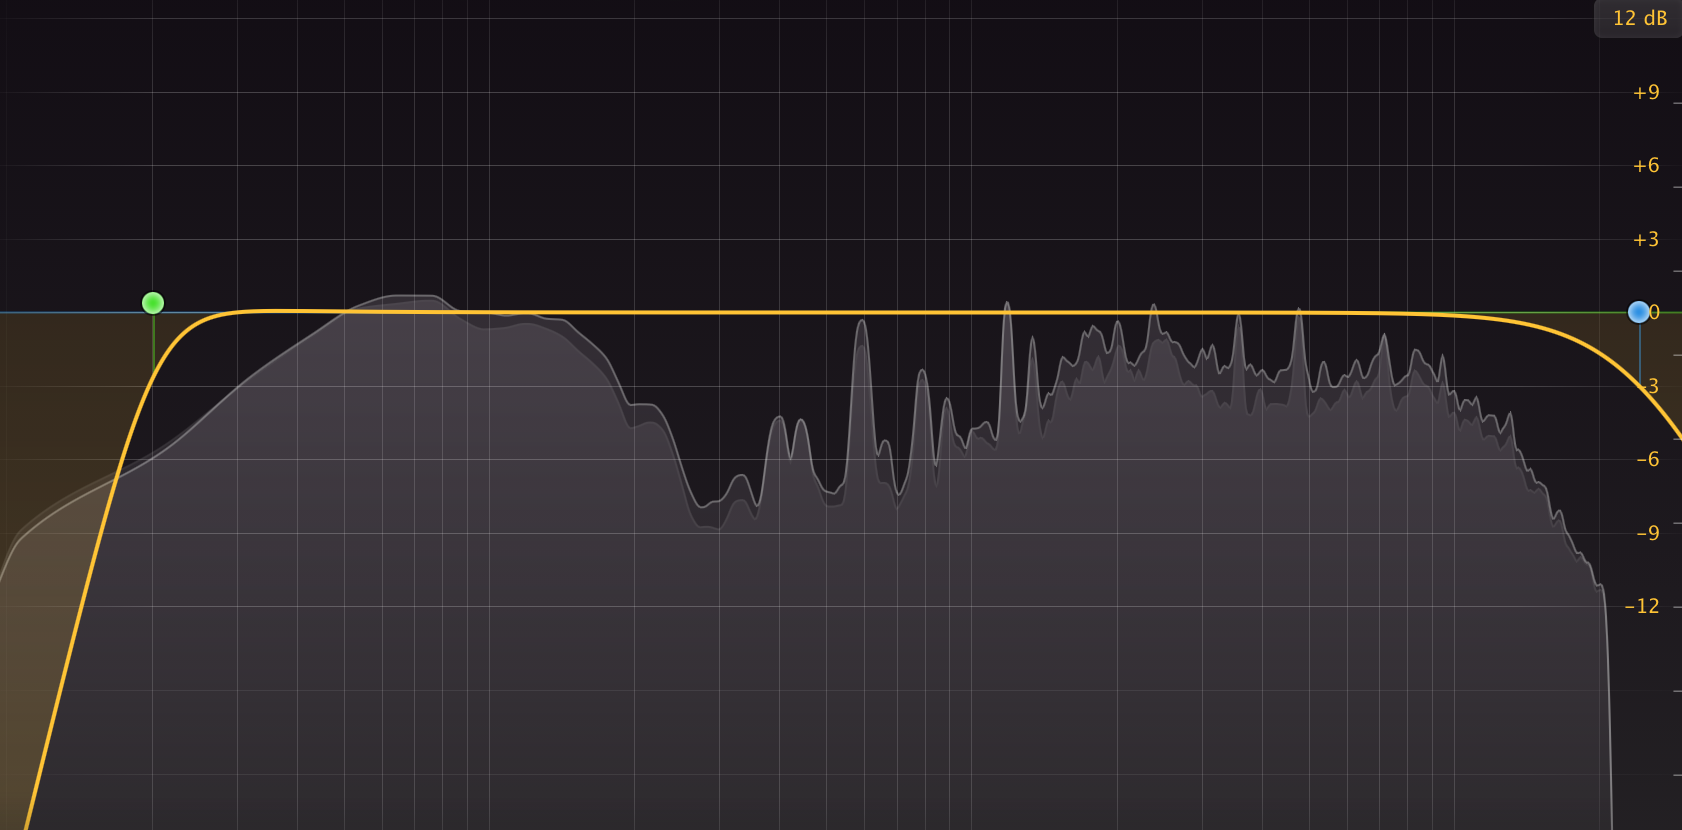
Visually speaking, resonances are often difficult to see on the FFT. Sometimes people believe it’s a simple peak rising, but that might not actually be the case. This is why on the Pro-Q3 or Ableton’s EQ8, you can monitor what you’re altering. But before searching for a resonance, it’s important you hear it first. Otherwise, you’ll go hunting for problems that might not exist, which will create “holes” in your mix (a frequent problem I hear in mastering but luckily it’s easy to fix). If you’re checking for little peaks poking out only visually, sometimes those can actually be pleasant frequencies, but because of a poor listening environment, you might interpret them as bad ones.
My general tip on cutting frequencies is: never too sharp and always start with -4dB. Often you’ll hear resonances from 200hz to 800hz, mostly because a lot of melodic content and ideas have a fundamental note within that range, so some sounds might clash. Also, if you feel you need more than one EQ to fix a problem, just trash the thing you’re trying to fix. It might be garbage and if you need to really alter it that much, there’s something fundamentally wrong with it. Using too many EQ points might also result in phasing issues. Same thing goes for using more than one EQ plugin…it can be risky!
Optimizing your listening conditions and environment is a hugely important thing to do.
Detecting Harshness
Harshness or other difficult frequencies that aren’t resonances can be found at any level of the frequency spectrum. Most of the time, harshness-related issues are around 1-5khz. The human ear finds this range sensitive, and when there are too many sounds in it, it brings confusion, muddiness, and unpleasant feelings.
Harshness can also be a result of the sum of multiple sounds. It’s important to hear everything on its own—specifically similar groups of sounds—then mute them one by one to find out which ones are causing an issue. Once you find the problematic sound, I suggest you try the following corrective techniques:
- Start by lowering the volume to see if that can help.
- Try the EQ’ing cut method explained above to see if you can isolate a resonance or something annoying. Try cutting it by 3dB. Cutting along with the volume drop can sometimes be enough to fix a problem.
- Try panning it to the opposite position. I often see that sounds that are crammed in a same location will clash.
- Add subtle reverb. This trick can help smooth things out. I’d suggest a reverb at a 10% wet/dry.
- A chorus effect can sometimes do wonders on certain sounds.
- Controlling a transient can fix wonders. Instead of cutting with an EQ, just spot the problematic frequency and then use a multiband EQ like Melda’s mTransient to remove some of the attack of that band. Isolate the frequency. If you don’t have a transient shaper, you can create your own with a compressor that has a fast attack.
- On higher-pitched sounds, a de-esser can really help. If you don’t have one, make sure to grab ERA4 De-esser as it’s affordable and super useful.
Harshness is easier to fix than resonant frequencies—it’s often simply the result of noisy sounds at wrong levels that need adjustments. With practice, your mixes will be clearer and smoother. Train your ears!
SEE ALSO : Creating Depth in Music


Leave a Reply
Want to join the discussion?Feel free to contribute!